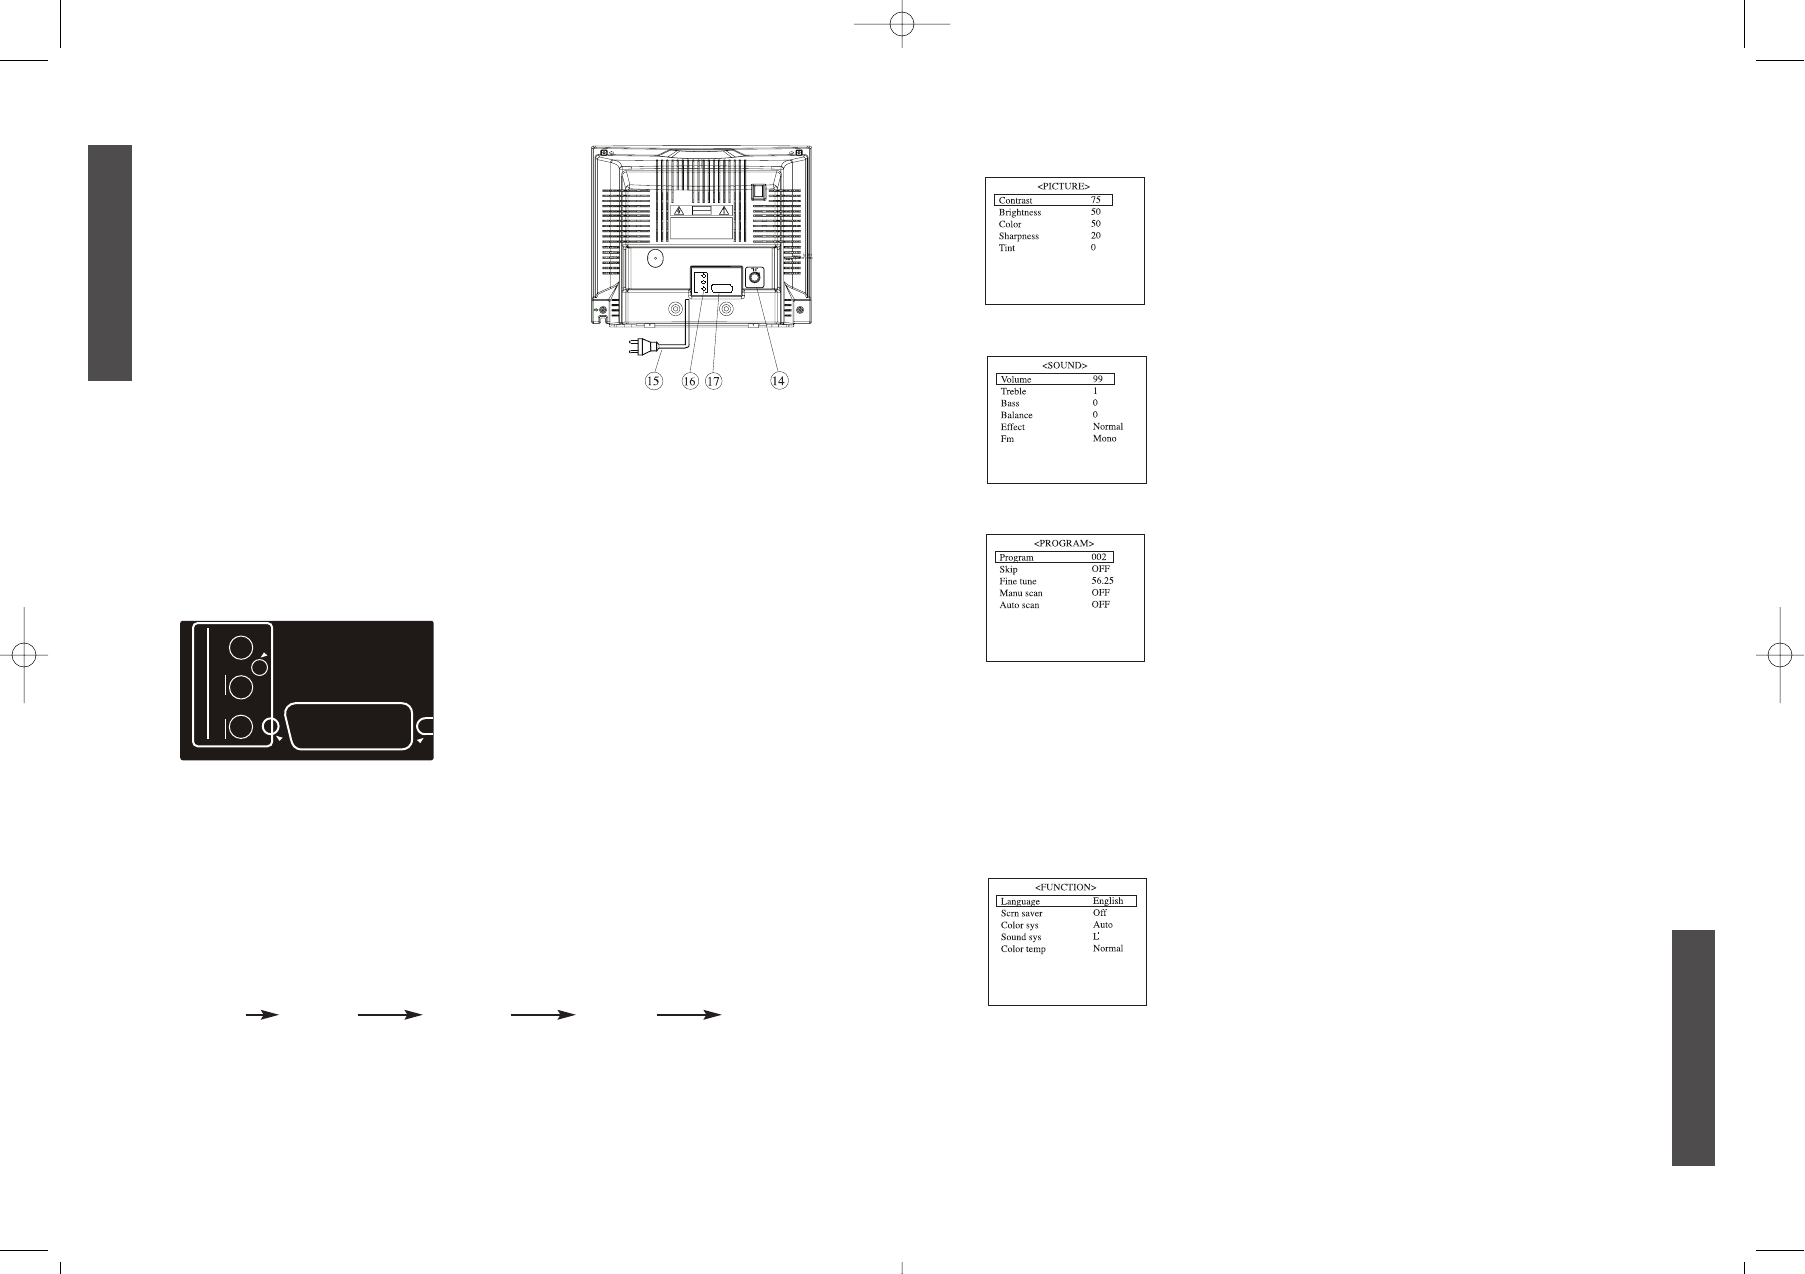
Picture menu
You can adjust contrast,brightness, color ,sharpness and
tint (if NTSC-M color system ) by pressing the vol+/- buttons.
The adjusted level is stored in user mode.
You can directly select four picture modes by pressing p.p
key on handset.
Sound menu
All items can be adjusted by pressing vol+/-buttons.
You can open or close effect item for satisfied sound item by
pressing vol+/- buttons.
Program menu
1. PROGRAM
You can directly input program number to change pro-
gram by pressing keys 1-9 on handset.
2. FINE TUNE
If fine tune item is selected , frequency data is fine
tuned upward or downward by the vol+/- buttons.
3. MANU SCAN OR AUTO SCAN
You must select rignt sound system and colour system
befour starting to execute this function.
When Auto scan is ok, you should execute menu scan
function to change carrent program content.
Attention: When numbers of program to be sared are more than 255, Auto
scanning will be stop and program 255 will be displayed and others will be
skipped, you should press digital number ”0-9” on the handset and go on
with Auto scan function then.
Function menu
1. LANGUAGE
You can select different national language by pressing
vol+/- buttons.
2. SCRN SAVER
Screen saver on or off is selected by pressing vol+/-
buttons; if screen saver is on, it will not be shut off
when no signal, ABC will display on screen. If screen is
off, it will be shut off after half an hour.
3. COLOR SYS
When you select colour sys Auto, and It Is not the right colour system
you could select colour system for right stastus. If it is PAL M/N, it could
not select Auto, only select PAL M or PAL N.
4. COLOR TEMP
There are three color temperature : normal, cold and warm.
ENGLISH
5
13. Side AV In (Option)
14. Antenna Input Socket (75 ohm)
15. AC Power Cord
16. DVD Audio out
17. Peritelevision (Scart Jack)
INPUT AND OUTPUT TERMINALS
VIDEO AND AUDIO INPUT/DVD AUDIO OUTPUT TERMINALS
1. Video / Audio input for playback for VCR.
2. Video / Audio output for DVD.
• Please keep AC cord unplugged when connecting TV system.
• When you connect SCART to TV, it will be automatically switched to AV2
status. If you change SCART signal from RGB to CVBS or CVBS to RGB, it
maybe is not right, you should press TV/AV key on the hand to switch back
to AV2 status repeatly.
OPERATION INSTRUCTIONS
Turn the TV set on, then power indicator will light up. After a few seconds , the
currently program number is displayed on the top right -hand corner of the
screen.
MENU BUTTON
1. Press this button to display menu, picture,sound ,program, function and
timer menu can be selected by the VOL+/-buttons
Picture Sound Program Function Timer
2. After enters each menu, you can select the desired adjusting item by the
PROG.-buttons. And adjust the item by the col+/- buttons.
4
ENGLISH