DE/AT/CH DE/AT/CH
DE/AT/CH DE/AT/CH DE/AT/CH
DE/AT/CH DE/AT/CH
GB/MT
©
Reinigung und Pflege
˽ Reinigen Sie das Produkt mit einem trockenen, fusselfr
Ein Brillenputztuch ist ideal.
©
Entsorgung
Materialien, die Sie über die örtlichen Recyclingstellen
entsorgen können.
Möglichkeiten zur Entsorgung des ausgedienten Produkts erfahren
Sie bei Ihrer Gemeinde oder Stadtverwaltung.
Werfen Sie Ihr Produkt, wenn es ausgedient hat, im Inte-
resse des Umweltschutzes nicht in den Hausmüll, son-
dern führen Sie es einer fachgerechten Entsorgung zu.
Über Sammelstellen und deren Öffnungszeiten können
Sie sich bei Ihrer zuständigen Verwaltung informieren.
Defekte oder verbrauchte Batterien müssen gemäß Richtlinie
2006
das Gerät über die angebotenen Sammeleinrichtungen zurück.
Pb
Entsorgung der Batterien!
Batterien dürfen nicht über den Hausmüll entsorgt werden. Sie kön-
nen giftige Schwermetalle enthalten und unterliegen der Sondermüll-
behandlung. Die chemischen Symbole der Schwermetalle sind wie
folgt: Cd = Cadmium, Hg= Quecksilber, Pb = Blei. Geben Sie des-
halb verbrauchte Batterien bei einer kommunalen Sammelstelle ab.
im Display erscheint.
˽ Halten Sie die RESET-Taste
4
gedrückt und drücken Sie gleich-
zeitig die MODE-Taste
6
. Alle Tage der W
1
leuchten auf. Der Signalton ist aktiviert.
˽ Halten Sie die RESET-Taste
4
gedrückt und drücken Sie gleich-
zeitig die MODE-Taste
6
. Die Anzeigen aller Tage der W
chentagsanzeige
1
erlöschen. Der Signalton ist deaktiviert.
©
Stoppuhr verwenden
˽ Drücken Sie so oft die MODE-Taste
6
, bis die Uhrzeitanzeige
3
im Display erscheint.
˽ Drücken Sie die MODE-Taste
6
ein Mal, um in den Modus der
Stoppuhr zu gelangen.
˽ Drücken Sie die STAR
2
, um die Stoppuhr zu starten.
˽ Drücken Sie erneut die STAR
2
, um die Stoppuhr anzu-
halten.
˽ Drücken Sie die RESET-Taste
4
, um die Stoppuhr auf 0 zu setzen.
Zwischenzeit
˽ Drücken Sie so oft die MODE-Taste
6
, bis die Uhrzeitanzeige
3
im Display erscheint.
˽ Drücken Sie die MODE-Taste
6
ein Mal, um in den Modus der
Stoppuhr zu gelangen.
˽ Drücken Sie die STAR
2
, um die Stoppuhr zu starten.
˽ Drücken Sie die RESET-Taste
4
, um die Zwischenzeit anzuzei-
gen. Die Stoppuhr läuft im Hintergrund weiter.
˽ Drücken Sie die RESET-Taste
4
erneut, um zur Stoppzeit
zurückzukehren.
˽ Drücken Sie die STAR
2
, um die Stoppuhr anzuhalten.
˽ Drücken Sie die RESET-Taste
4
, um die Stoppuhr auf 0 zu setzen.
˽ Drücken Sie die RESET-Taste
4
, um Ihre Eingabe zu
Die Minutenanzeige blinkt im Display.
˽ Drücken Sie die STAR
2
, um die Minuten einzustellen.
˽ Drücken Sie die RESET-Taste
4
, um Ihre Eingabe zu bestätigen.
˽ Drücken Sie die MODE-Taste
6
, um in den Zeitmodus zu ge-
langen.
©
Alarm ein- / ausschalten
˽ Schalten Sie den Alarm ein und aus, indem Sie im Zeitmodus
die START-T
2
und die RESET-Taste
4
drücken und halten.
Wenn der Alarm eingeschaltet ist, erscheint im Display das
Alarm-Symbol
7
.
˽ Wenn der Alarm ertönt, aktivieren Sie die Snooze-Funktion, in-
dem Sie die START-T
2
drücken. Nach 4 bis 5 Minuten er-
tönt der Alarm erneut. So lange Sie die START-T
2
drücken,
ertönt der Alarm erneut.
˽
4
, um den Alarm zu stoppen.
Wenn Sie keine T
te lang ertönen.
˽ Drücken Sie die RESET-Taste
4
, während sich die Uhr im Zeit-
modus befindet, um die eingestellte Alarmzeit anzuzeigen.
˽ Befindet sich die Uhr im Zeitmodus, drücken und halten Sie die
RESET-Taste
4
. Drücken Sie anschließend die STAR
2
,
um den Alarm auszuschalten. Das Alarmsymbol
7
erlischt.
©
Signalton aktivieren / deaktivieren
Hinweis:Zu jeder vollen Stunde ertönt ein kurzer Signalton.
˽ Drücken Sie so oft die MODE-Taste
6
, bis die Uhrzeitanzeige
3
TU = Dienstag
WE = Mittwoch
TH = Donnerstag
FR = Freitag
SA = Samstag
SU = Sonntag
6
, um in die Standardanzeige zu
gelangen.
©
Beleuchtung verwenden
˽ Drücken und halten Sie die LIGHT-Taste
8
, um das Licht einzu-
schalten.
˽ Lassen Sie die LIGHT-Taste
8
wieder los und das Licht erlischt
nach ungefähr 3 Sekunden.
©
Datum anzeigen
˽ Drücken Sie die STAR
2
, während sich die Uhr im Zeitmo-
dus befindet. Das Datum erscheint auf dem Display.
˽ Lassen Sie die START-T
2
los, um wieder in den Zeitmodus
zu gelangen.
©
Alarm einstellen
˽ Drücken Sie die MODE-Taste
6
zwei Mal, um in den Alarm-
Modus zu gelangen. Die Stundenanzeige der Alarmzeit blinkt
im Display.
˽ Drücken Sie die STAR
2
, um die Stunden einzustellen.
©
Bedienung
˽ Drücken Sie die MODE-Taste
6
, um den gewünschten Modus
einzustellen: Zeitmodus > Stoppuhr > Alarm > Zeiteinstellung >
Zeitmodus.
©
Uhrzeit und Datum einstellen
1. Drücken Sie die MODE-Taste
6
drei Mal. Die Sekundenanzei-
ge
5
sowie die Wochentagsanz
1
blinken im Display.
2.
2
, um die Sekundenanzeige
5
auf
0 zu setzen.
3.
4
, um Ihre Eingabe zu
Die Minutenanzeige blinkt im Display.
4. Drücken Sie die STAR
2
, um die Minuten einzustellen.
5. Drücken Sie die RESET-Taste
4
, um Ihre Eingabe zu
Die Stundenanzeige blinkt im Display.
6. Drücken Sie die STAR
2
, um die Stunden einzustellen.
Hin Achten Sie beim Einstellen der Stunden auf die Sym-
bole A, P und H
9
, die im Display erscheinen. A und P
(A = vormittags
Format. H steht für das 24-Stunden-Format. Drücken Sie die
START-T
2
, um den gewünschten Wert und das gewünsch-
te Format einzustellen. Drücken Sie die RESET-T
4
, um Ihre
Eingabe zu bestätigen.
7.
4
, um Ihre Eingabe zu b
Die Datumsanzeige blinkt im Display.
8. Drücken Sie die STAR
2
, um das Datum einzustellen.
9. Drücken Sie die RESET-Taste
4
, um Ihre Eingabe zu b
Die Monatsanzeige blinkt im Display.
10. Drücken Sie die ST
2
, um den Monat einzustellen
11. Wiederholen Sie die Schritte 8. und 9., um den W
1
einzustellen. Die Wochentage sind wie folgt abgekürzt:
½ Halten Sie die Batterie von Kindern fern, werfen Sie sie nicht ins
Feuer, schließen Sie sie nicht k
einander.
½ Bei Nichtbeachtung der Hinweise kann die Batterie über ihre End-
spannung hinaus entladen werden. Es besteht dann die Gefahr
des Auslaufens. Falls die Batterie in Ihrem Gerät ausgelaufen sein
sollte, lassen Sie diese sofort entnehmen, um Schäden am Gerät
vorzubeugen!
½ Vermeiden Sie den K
Bei Kontakt mit Batteriesäure spülen Sie die betroffene Stelle mit
reichlich Wasser ab und
©
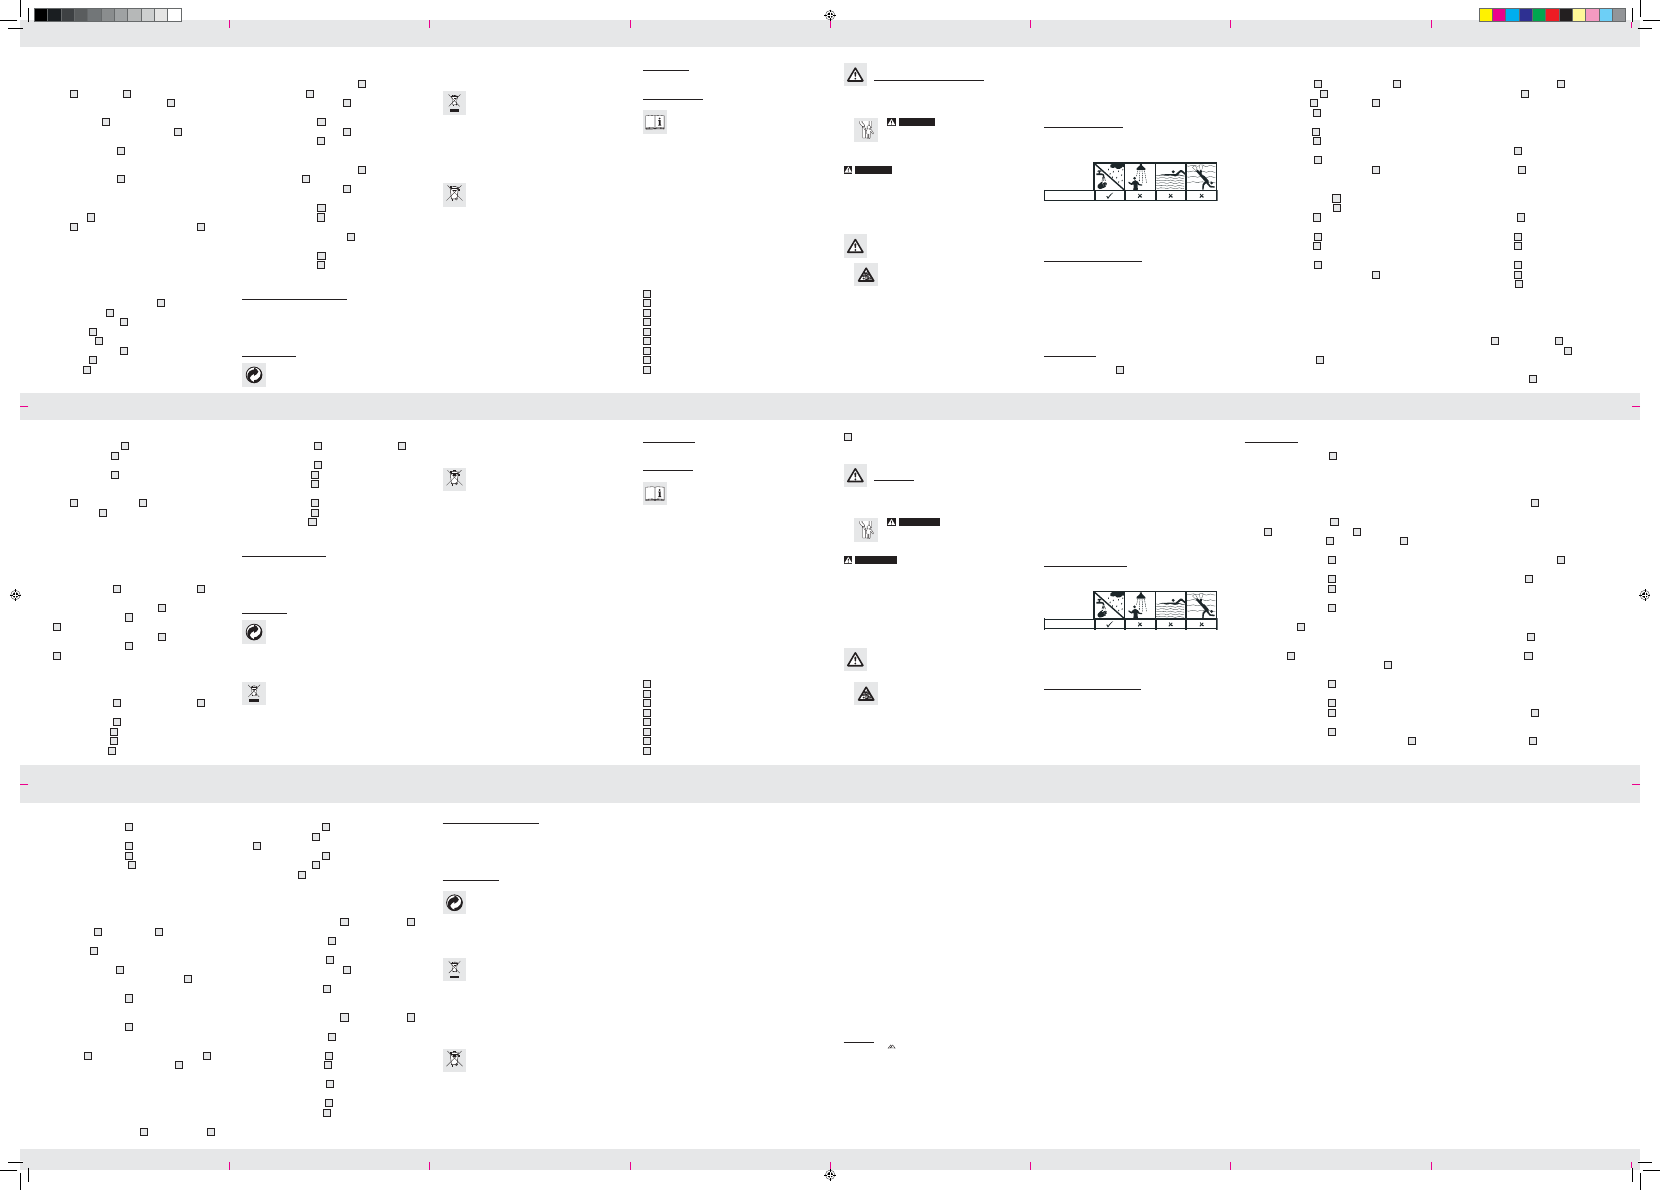
Wasserdichtigkeit
½ Diese Uhr ist wasserdicht bis 3 bar gemäß DIN 8310.
3 bar wasserresistent
½ Drücken Sie keine TBerührung
kommt.
©
Batterie auswechseln
½ Lassen Sie einen Batteriewechsel und Reparatur
Fachmann durchführen, um eine Beschädigung des Uhrwerks zu
vermeiden.
½ Entsorgen Sie gebrauchte Batterien umweltfreundlich.
½ Werfen Sie die Uhr nicht in den Hausmüll.
9
„A“ / „P“ / „H“-Anzeige
Sicherheit
BEWAHREN SIE ALLE SICHERHEITSHINWEISE UND
ANWEISUNGEN FÜR DIE ZUKUNFT AUF!
½
WARNUNG!
LEB
GEFA
Lassen Sie Kinder niemals unbeaufsichtigt mit dem
Verpack
WARNUNG!
LEBENSGEFAHR! Batterien können
Batterie verschluckt worden, muss sofort medizinische Hilfe in
Anspruch genommen werden.
½ Nehmen Sie das Gerät keinesfalls auseinander
gemäße Reparaturen können erhebliche Gefahr
nutzer entstehen. Lassen Sie Reparaturen nur von F
durchführen.
Sicherheitshinweise
zu Batterien
½ VORSICHT! EXPLOSIONSGEFAHR Laden
Sie Batterien niemals wieder auf!
½ Lassen Sie eine erschöpfte Batterie umgehend aus dem Gerät
entfernen. Es besteht erhöhte Auslaufgefahr!
½ Batterien gehören nicht in den Hausmüll!
½ Jeder Verbraucher ist gesetzlich verpflichtet, Batterien or
gemäß zu entsorgen!
Armbanduhr
©
Einleitung
Gerät vertraut. Lesen Sie hierzu aufmerksam die nachfol-
gende Bedienungsanleitung und die Sicherheitshinweise.
Benutzen Sie das Gerät nur wie beschrieben und für die angegebenen
Einsatzbereiche. Bewahren Sie diese Anleitung gut auf. Händigen Sie
alle Unterlagen bei Weitergabe des Ger
©
Bestimmungsgemäße Verwendung
Die Armbanduhr zeigt Zeit und Datum an und verfügt über eine Alarm-
und Stoppuhrfunktion. Andere Verwendungen oder Veränderungen
des Produkts gelten als nicht bestimmungsgemäß und können zu
Risiken wie Verletzungen und Beschädigungen führ
stimmungswidriger Verwendung entstandene Schäden übernimmt
der Hersteller keine Haftung. Das Produkt ist nicht für den gewerb-
lichen Einsatz bestimmt.
©
Teilebeschreibung
1
Wochentagsanzeige
2
START-T
3
Uhrzeitanzeige
4
RESET-Taste
5
Sekundenanzeige
6
MODE-Taste
7
Alarmsymbol
8
LIGHT-Taste
GB/MT
GB/MT GB/MT
Measuring an intermediate time
˽ Press the MODE button
6
repeatedly until the time field
3
appears in the display.
˽ Press the MODE button
6
once to enter the stopwatch mode.
˽ Press the START
2
to start the stopwatch.
˽ Press the RESET button
4
to display the intermediate time. The
stopwatch continues to run in the background.
˽ Press the RESET button
4
to return to the stopwatch time.
˽ Press the START
2
to stop the stopwatch.
˽ Press the RESET button
4
to set the stopwatch to 0.
©
Cleaning and care
˽ Clean the product with a dry, fluff-free cloth. A spectacles cloth
is ideal.
©
Disposal
materials,
which you may dispose of at local recycling facilities.
Contact your local refuse disposal authority for more details of how
to dispose of your worn-out product.
To help protect the envir
product properly when it has reached the end of its use-
ful life and not in the household waste. Information on
collection points and their opening hours can be
obtained from your local authority.
Faulty or used batteries must be recycled in accordance with Directive
2006 / 66 / EC. Please return the batteries and
available collection points.
Pb
incorrect disposal of the batteries!
Batteries may not be disposed of with the usual domestic waste.
They may contain toxic heavy metals and are subject to hazardous
waste treatment rules and regulations. The chemical symbols for
heavy metals are as follows: Cd = cadmium, Hg= mercury
That is why you should dispose of used batteries at a local collection
point.
to 5 minutes. The alarm will keep on sounding as many times as
you press the STAR
2
.
˽
4
to stop the alarm. The alarm will keep
on sounding for approx. 1 minute if you don’t press an
˽ Press the RESET button
4
when the watch is in time mode to
display the alarm time.
˽ If the watch is in time mode, press and keep pressed the RESET
button
4
. Press the START button
2
to switch off the alarm.
The alarm symbol
7
disappears.
©
Activating / deactivating
the acoustic signal
Note: An acoustic signal will sound ev
˽ Press the MODE button
6
repeatedly until the time field
3
appears in the display.
˽ Press and keep pressed the RESET button
4
and while doing
this, press the MODE button
6
. All the day of the week fields
1
appear. The audible signal function is activated.
˽ Press and keep pressed the RESET button
4
and while doing
this, press the MODE button
6
. All the day of the week fields
1
disappear. The audible signal function is deactivated.
©
Using the stopwatch
˽ Press the MODE button
6
repeatedly until the time field
3
appears in the display.
˽ Press the MODE button
6
once to enter the stopwatch mode.
˽ Press the START
2
to start the stopwatch.
˽ Press the START
2
again to stop the stopwatch.
˽ Press the RESET button
4
to set the stopwatch to 0.
©
Lighting the display
˽ Press and keep pressed the LIGHT button
8
to switch on the light.
˽ Release the LIGHT button
8
and the light will switch off after
approx. 3 seconds.
©
Displaying the date
˽ Press the START button
2
while the watch is in time mode. The
date appears on the display.
˽ Release the START button
2
to return to time mode.
©
Setting the alarm
˽ Press the MODE button
6
twice to enter the alarm mode. The
hour field of the alarm time flashes in the display.
˽ Press the START button
2
to set the desired hour value.
˽ Press the RESET button
4
to confirm your setting. The minute
field flashes in the display.
˽ Press the START button
2
to set the desired minute value.
˽ Press the RESET button
4
to confirm your setting.
˽ Press the MODE button
6
to enter the time mode.
©
Switching the alarm on /
˽ Switch the alarm on or off by pressing and keeping pressed the
START button
2
and the RESET button
4
while in time mode. If
the alarm is switched on, the alarm symbol
7
appears in the
display.
˽ When the alarm sounds, you can activate the Snooze function
by pressing the STAR
2
. The alarm sounds again after 4
©
Setting the time and date
1. Press the MODE button
6
three times. The second field
5
and
the day of the week field
1
flash in the display.
2.
2
to set the second field
5
to 0.
3.
4
to confirm your setting. The minute
field flashes in the display.
4. Press the START button
2
to set the desired minute value.
5. Press the RESET button
4
to confirm your setting. The hour field
flashes in the display.
6. Press the START button
2
to set the desired hour value.
No Pay attention to the symbols A, P and H
9
in the display
when setting the hour value. A and P (A = a.m.
used for the 12-hour time format. H is used for the 24-hour
format. Press the START button
2
to set the desired value and
format. Press the RESET button
4
to confirm your setting.
7.
4
to confirm your setting. The date field
flashes in the display.
8. Press the START button
2
to set the desired date value.
9. Press the RESET button
4
to confirm your setting. The month
field flashes in the display.
10. Press the ST
2
to set the desired month value.
11. Repeat steps 8 and 9 to set the day of the w
1
field. The
names of the days of the week are shortened as follows:
TU = Tuesday
WE = Wednesday
TH = Thursday
FR = Friday
SA = Saturday
SU = Sunday
6
to enter the default display.
diately to prevent damage to the instrument.
½ Avoid contact with skin, eyes and mucous membr
event of contact with battery acid, rinse the affected area with
plenty of water and
©
Water resistance
½ This watch is water-resistant up to 3 bar in accordance with
DIN 8310.
3 bar water resistant
½ Do not press any buttons if the watch comes into contact with
water.
©
Replacing the battery
½ Have any repairs or battery replacements carried out by a suita-
bly experienced specialist in order to avoid damaging the in-
sides of the watch.
½ Dispose of used batteries in an environmentally compatible man-
ner.
½ Do not dispose of the watch with the household rubbish.
©
Operation
˽ Press the MODE button
6
to set the desired mode: Time mode
> Stop watch > Alarm > Setting the time > Time mode.
General Safety Instructions
KEEP ALL THE SAFETY ADVICE AND INSTRUCTIONS IN A SAFE
PLACE FOR FUTURE REFERENCE!
½
WARNING!
DANGE
RIS
CHILDRNever leave children unattended
kaging mater ial. Packaging material can cause
suffocation.
WARNING!
DANGER TBatteries can be swallo
swallows a battery.
½ Never take the product apart on any account. Im pr
could cause considerable danger for the user. Only let qualified
people carry out any repairs.
Battery Safet
½ CAUTION! RISK OFNever
recharge the batteries.
½ Have a spent battery removed from the instrument immediately
There is an increased risk of leakage.
½ Batteries must not be disposed of in household waste.
½ Consumers are under a legal obligation to dispose of batteries in
the proper way
½ Keep the battery out of the reach of children, do not dispose of
the battery in fire, do not short-circuit it, and do not take it apart.
½ Failure to observe these instructions may result in the battery dis-
charging beyond its end voltage, which poses a risk of leakage. If
the battery in your instrument has leaked, have it removed imme-
Wristwatch
©
Introduction
the first time. In addition please refer carefully to the
operating instructions below and the safety advice. Use
the product only as described and for the
indicated purpose. Keep
these instructions in a safe place. If you pass the product
on to anyone
else, please ensure that you also pass on all the documentation.
©
Proper use
The wrist watch displays the time and date. It also has an alarm and
can be used as a stopwatch. Other uses or modification
of the product
shall be considered as improper use and may lead to injury
or damage.
The manufacturer will not accept liability for loss or damage ar ising
from improper use. The product is not intended for commercial use.
©
Description of parts
1
Day of the week display field
2
START button
3
Time field
4
RESET button
5
Second field
6
MODE button
7
Alarm symbol
8
LIGHT button
9
“A
PT
©
Utilizar o cronómetro
˽ Pressione repetidamente o botão MODE
6
até aparecer a
indicação das horas
3
no visor.
˽ Pressione uma vez o botão MODE
6
para aceder ao modo
de cronómetro.
˽ Pressione o botão START
2
para iniciar o cronómetro.
˽ Pressione novamente o botão ST
2
para parar o cronómetro.
˽ Pressione o botão RESET
4
para repor o cronómetro a 0.
Medir o tempo
˽ Pressione repetidamente o botão MODE
6
até aparecer a in-
dicação das horas
3
no visor.
˽ Pressione uma vez o botão MODE
6
para aceder ao modo
de cronómetro.
˽ Pressione o botão START
2
para iniciar o cronómetro.
˽ Pressione o botão RESET
4
para visualizar o tempo intermé-
dio. O cronómetro continua a funcionar em segundo plano.
˽
4
para voltar às horas de
paragem do cronómetro.
˽ Pressione o botão START
2
para parar o cronómetro.
˽ Pressione o botão RESET
4
para repor o cronómetro a 0.
©
Limpeza e conservação
˽
pano dos óculos é o ideal.
©
Eliminação
dem ser eliminados nos contentores de reciclagem locais.
As possibilidades de reciclagem dos artigos utilizados poderão ser
averiguadas no seu Município ou Câmara Municipal.
No interesse da protecção do ambiente, não deite fora
este produto juntamente com o lixo doméstico; entregue-
-o num ponto de recolha adequado. Pode informar-se no
seu município sobre os locais de recolha adequados e o
seu período de funcionamento.
As pilhas avariadas ou gastas têm de ser recicladas de acordo com a
directiva 2006/66/EC. Entregue as pilhas e/ou o aparelho nos
locais específicos destinados à sua recolha.
Pb
eliminação incorrecta das pilhas!
As pilhas não podem ser eliminadas no lixo doméstico. Podem con-
ter metais pesados tóxicos e são consideradas resíduos perigosos.
Os símbolos químicos dos metais pesados são os seguintes:
Cd = cádmio, Hg = mercúrio, Pb = chumbo. Como tal, deposite as
pilhas utilizadas num ponto de recolha adequado do seu município.
©
Ligar/desligar o alarme
˽ Ligue e desligue o alarme, no modo das horas, mantendo o botão
START
2
e o botão RESET
4
pressionados. Quando o alarme
estiver ligado, aparece o símbolo do alarme
7
no visor.
˽ Quando o alarme toca, activa a função “Snooze“ ao pressio-
nar o botão START
2
. O alarme volta a tocar após 4 a 5
minutos. Sempre que pressionar o botão STAR
2
, o alarme
volta a tocar.
˽ Pressione o botão RESET
4
para desactivar o alarme. Se não
carregar em nenhum botão, o alarme tocará durante aproxima-
damente 1 minuto.
˽ Pressione o botão RESET
4
enquanto o relógio se encontra no
modo das horas, de forma a visualizar a hora do alarme intro-
duzida.
˽ Enquanto o relógio se encontra no modo de horas, mantenha o
botão RESET
4
pressionado, Pressione em seguida o botão
START
2
para desligar o alarme. O símbolo do alarme
7
apaga.
©
Activar/desactivar o sinal sonoro
Nota: De hora a hora toca um sinal sonoro br
˽ Pressione repetidamente o botão MODE
6
até aparecer a
indicação das horas
3
no visor.
˽ Mantenha o botão RESET
4
pressionado e, em simultâneo, o
botão MODE
6
. Acendem todos os dias do indicador dos
dias da semana
1
. O sinal sonoro está activado.
˽ Mantenha o botão RESET
4
pressionado e, em simultâneo, o
botão MODE
6
. Apagam-se os indicadores de todos os dias
da semana
1
. O sinal sonoro está desactivado.
© by ORFG
IAN 8CChk
Mil
c/o Milomex Services
Hilltop Cottage
Barton Road
Pulloxhill
Bedfordshire
MK45 5HP
UK
56449_aur_Armbanduhr_Content_LB5.indd 2 02.09.10 17:50
Model no.: Z30483A/ Z30483B/
Z30483C/ Z30483D
Version: 10/2011