Section 3: Main Display Area
The main color display presents information about
various sections of the console. It can be switched to
di erent screens using the console’s View buttons,
as well as any of the 8 buttons on the right side of
the display.
The top section of the main display permanently
covers useful status information. The top left corner
shows the selected channel number, its nickname
and the selected icon. The next block shows the
current scene number and name in amber, as well
as the next upcoming scene. The center section
displays the playback le name along with elapsed
and remaining time and a recorder status icon.
Thenext block to the right has 4 segments to show
the status of AES50 ports A and B, the Card slot and
the audio clock synchronization source and sample
rate (topright). Small green square indicators show
proper connectivity. The right most block shows the
console time that can be set under Setup/Con g.
When working with any given screen, press the
Page keys located on the display bezel to switch to
di erent screen pages.
Editing parameters or settings on each of the screens
is done using the 6 associated push-encoders along
the bottom edge of the display.
• • Whenever there is a continuous control or list entry,
you can turn the corresponding knob forediting,
which is indicated by various circularicons
• • When there is a switch or toggle function
on one of these knobs, you will see a broad
rectangular button along the lower edge of the
eld. Pressing the encoder changes the on/o
state of the corresponding function. When the
rectangular button in the display is dark grey,
thecorresponding function is o /inactive; whenit
is amber, the function is on/active
Monitoring and Talkback
There are two separate Level controls in this section,
one for the headphone outputs located on either
side of the console, and a second one for the monitor
outputs located on the rear panel.
Press the section’s View button to edit various
monitoring preferences, such as the input source
forthe phones bus and the monitor outputs.
This section also contains independent Talkback
buttons (A and B). Press the View button to edit the
Talkback preferences for the Talkback A path and
Talkback B path separately. This screen also contains
settings for the optional goose-neck lamp and the
console’s internal test-tone generator.
Section 4: Group/Bus Channel Banks
This section of the console o ers eight channel
strips, divided into the following layers:
• • Eight DCA (digitally controlled ampli er) groups
• • Mix Bus masters 1-8
• • Mix Bus masters 9-16
• • Matrix Outputs 1-6, and the main center bus
Section 5: Various Assignments (DCA groups,
mute groups, custom assignable controls)
• • Assigning DCA Groups
Thanks to the two distinct fader groups (inputs on
the left, outputs on the right), the task of assigning
channels or buses to a virtual DCA Group is a breeze
on the X32. Simply hold the respective DCA Group
Select button on the right-hand side of the console,
whilepressing the select buttons for all the input
channels that you wish to assign to said DCA Group.
You can also press the DCA Group Select button in
order to check which channels are already assigned to
it. Theassigned channel Select buttons will light up.
• • Assigning Mute Groups
The mute group assignment process is similar to the
above, but is designed with an additional precaution
in order to prevent accidental muting of channels
during a show. To assign input/output channels
to one of the six mute groups (controlled by the
buttons located to the right of the Main LR fader)
you need to rst switch on the Mute Grp button
next to the main display. While holding the desired
Mute Group button, select the desired input and
output channels, which will now be assigned to the
Mute Group. When you are done with assignment,
switcho Mute Grp at the display, andthe 6 Mute
Group buttons will work asintended.
• • Custom Assignable Controls:
The Assign section of the console o ers three
banks: A, B, and C. Each set of controls o ers
4rotary controls and 8 switches/buttons,
allowingfor freely customizable access to
36random functions on the X32.
To make a custom assignment:
• • Press the View button in the Assign section to
edit the assignments
• • Select the set of controls you wish to edit
(A, B or C)
• • Select the control 1-12 you wish to assign
• • Select the parameter you wish to control and
assign the function
Usually this is used to control a speci c channel’s
parameter, like the lead vocalist’s reverb send level.
The Jump-to-Page control is a special target type
that does not alter any audio parameter, but rather
brings you directly to any speci ed display page.
Buttons that had been used for Jump-to-Page
previously can easily be reassigned to the current
display view by holding the respective set button
(A, B or C) depressed while pushing the desired
assignable button. This method is more convenient
than reassigning the jump function through the
Assign menu.
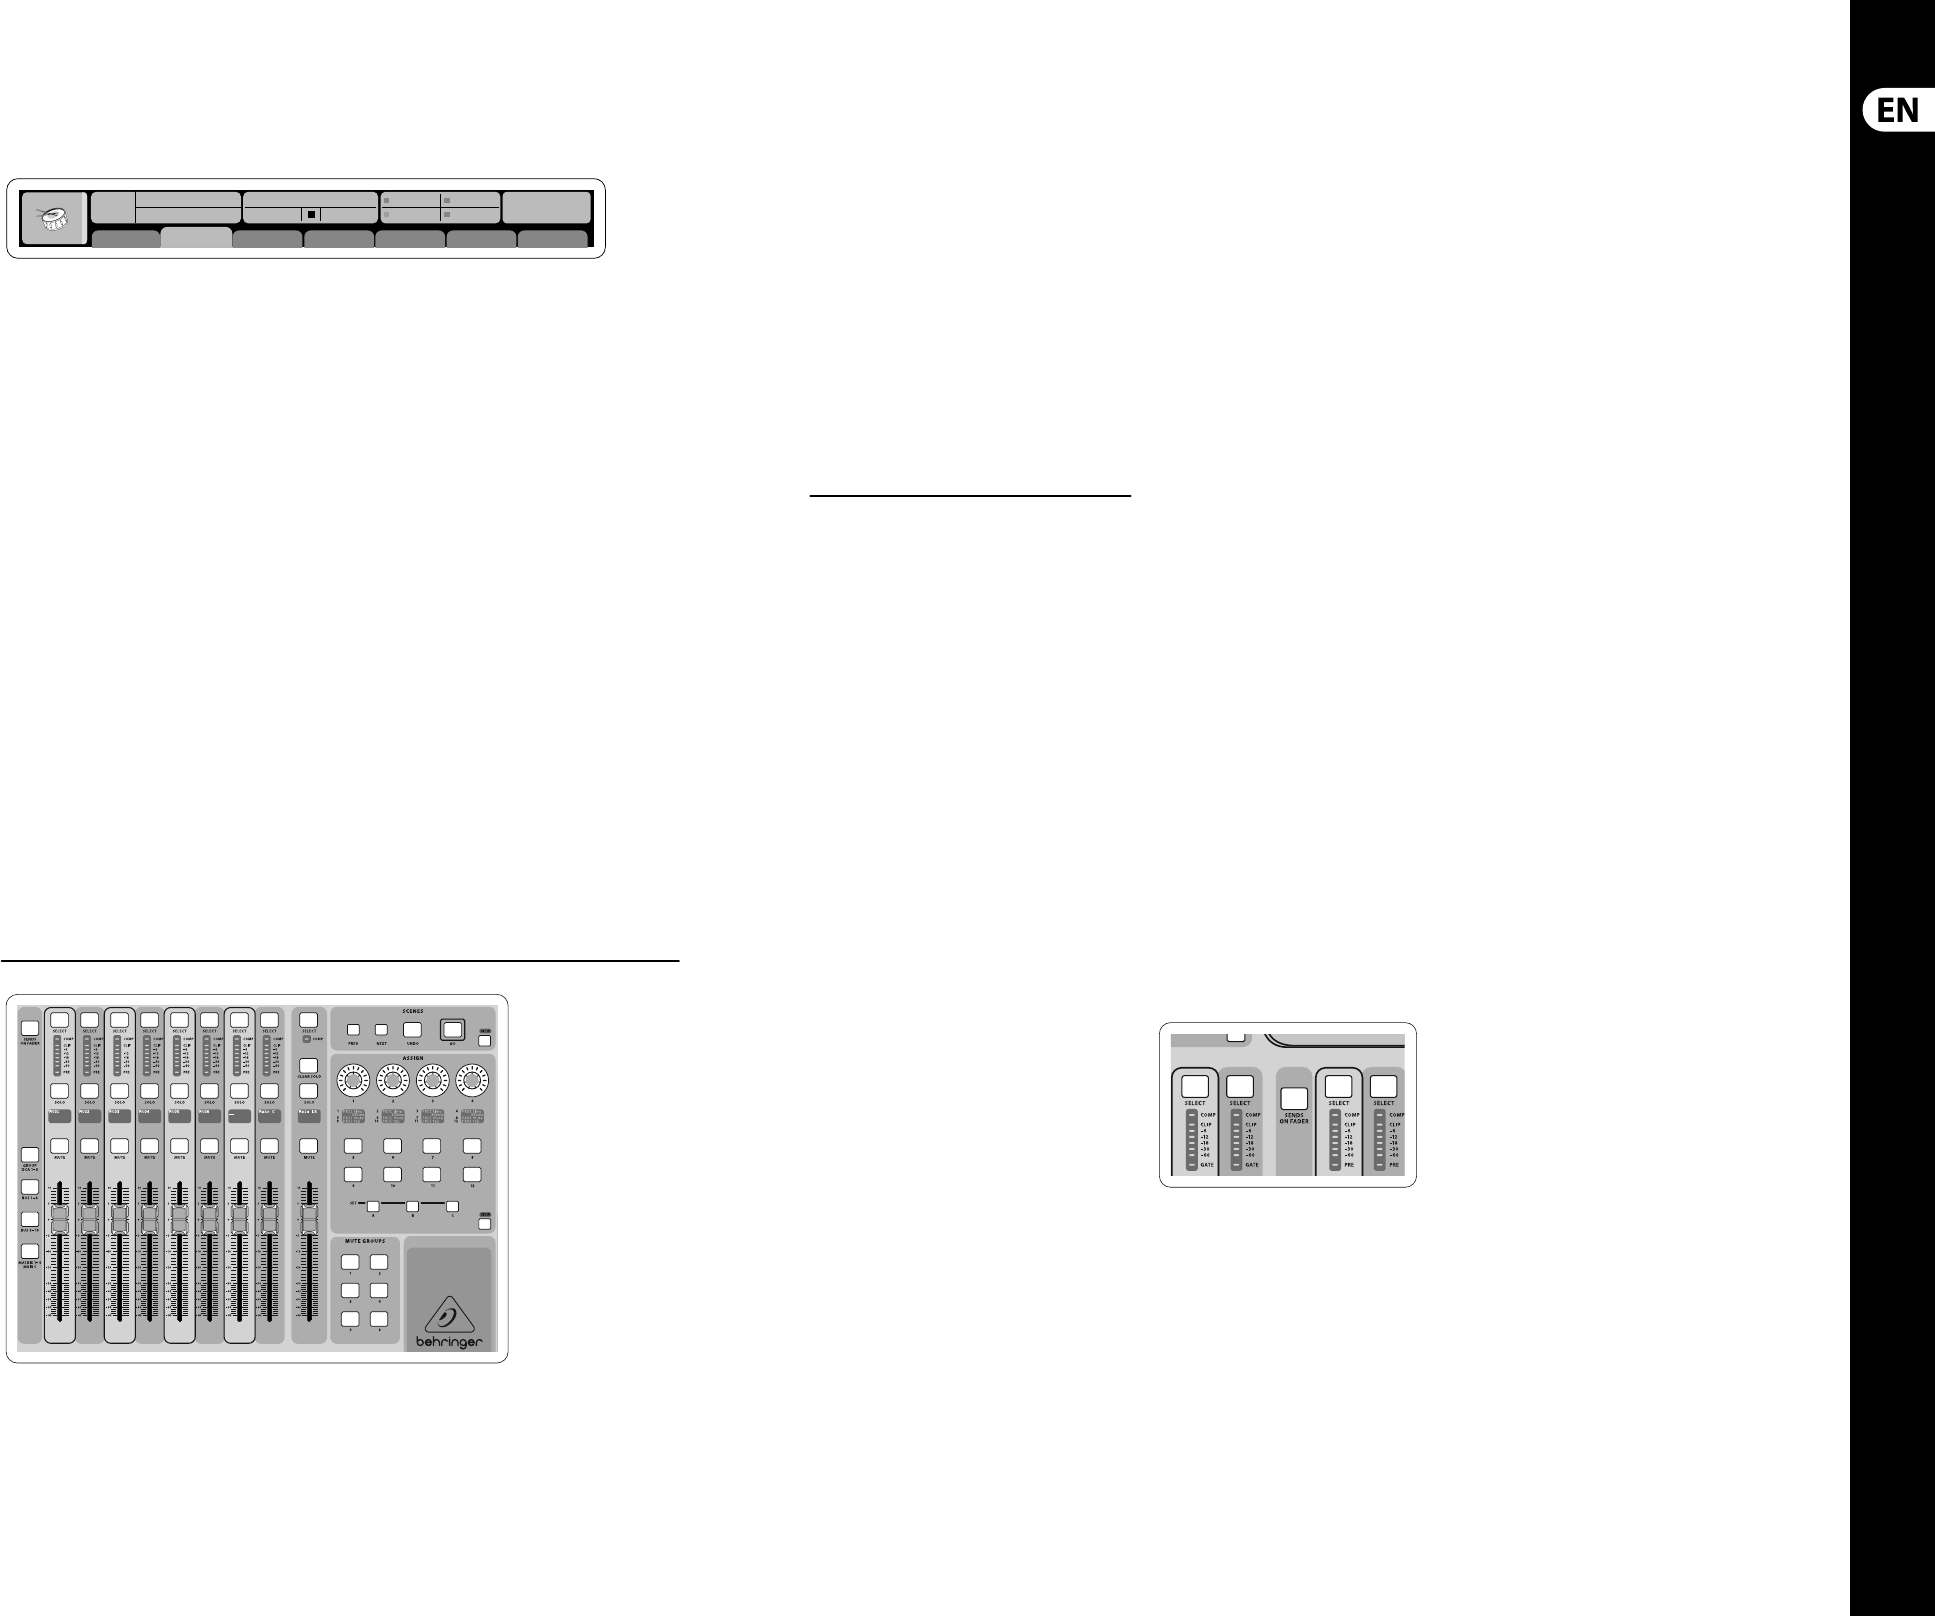
The “Sends on Faders” Function
The X32 console features a very useful function
thatcan be accessed by pressing the dedicated
Sends on Faders button, located between the
twofader sections.
The Sends on Faders function aids with level
setting of channels sent to any of the 16 Mix Buses.
Itis only for channels assigned to Mix Buses 1-16,
anddoes NOT work for DCA groups, main or matrix
buses. The Sends on Faders function works in
two convenient ways to cover the most obvious
situations in a live sound environment :
When preparing a monitor mix for a
speci cmusician
• • Select the monitor bus (1-8, 9-16) that feeds the
talent’s stage monitor
• • Press the Sends on Faders button;
itwillilluminate
• • Select one of the three input channel layers
(CH1-16, CH 17-32, Line-Aux/FX Ret)
• • As long as the Sends on Faders is active, allfaders
in the input channels section (locatedon the left
side of the console) correspond to the send levels
to the selected (monitor) mix bus
When checking/editing where a selected
input signal is (to be) sent to
• • Select the input channel in the left section
• • Press the Sends on Faders button;
itwillilluminate
• • Select either bus channel layer 1-8 or 9-16
• • The bus faders (located on right side of the
console) now represent the send levels from the
selected input channel (located on the left side
of the console)
The option to use Sends on Faders in both ways,
selecting an input or an output channel, is a special
feature of the X32.
Note - holding the Sends on Faders button for
more than 1 second will engage the function and
cause the button to remain constantly lit rather
than blinking.