1
2
5
6
98
7
3
4
8. Troubleshooting
Fault:
- Faulty or no display
- Buttons do not react
Remedy:
- Check or replace battery
Fault:
- Instantaneous speed is not displayed
- Speed too high or too low
Remedy:
- Check for correct fitting of transmitter and magnet.
- check whether magnet is fitted correctly on the spoke
(directly facing the mark on the transmitter, at a max. distance of 3 mm)
- transmitter battery flat or transmitter defective
- Check distance from handlebar bracket to transmitter (max. 60 cm)
- check wheel circumference setting
- Check unit of measurement
Fault:
- Heart rate is not displayed or displayed heart rate incorrect or fluctuating
Remedy:
- Check transmitter belt (battery)
- Skin too dry / too cold
- Distance between CM 423i and transmitter belt too great (max. 70 cm)
- Malfunction due to other high voltage pylons, other heart rate monitors,
mobile phones, etc. After leaving the area of malfunction, speed will be
displayed as usual.
9. Technical data
CM 423i
Ambient temperature:
0°C to 50°C
Battery:
CR2032 Lithium
Average battery life
1 year (if used for an average 1h/day)
Transmitter belt (heart rate transmitter)
Range:
up to 70 cm
Ambient tempera
ture:
0°C to 50°C
Battery:
CR2032 Lithium
Average battery life
1 year (if used for an average 1h/day)
Transmission frequency:
130 kHz digital
Speed transmitter
Range:
up to 60 cm
Ambient temperature:
0°C to 50°C
Transmission frequency:
130 kHz digital
A
verage ba
ttery life
1 year (if used for an average 1h/day)
10. Guarantee
We offer a guarantee of 24 months on the CM 423i. The guarantee is limited to
material and manufacturing defects. The batteries are excluded from the
guarantee.
The guarantee is valid only if the computer, with accessories, has been handled
and maintained carefully and according to operating instructions.
To return the 423i under conditions/terms of the guarantee, please refer to your
dealer or local distributor, or send the computer with proof of purchase (date)
and all accessories, and with sufficient postage, to:
CICLO SPORT Service
K.W. Hochschorner GmbH
Konrad-Zuse-Bogen 8
D-82152 Krailling
Telephone: 0180 /5 00 47 43 (12 ct./min from landlines)
Fax: 089 / 714 07 83
E-Mail: ciclo-service@ciclosport.de
Please read through the operating manual again carefully before sending in the
device and check the battery. In case of valid guarantee claims, the repaired
device or a replacement device will be returned free of charge.
Repair
If the device is sent in for repair (or battery changes) or if a guarantee claim is
not valid, repairs up to EUR 19 will be carried out automatically.
In case of higher repair costs, you will be notified.
The repaired device will be sent back COD.
9. Guarantee certificate:
Sender:
Name
First name
Street, no.
Postcode/Town
Telephone (daytime)
Fax
e-mail
Reason for sending in:
After expiry of the guarantee period:
Repairs should be carried out up to an amount of
___ euro.
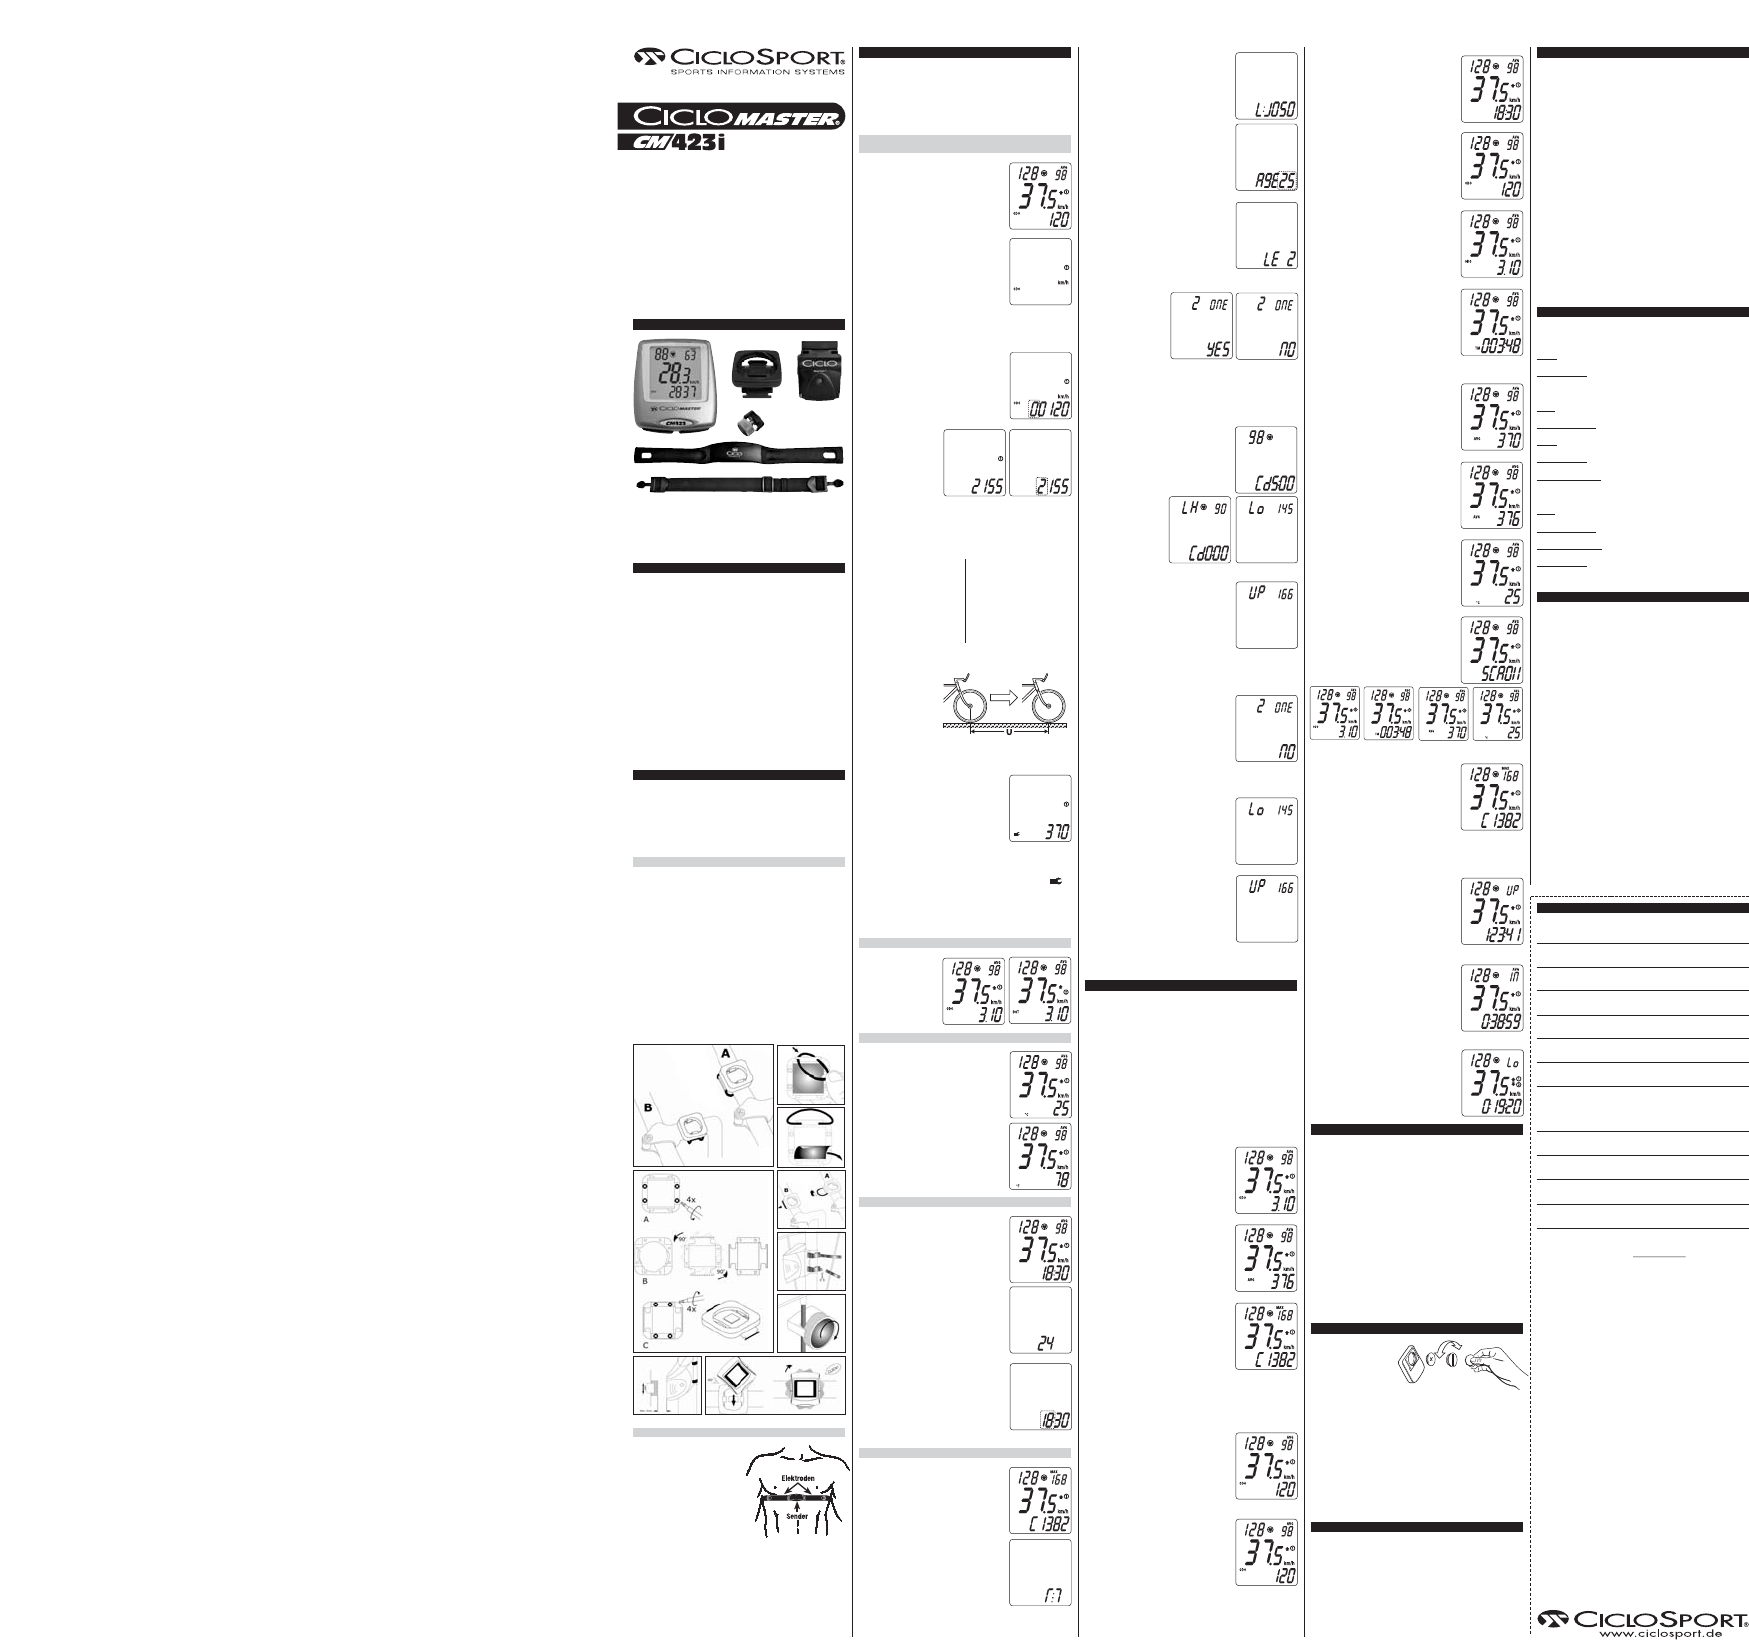
1 - CICLOMASTER CM 423i
2 - Handlebar bracket (with O-rings for mounting)
3 - Transmitter (with cable tie for mounting)
4 - Spoke magnet
5 - Transmitter belt (heart rate transmitter)
6 - Elastic chest belt (adjustable)
1. General
The CM 423i switches to standby mode if no wheel or heart rate pulse is
received for 15 minutes. Then the display only shows the time. If any button or a
signal is received from the built-in movement sensor (reacts when the device
moves, e.g. by use of the handlebar mounting or if the wheel moves) the CM
423i switches into normal operating mode (this also activates the speed and
heart rate receiver).
Caution: Basically, anyone who begins fitness training should undergo a health
check, but this applies particularly to beginners and persons starting again, who
are over 35 years old and have known previous illnesses or physical complaints.
In particular, if there are also risk factors present, for example smoking, high
blood pressure, increased blood fat level, diabetes, sedentary lifestyle and an
overweight condition, it is absolutely necessary that a doctor be consulted.
Wearers of a heart pacemaker should only use heart rate monitoring
devices with their doctor’s agreement!
Heart rate monitoring is only possible if the chest belt with the transmitter is
worn correctly (see Chap. 2.2) and the CM 423i is within the range of the
transmitter (max. distance 70cm).
The heart rate can also be measured if the CM 423i is not mounted on the
wheel.
2. Preparation
Inserting the battery:
Insert battery type CR2032 with the positive terminal facing up. Close battery
cap with a coin. After inserting the battery, the display will show all segments
briefly, then display shows “km/h” with a flashing value (to set the unit of
measurement, see Chap. 3.1 below).
If no symbols at all or meaningless symbols appear on the display, remove the
battery and re-insert it.
2.1 Mounting of handlebar bracket and transmitter
The handlebar bracket can be mounted on the handlebar or stem (see pictures).
Picture 1: Mounting is possible on the handlebar bracket (Position A) or on the
stem (Position B).
Picture 2: Change bracket mounting orientation from Position A to Position B.
Picture 3: Fasten one side of the bracket
Picture 4: Remove the protective tape
Picture 5: Stretch the rubber ring under the handlebar and fasten it to the other
side of the bracket.
Picture 6: Secure the sensor on the fork by tightening the cable ties and cut off
the loose ends (max. distance between transmitter and handlebar bracket is 60
cm.; preferably mount on the right-hand side, handlebar bracket and transmitter
should be on the same side)
Picture 7: Fix the magnet on a spoke so that it will face the sensor.
Picture 8: Adjust the magnetic position and fine-tune the sensor if necessary
(Max. distance 5 mm)
Picture 9: Rotate the CM 423i a quarter-turn to the left and install it into the
bracketThen rotate it a quarter-turn to the right to lock it. To unlock it CM 423i,
rotate a quarter-turn to the right and remove from the handlebar bracket.
2.2 Wearing the transmitter belt
The transmitter belt is inserted in the
elastic chest belt and worn around the
upper part of the body. The transmitter
(plastic part with writing) should be
positioned over the middle of the
stomach at the base of the breastbone
and the writing on the transmitter must
be legible (when seen from the front) (see
picture). The electrodes built into the left
and right side of the transmitter in the
belt must be in contact with the skin.
Tighten the belt so that permanent contact is guaranteed during movement, and
the belt cannot slip.
If the CM 423i does not display any heart rate, this may be due to a lack of
contact between the skin and the electrodes. It often helps if the electrodes and
the underlying skin are moistened. The best contact is obtained with an
electrode gel (available from pharmacies).
Congratulations on your purchase!
With the CICLOMASTER CM 423i you have acquired a
wireless electronic bike computer with the highest level of
precision heart rate measurement. It has state-of-the-art
electronics, is waterproof and is designed to give you many
years of service.
A new feature of the CICLOMASTER CM 423i is that the
CICLO
IInnZone
®
, which uses personal data about the
user and their fitness on that day to calculate the ideal heart
rate range for optimal training (see also Chap. 5).
Please read this operating manual carefully before use.
OPERATING MANUAL
Package contents
1
3. Basic settings
The following applies for all settings:
The right button changes the flashing value, and brief pressure on the left
button stores this value and changes to the next value to be set flashes or the
next display appears.
If the CM 423i is to be used with 2 bikes, a number of settings for each bike
must be input separately. Once when ➀ is shown on the display and once when
➁ appears.
3.1 Setting the unit of measurement, total distance, wheel
circumference and the service interval
Press the right-hand button briefly a number of times
until the following display (ODO) appears:
By pressing the right-hand button for 3 sec., the
following display appears:
Unit of measurement kilometres or miles
Switch using the right-hand button (continue with left button). This chooses
whether distances are displayed in kilometres or miles.
Set total distance
Set using right and left buttons
(continue with left button).
Default value = 0 km or current value
Input range max = 99999 km or mi.
The total distance ridden so far can be entered here.
Wheel circumference 1 or 2
Pressing the right-hand
button briefly displays the first
figure. Set using the right-
hand button (continue with
left button). Default value =
2155 mm (Bike 1) or 2000
mm (Bike 2), or previous set
value Input range min. = 0
mm Input range max. = 3999
mm
The wheel circumference can be read off the following table or be
measured yourself.
Tyre size Circumference Size Circumference
40-559 26 x 1.5 2026 mm 47-622 28 x 1.75 2268 mm
44-559 26 x 1.6 2051 mm 40-635 28 x 1 1/2 2265 mm
47-559 26 x 1.75 2070 mm 37-622 28 x 1 3/8 2205 mm
50-559 26 x 1.9 2026 mm 20-622 700 x 20C 2114 mm
54-559 26 x 2.00 2089 mm 23-622 700 x 23C 2133 mm
57-559 26 x 2125 2114 mm 25-622 700 x 25C 2146 mm
37-590 26 x 1 3/8 2105 mm 28-622 700 x 28C 2149 mm
32-620 27 x 1 1/4 2199 mm 32-622 700 x 32C 2174 mm
40-622 28 x 1.5 2224 mm
Measurement of the wheel circumference (U)
(for more precise adjustment)
Make a mark on the front
tyre and on the floor (e.g.
with chalk). Move the bike
straight ahead by exactly one
tyre rotation (for a more
precise measurement ensure
the pressure are correct and
sit on the bike), and mark the
position on the floor. Now
measure the distance exactly between the two marks on the floor to give you
the exact wheel circumferences (in mm).
Set service interval 1 or 2
Press briefly on the left button to confirm the displayed
value, or to change the value, press the right-hand
button briefly, and the first digit will start flashing.
Set using right and left buttons
(continue with left button).
Default value = 600 km or enter the residual value
until the next service.
Input range = 200 899 km or m
The service interval can be entered here, e.g. after how many kilometres the
brakes should be adjusted or similar. The service interval counts backwards
from the value entered. If it has reached zero, the service symbol ’ ’
appears on the display.
Then a new service interval can be entered. The service symbol then disappears
from the display.
If the CM 423i is to be used on two bikes, these two settings must be input
again for the second bike.
3.2 Switching to the second bike’s wheel circumference
To switch to the second bike
(and back again), press the
right-hand button for 5 Se-
conds while in the DST
display, and on the right of
the display, near the speed,
the symbol ➀ bzw. ➁ will
appear.
3.3 Selecting the temperature unit
Press the right-hand button briefly a number of times
until the following display (Temperature) appears:
By pressing for 3 seconds on the right-hand key, you
can set the measurement unit for the temperature
from degrees Celsius (°C on the display) to degrees
Fahrenheit (°F on the display) and back again.
3.4 Adjusting the time
Press the right-hand button briefly a number of times
until the following display (time) appears:
By pressing the right-hand button for 3 sec.,
the following display appears:
Time format: 24-hour or 12-hour
(AM/ PM)
Switch using the right-hand button
(continue with left button).
Set time
Set using right and left buttons
(continue with left button).
Input range = 00:00 23:59 or 0:00 12:59
Here, the current time is displayed.
3.5 Inzone
Press the right-hand button briefly a number of times
until the following display (C) appears:
By pressing the right-hand button for 3 sec.,
the following display appears:
Gender
Switch using the right-hand button (continue with left button).
This is where you set the gender (M = male, F = female)
Weight
Set using the right-hand button
(continue with left button). Input range 40 to 140 kg
This is where you set the weight of the user.
Age
Set using the right-hand button
(continue with left button). Input range 12 to 70 This is
where you set the age of the user.
Fitness level
Set using right and left buttons
(continue with left button). This is where you set the
fitness level of the user. Input range 1-4, which means:
1 unfit
2 moderately fit
3 fit
4 Top Form
Calculate
CICLO
IInnZone
®
(ZONE YES)
(By pressing briefly on the
right-hand button, ‘NO’
appears on the display. By
pressing briefly on the left
button, the automatic
calculation of the heart rate -
limits can be viewed, and the
heart rate limits can be
adjusted manually. The adjustable display shows the lower heart rate limit
continue with function ‘set heart rate limits manually’, see chapter below).
For the automatic calculation of the
CICLO
II nnZone
®
, put on the
transmitter belt, adopt a rest position (e.g. sitting relaxed) and start the
calculation by pressing briefly on the left button.
On the display of the CM 423i a countdown starts
from 5 minutes. During this time, remain seated and
relax quietly, so that the lowest heart rate is measured
for use in calculating the heart rate limits. In the upper
display, the lowest value measured so far is displayed.
At the end of the countdown, the lowest heart rate
measured is shown in the upper display. By pressing
briefly on the left button, the
lower value (heart rate lower
limit) of the calculated
CICLO
II nn Zone
®
is
displayed.
Now, by pressing on the right-hand button, the upper
limit (heart rate upper limit) of the calculated IN-
ZONE
®
is displayed.
Press the left button again, to restore the CM 423i to normal operating mode.
Set heart rate manually.
In set mode, while ‘ZONE YES’ is displayed, press
briefly on the right-hand button to switch to ‘NO’.
If you press briefly on the left button, the heart rate lower limit appears.
Heart rate lower limit (Lo)
Switch using the right-hand button (continue with left
button).
Input range 30 to 179
Here, the desired heart rate lower limit can be set.
Heart rate upper limit (UP)
Set using the right-hand button
(continue with left button).
Input range 100 to 240
Here, the desired heart rate upper limit can be set.
The display now shows the lower limit again (by
pressing briefly on the right-hand button, the upper
limit set appears), and by pressing the left button
briefly, the I CM 423i switches back to normal operating mode.
Now all settings are finished.
4. Functions
The individual functions can each be called up in sequence by pressing briefly
on the right-hand button (forwards) or the left button (backwards).
In operating mode, during all functions the instantaneous speed appears in the
middle of the display and the upper display shows the current heart rate on the
left, and the average (AVG) heart rate on the right (except in time / MAX HR)
mode.
All functions (except time and heart rate display) have an automatic start/stop (if
the CM 423i is on the handlebar bracket), i.e. measurement starts shortly after
the first registered revolution of the wheel (or pedal), and ends a few seconds
after the last wheel (or pedal) revolution. Heart rate is only displayed when the
chest belt is worn.
The values displayed for distance, riding time and
average speed can be reset to zero by pressing for 3
seconds on the left button in DST mode.
The maximum speed can be reset to zero by pressing
for 3 seconds on the left button in MAX (Speed) mode.
The maximum and average heart rate, calories and
target zone display (times below, within and above the
limits) can be reset to zero by pressing for 3 seconds
on the left button in C (Calories) mode.
The total values can be deleted by removing the batteries - which also deletes
all settings.
The individual functions and their meaning is explained below.
Current speed (SPD)
Displays the current speed in km/h (or m/h = miles per
hour) and is always shown in the middle part of the
display. The arrows (on the right of the display) show
whether the rider is faster ▲) or slower (▼) than the
instantaneous average speed. If both arrows are
displayed, then the rider is riding within the
instantaneous average speed. Value range: 0 199.9
km/h or m/h
Heart rate / average heart rate (AVG)
Shows the current heart rate on the left of the upper
display. At the same time, the average heart rate is
shown on the far right in some modes.
Value range: 30 - 240 beats per minute.
If the rider is above or below the heart rate limits
(calculated by
C
ICLO
IInnZone
®
or set manually)
an up arrow appears (if the limit has been exceeded) or
a down arrow appears (if the rider is below the lower
limit) on the right-hand side of the upper display beside
the current heart rate.
Time
Displays the current time.
Value range: 00:00 23:59 or 00:00 to 12:59
Total distance (ODO)
Shows the total kilometres ridden so far.
Value range: 0 99999 km or m (= miles)
Day distance (DST)
Shows the kilometres ridden so far.
Value range: 0 999.99 km or m
The values displayed for daily distance, riding time and
average speed can be reset to zero by pressing for 3
seconds on the left button in DST mode.
Riding time (TM)
Shows the time ridden so far (without rest periods, i.e.
if there is no wheel rotation, this time is not counted).
Measurement starts with the first and stops a few
seconds after the last wheel movement.
Value range: 0 9:59:59 h
Note: When the maximum values are reached for the
functions daily kilometres, total kilometres or daily
riding time, the value is reset to zero.
Average speed (AVG)
Displays the average speed.
Value range: 0 199.9 km/h or m/h
Maximum speed (MAX)
Shows the total kilometres ridden so far.
Value range: 0 199.9 km/h or m/h
The maximum speed can be reset to zero by pressing
for 3 seconds on the left button in MAX mode.
Temperature (°C)
Displays the current time.
Value range:
-10 °C to +60 °C or 14 °F to 140 °F
SCROLL
The following details are displayed in succession, at 2-
second intervals:
- DST (Daily kilometres)
- TM (Riding time)
- AVG (Average speed)
- Temperature
Calorie display (C) / maximum heart rate (MAX)
Shows the calories burned so far, at the same time, in
the top right corner, the display shows the maximum
heart rate.
Value range: 0 9999 KCal
Value range maximum heart rate:
30 - 240 beats per minute.
The maximum and average heart rate, calories and the
times within and outside the set heart rate limits can
be reset to zero by pressing for 3 seconds on the left button in C (Calories)
mode.
Time above the set upper heart rate limit (UP)
Shows the time for which training has been at above
the set upper heart rate limit.
Value range: 0 9:59:59
Time inside the set upper heart rate limit (IN)
Shows the time for which training has been inside the
set upper heart rate limit.
Value range: 0 9:59:59
Time below the set upper heart rate limit (Lo)
Shows the time for which training has been below the
set lower heart rate limit.
Value range: 0 9:59:59
5.
CICLO
IInnZone
®
Philosophy and use:
C
ICLO
IInnZone
®
is a totally personal fitness service in the form of a
training monitor. Using personal data and pulse rate at rest, the
C
ICLO
IInnZone
®
calculated the optimal training regime. Whether you are
walking, Nordic Walking, cycling, indoor-cycling and much more ...
C
ICLO
IInnZone
®
monitors your individual cardiovascular training. Want to
improve your fitness? Shed pounds? Train to improve your health? Everyone
has their own reason for training. But how should you train to reach your goal in
the most efficient way? How do you achieve the right intensity of training?
C
ICLO
II nn Zone
®
ist DER optimale Training regime for strength,
endurance and fat burning.
What can the
C
ICLO
IInnZone
®
do?
It calculates the optimal training regime for strength, endurance and fat
burning. This is an individual programme and forms a training recommodation,
which is always done at between 70% and 80% of the maximum heart rate.
(+/- 5% deviation, taking account of the current heart rate at rest and fitness
level).
Using
C
ICLO
IInnZone
®
, the issue of burning fat is considered and shown
in the right light, that less is not always more.
.
6. Changing the battery
CicloMaster CM 423i:
Unscrew battery cap at the
rear of the computer using a
coin to turn it to the left.
Remove old battery and insert a
new 3V Lithium battery Typ CR
2032 with the positive terminal facing up. Screw cap back on. Do not over-
tighten the battery cap.
Transmitter: Remove 4 screws from the rear and remove cover. Remove old
battery and insert a new 3V Lithium battery Typ CR 2032 with the positive
terminal facing up. . Refit the backplate (check the waterproof seal) and secure
it with the four screws (using the cross-head and without over-tightening!)
Transmittor belt: Remove the battery cap on the rear with a coin and remove
the old battery. Insert a new battery, type CR2032, with the positive terminal
facing up, and replace and screw back the battery cap.
Please do not dispose of old batteries in household waste, but put
them into a selective collection system.
7. Servicing and care
Protect against direct sunlight, heat and frost (below 0°C and above 50°C).
Cleaning the heart rate transmitter belt:
The transmitter belt with its built-in special electrodes cannot be washed in a
washing machine. Wipe the transmitter belt carefully with a synethetic
detergent. Do not leave to dry in blazing sun. The elastic chest belt itself is
washable, but must be dried well before use.