B&W/Sepi
ic/R
720P 1280x720
VGA 640x480
QVGA 320x240
Whit
daylight
Whit
surr
Whit
tung
Whit
fluo
Select
location
Off /
English/
Portuguesnis
h/ Je
Displ
Forma
sele
Note:The
5. Using
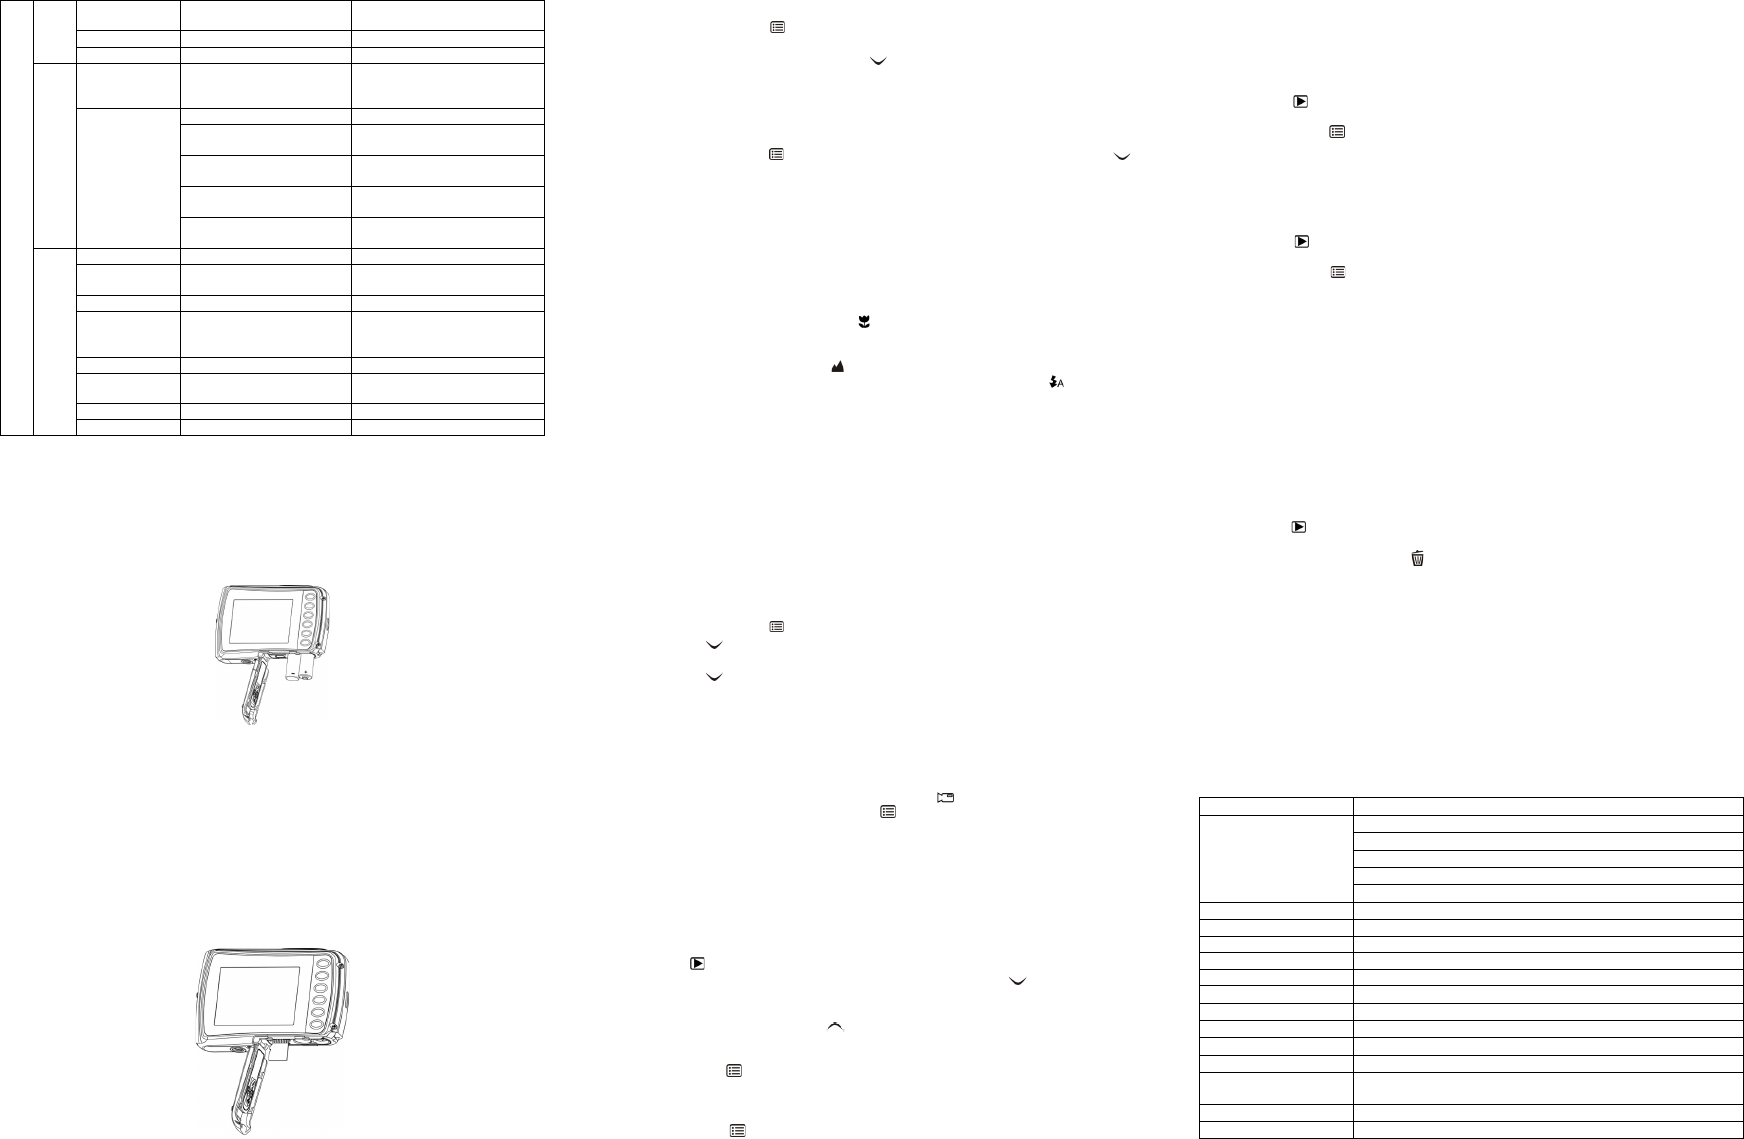
5.1 Ins
1. Open the
2. Inser 2 x AAA into the camera.
3. Closethe
5.2 Insa memor card ( not Included)
Follmi SD memory card
1. Turn
2. Open the card.
3. Insermicro SD
Note: Thnsert the micr SD
Do no damage both the camera and the
micro SD
Note: Thmicro SD
See the f for.
5.3 Formatting the mic SD car
1. Pressthemen button ( ) in PHOTO or VIDEO mode
2. Selectthe seup mo by pressing theright button.
3. Selectpressing the W ( ) button and the SHU button to
confi
4. Press button for the.
5.4 Setti
The ca
1. Presthemen( )in PHOTO mode, select the resolutions ic theW ( )
key an theSHUTER to
Resol 640 x 480 ), 3M (2048 x 1536),
5M (x144), 10M (3 648 x2736);
16M (4 608x3456)
2. Five di up or
down button and press the SH button to
5.5 Taking photographs
1. Turn on
2. Depenmac
the d ) i-up photograph
(11cm –18 cm)
If yo a videa phot people– infinity), set
the macrnormal mo ).
3. If you a lighting, tur on theautomatic fl ) by pressing
the fl button. (I f th’t b
4. Use theat th phots of .
5. Pres theSHUTTER button and wait until the s on again.
Cauti
:
1) Ta-mo
2) Ima
5.6 Zoom in and out
The ca can 4 times
Zoom iup or down button, a ,is the
maximu ra.
5.7 Self -ti
You can -time
photograph recommended.
1. Set
2. Pres menbut ( ).
3. Pres theW ( ) butosele andSH
button.
4. Pres theW ( ) bu tosele“On ” option
5. Pres b utton to- ti
6. Aims of.
7. Pres button
8. The ph
willduring the delay time.
5.8 Re
1. Pressmod button to select the video clip mode ).
2. For sethemen ( ) button and selR esolution, th press
the SH bu to co Tw resolutions willayed.
VGA (640 x ), QVGA ( 320 x 240).
3. Press SHUTTER button tos, press the
press t SH button again to stop recording. The video clip will now be saved as an
AVI f came
Afterea
auto
5.9 Pl
1. Pressthe( ) buttto
2. The lressthe W ( ) to
thumbPreef/Right /Up button to selthedesired picture, a
press
3. In ful thT ( ) butt to zo
4. To shi-in pr theSH button and the
mode/menu/lebuttons.
5. Press the me( ) button the menu button until
the menelect SLIDE SHOW and set theslidway.
Press the SHUTTER button to comiSD wi
display se Topress the menu button.
6. Press the ( ) but
the menonsS elect Photo S elect
the d
The isep im
5.10 Prot photographs/ vi
You can /vide inSD card from
Follpro photographs/vid.
1. Pressthe ( ) buttoPhoto playback mode.
2. Press left right to beprot
3. Press the men ( ) button in Playback mode, presit again and men button
until menuprethe Sn
4. Select “Pro”or “All ” and press thehut button to con
5.11 Resi photographs
A captu
Follre photograph s.
1. Pressthe( ) butttoPhoto playback mode.
2. Pressleft rightbuttthe p toresized.
3. Press the men ( ) buttmenu button until
the men SHn to select the
new i
4. Select theHUTTE button to conf The image will be saved
as a separ im
5.12 Pl video clips
1. Whentheup button to press the
up butt
2. Prethe righn to fast forwartheleft button to rewind.
3. Pre the mod button to stop and exit .
5.13 Deletin pho
You can delete a single photograph / video clip,
memor
Follow the instructions below to s.
1. Pressthe ( ) butto.
2. Presstheleft or right button to select photograph/video clip to d.
3. Pressmen/delete button ( ) and selec“Delete This(Vide” or All ”
4. Press the SH button to
5. Pressthe menu button to e
NOTE: Select “All ” and Press the SHU button to con vi
deleted.
Photos that photos, s
photos to unprote, and th
6. Connecto a
The unimas storadevice and transfer photo /vid
for s.
7. Sp
10.0 Mega
16.0 Meg4608x3 456)
10.0 Meg(3648x2 736 )
5.0 Mx144)
3.0 Mega
Built-in (
Auto / Dayl/ Clo / Fluo / Tu
720P@30fps,
SupportsmicrSD s up to 32GB
Pict
2 x AAA