3
OPERATION
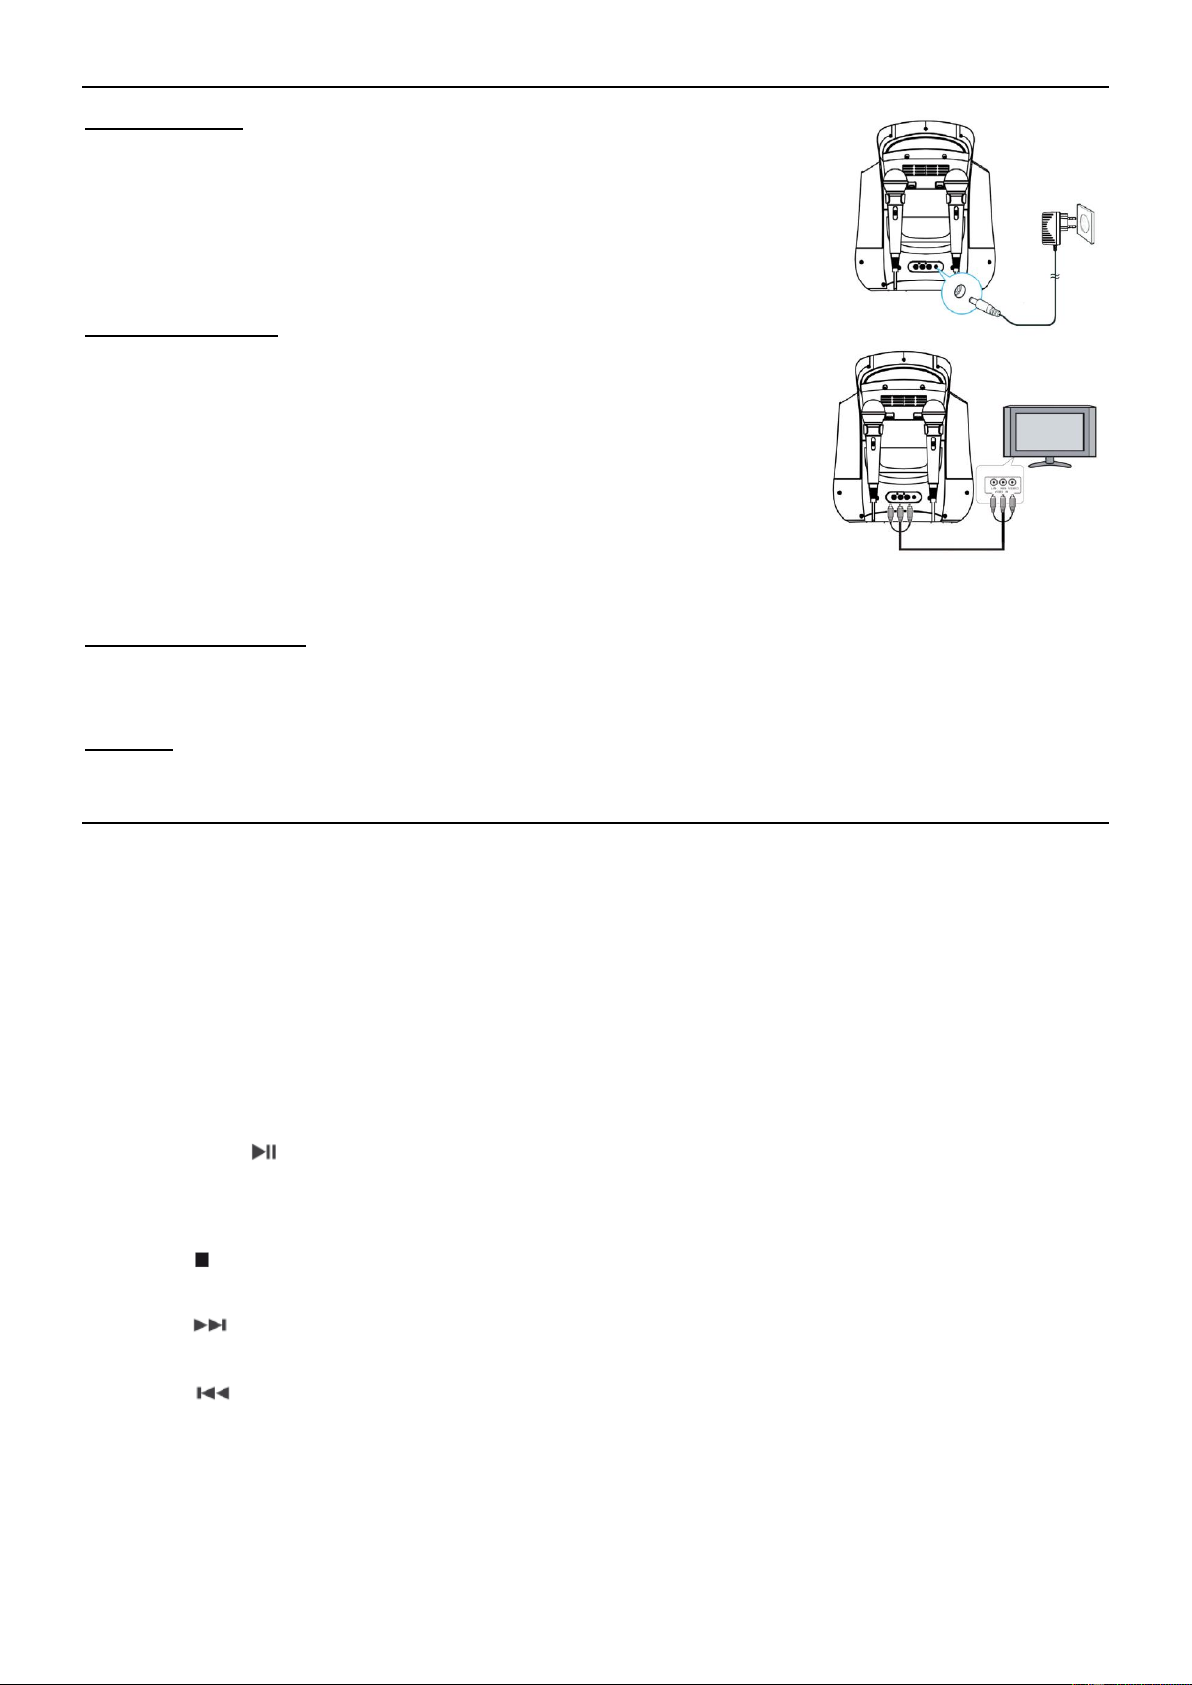
Connecting Power
Plug the supplied AC adapter into the DC jack on the rear side of the unit and connect to a
standard AC wall socket with 230V~ 50Hz continuous power supply.
Note: When the unit is not operated for long periods of time, unplug the AC adapter from the
unit and wall outlet.
Connecting to your TV
Use the supplied color coded RCA patch cable (white/red/yellow) to connect the
corresponding terminals on the device‘s rear with the respective ones on your TV and/or
hifi.
To make song lyrics contained on a CD+G appear on your TV screen, select the
corresponding input channel (Video-In, A/V or the like) in your TV settings or by remote
control.
If your TV does not have such a feature, you can use an RF modulator (available in
specialist shops) that is to be interposed between the SBS30 video out and the cable
antenna of your TV.
Please read the user manual of your TV for more information on connecting external video devices.
Connecting a Microphone
1. Plug a microphone (one microphone is included) into the MIC 1 or MIC 2 JACK on the lower left side of your unit. The
mic output will be mixed with an audio source from CD/CD+G/USB flash drive.
2. Slide ON/OFF switch on microphone to “ON” before singing and always slide to “OFF” after use.
CAUTION: Tapping or dropping the microphone while it is on can cause permanent damage to it. Never grip and swing the
microphone around by the connecting cord.
BUTTONS AND FUNCTIONS
Function Selector CD/USB
• Slide the CD/USB FUNCTION switch to CD position to playback a CD, MP3, CD+G, CD-R/CD-RW disc.
• Slide the CD/USB FUNCTION switch to USB position to playback MP3 files on a USB flash drive.
• Once the AUX IN jack is plugged into, the unit will automatically enter the AUX mode. You can attach other music
sources (iPod, MP3 or other digital audio players) through the AUX IN jack to your external player’s audio out jack or
headphone jack.
LED show ON/OFF
• Set it to “ON” to turn ON the LED show.
• Set it to “OFF” to turn LED show OFF.
Power On/Off Button
• Press this button to turn unit ON.
• Press and hold this button to turn unit OFF.
Play/Pause Button
• Tap once to play a selected song when playing a CD/CD+G/CD-R/CD-RW disc or MP3 files on a USB flash drive. The
PLAY/PAUSE indicator will light.
• While playing, tap again to pause. The PLAY/PAUSE indicator will flash.
Stop Button
• While a selected song is playing, tap this to stop.
Next Button
• Tap once to skip forward to the following song during playback or stop mode.
Prev Button
• Tap once to skip back to the start of the current song during playback or skip back to the previous song during stop
mode.
Repeat Function
• During CD/CD+G/MP3 playback on CD/CD-R/CD-RW/USB Flash Drive tap once for Repeat 1 (REPEAT indicator in
LED display will flash) to playback current song only;
• Tap again for Repeat All (REPEAT indicator will light steadily) to repeat all available tracks on the disc;
• Tap again to cancel Repeat mode (REPEAT indicator will be OFF).