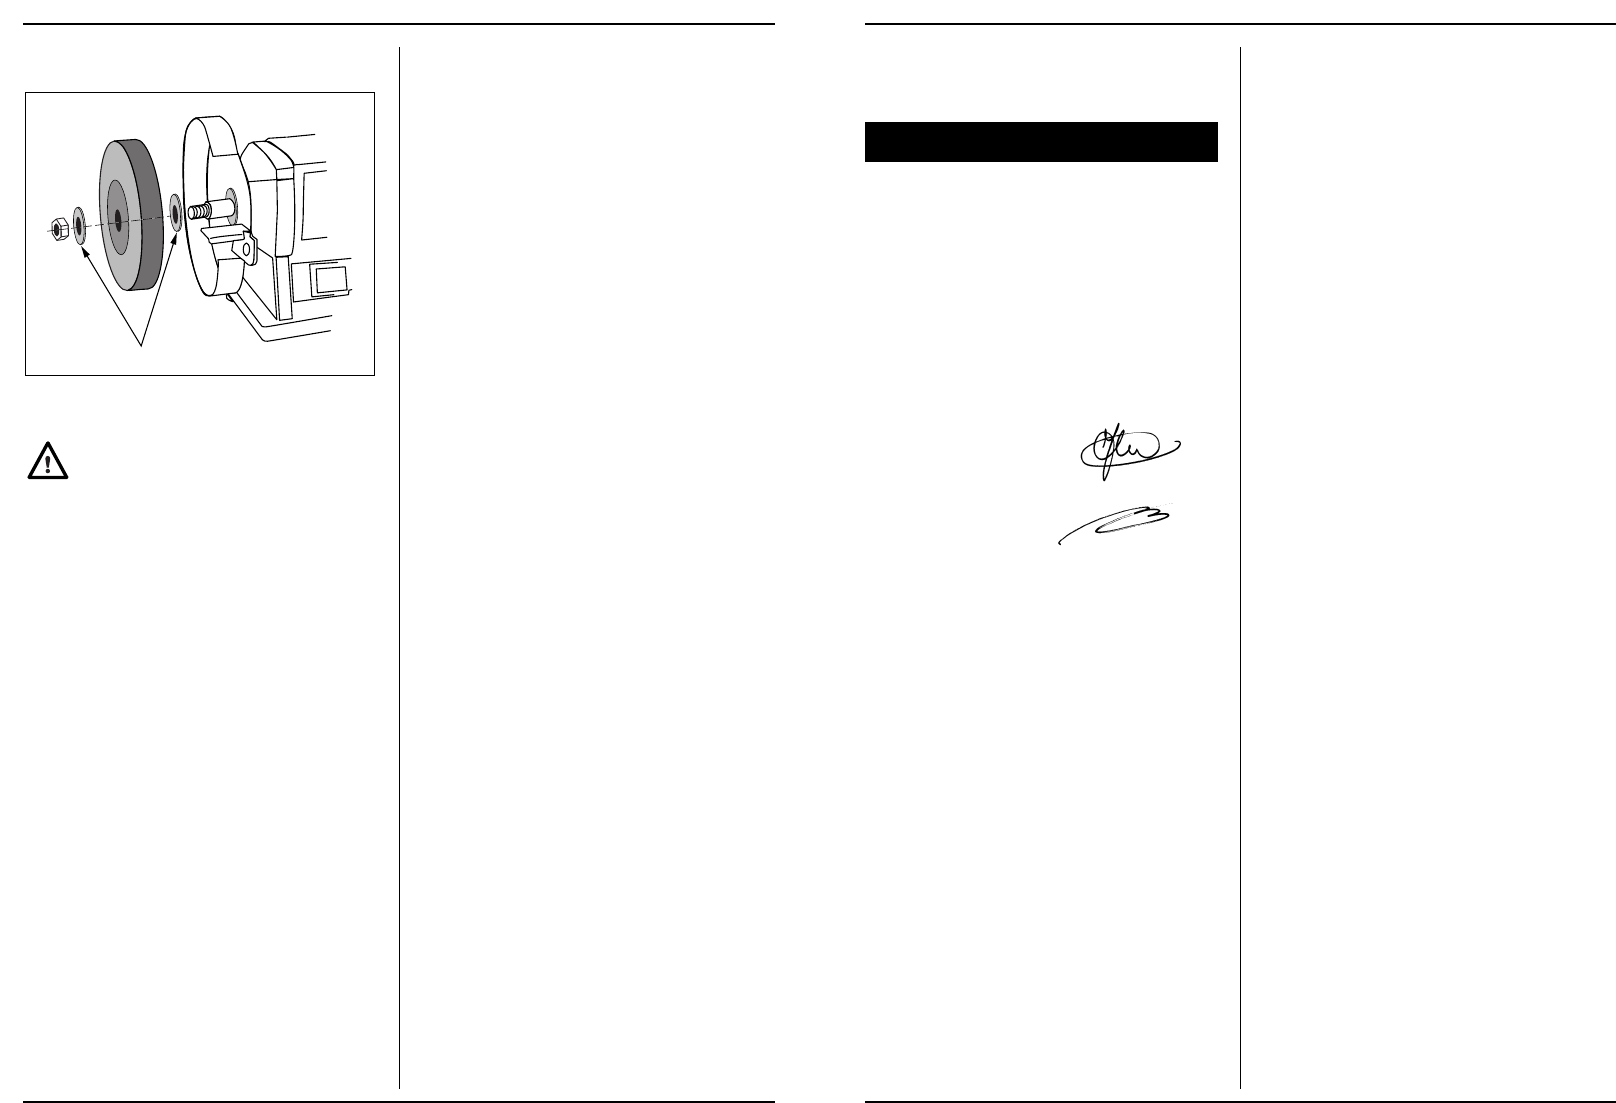
REPLACING THE GRINDING STONE
Fig. C.
Disconnect the machine and make sure the
grinding stone has stopped before replacing the
grinding stone. Disconnect the machine and
make sure the grinding stone has stopped befo-
re replacing the grinding stone.
Required tools:
- spanner, 19 mm;
- spanner, 8 mm;
- screwdriver.
- Remove the guards, using the above tools. When re-
placing the stones, remember the right-hand spindle is
fitted with right-hand thread, the left-hand spindle with
left-hand thread.
- Loosen the nut by means of the spanner. Remove the
stone.
- Clean the flanges. Replace one flange, with the conca-
ve side facing the grinding stone. Slide the new grin-
ding stone on to the spindle. Replace the second flan-
ge on the spindle,
with the concave side facing the grinding stone. Tigh-
ten the nut securely, but not too tightly! Replace the gu-
ards and adjust the tool rest. Let the motor run for a few
seconds before you start to grind.
OPERATION
SELECTING THE GRINDING STONE
In general, coarse grinding stones are used to remove ma-
terial and fine grinding stones to finish the workpiece. If the
surface is uneven, start with the coarse grinding stone un-
til the surface is smooth. Then use the fine grinding stone
to remove any scratches caused by the coarse grinding
stone to finish the workpiece.
GRINDING
Do not “fill up” the stone by holding wood, lead or any other
soft metal against the grinding stone. Never press the
workpiece too hard against the stone, to avoid making
grooves. Cool down the workpiece with water. Wood chi-
sels and such must never “blue” when being ground. Make
sure the workpiece cannot slip from your fingers during
grinding and get caught between the tool rest and the sto-
ne. This may cause the stone to crack, the motor to stall
and the workpiece to rebound, causing injuries.
OPERATION
- Make sure the switch is in the “OFF” or “0” position be-
fore you plug in the machine.
- Move the switch to the “ON” or “1” position to start the
bench grinder.
- Keep the cable away from moving parts.
4 Ferm
GARANTI
Lœs det separat vedlagte garantikort for garantibetingel-
serne.
ClEl
n
KONFORMITETSERKLÆRING
(
DK
)
Vi erklærer at under almindeligt ansvar, at dette
FSM-125
er i overenstemmelse med følgende normer eller
normative dokumenter
EN61029-1, EN61029-2-4, EN55014-1, EN55014-2,
EN61000-3-2, EN61000-3-3
i henhold til bestemmelserne i direktiverne:
98/37/EC, 73/23/EEC, 89/336/EEC,
2002/95/EC, 2002/96/EC
01-03-2007
ZWOLLE NL
J.A. Bakker - van Ingen
CEO Ferm BV
J. Lodewijk
Quality Manager
Ferm Global
Det er vores hensigt til stadighed at forbedre vores pro-
dukter, og vi forbeholder os derfor til enhver tid retten til at
ændre produktspecifikationerne uden forudgående var-
sel.
Ferm BV • Lingenstraat 6 • 8028 PM Zwolle
The Netherlands
Ferm 33