ENGLISH
49
Editing the names of recordings
If you do not like the title name provided by the broadcaster,
or none is provided at all, you can create your own title name for
the recording.
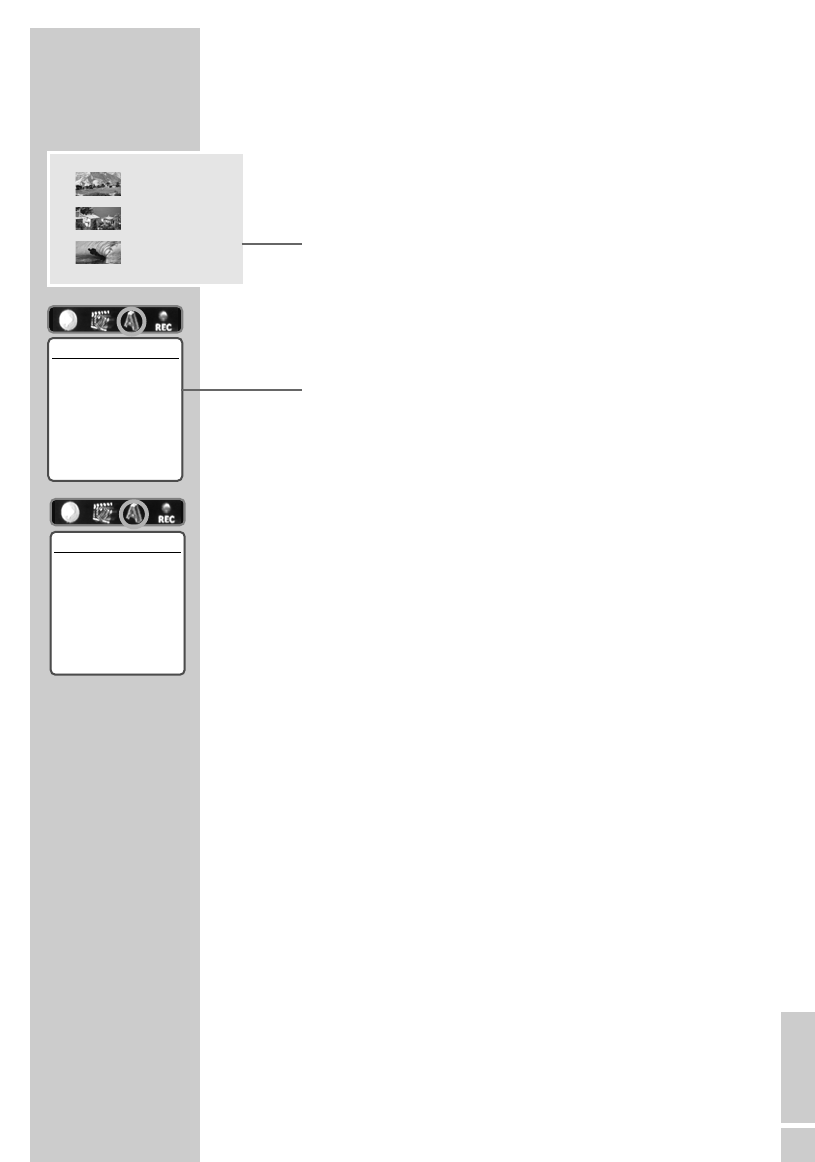
1 Put a DVD+R or DVD+RW in the disc compartment.
– The index screen appears.
Note:
If the index screen does not appear, press »MENU«.
2 Select the title with »
S
« or »
A
« and press »
s
« to open the
title menu.
– The title menu appears.
3 Select the »Change title name« menu item using »
a
« or »
s
«
and press »ENTER« to confirm.
– The title of the recording is shown in the first line.
Notes:
The “buttons” in the top row are function buttons:
»CLR« deletes the title name.
»SP« inserts a space.
»DEL« deletes a letter or character.
»SAVE« stores the new title name.
4 Press »
S
«, »
A
«, »
a
« or »
s
« to select letters and numbers,
and »ENTER« to confirm.
5 To confirm the new name, press »
S
«, »
A
«, »
a
« or »
s
« to
switch to the »SAVE« function key and press »ENTER« to save
the title name.
6 Press »SETUP« to finish the setting.
MANAGING RECORDING DATA ______
s
1. TITLE
30/09/2004
10:05:12
SP 01:15:00
2. TITLE
30/09/2004
12:30:00
SP 00:45:00
3. TITLE
01/10/2004
21:00:00
SP 00:30:00
Change title name
Press the Enter
button to change the name
of the title
Confirm with Enter
Change title name
TITLE
CLR SP DEL SAVE
1234 5 6 7 8 90
ABC D E F G H I J
KLMNOPQRST
UVWXYZ().,
:;&!
Confirm with Enter
AS