407505
14
Zoom out
Zoom in
Vorherige Seite
1/17
Nächste Seite
ENGLISH
31
ENGLISH
31
Selecting the tape input source
1 Move the »CD TAPE/OFF RADIO« switch to the »TAPE« position.
2 Press »
7
ə
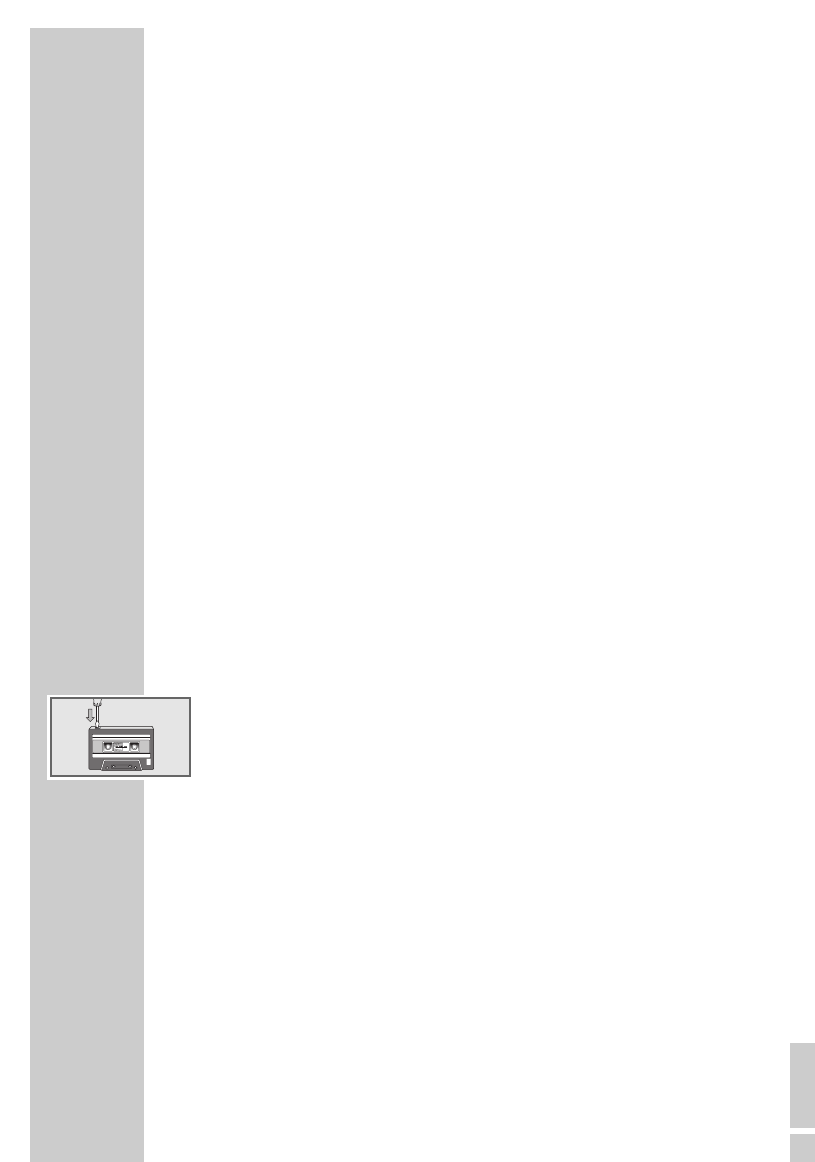
« to open the tape compartment.
3 Insert a tape in the compartment with the open side facing up and the full reel on the right
side.
4 Close the tape compartment.
Tape playback
1 Press »
ľ
« to start playback.
– Playback ends at the end of the side of the cassette.
2 Press »II« to pause playback.
Press »II« to resume playback.
3 End playback by pressing »
7
ə
«
4 Press »
7
ə
« again to open the tape compartment and take out the cassette.
Fast forward and rewind
1 Press »
ľľ
« or »
ıı
« when the tape is in the stop position.
– »
ľľ
« fast forwards to the end of the tape, »
ıı
« rewinds to the beginning of the
tape.
2 Press »
7
ə
« at the required position on the tape.
Tape recording
Erase protection
Every new recording overwrites the existing recording on the tape.
You can protect your own tapes against accidental erasure by breaking the safety
tabs on the top of the tape.
Pre-recorded commercial music tapes are already protected against accidental
erasure.
If you want to record on to a protected tape, cover the opening with adhesive tape.
Notes:
Only use NORMAL-type cassettes (IEC I) for recording. CHROME (IEC II) or METAL
(IEC IV) tapes are not suitable.
The Ultra Bass System does not affect recording.
Recording from the radio
1 Put in a cassette with the protection tabs intact and press »
ľľ
« or »
ıı
« to find the
position on the tape.
2 Move the »CD TAPE/OFF RADIO« switch to the »RADIO« position and select the
radio station.
3 Press »
« to start recording.
– The »
ľ
« button is automatically engaged.
– The device automatically stops recording at the end of the tape.
TAPE MODE_____________________________________________________
1
14

Brauchen Sie Hilfe? Stellen Sie Ihre Frage.

Forenregeln

Missbrauch melden von Frage und/oder Antwort

Libble nimmt den Missbrauch seiner Dienste sehr ernst. Wir setzen uns dafür ein, derartige Missbrauchsfälle gemäß den Gesetzen Ihres Heimatlandes zu behandeln. Wenn Sie eine Meldung übermitteln, überprüfen wir Ihre Informationen und ergreifen entsprechende Maßnahmen. Wir melden uns nur dann wieder bei Ihnen, wenn wir weitere Einzelheiten wissen müssen oder weitere Informationen für Sie haben.

Art des Missbrauchs:

Zum Beispiel antisemitische Inhalte, rassistische Inhalte oder Material, das zu einer Gewalttat führen könnte.

Beispielsweise eine Kreditkartennummer, persönliche Identifikationsnummer oder unveröffentlichte Privatadresse. Beachten Sie, dass E-Mail-Adressen und der vollständige Name nicht als private Informationen angesehen werden.

Forenregeln

Um zu sinnvolle Fragen zu kommen halten Sie sich bitte an folgende Spielregeln:

Neu registrieren

Registrieren auf E - Mails für Grundig rrcd 1300 wenn:


Sie erhalten eine E-Mail, um sich für eine oder beide Optionen anzumelden.


Andere Handbücher von Grundig rrcd 1300

Grundig rrcd 1300 Bedienungsanleitung - Deutsch - 18 seiten

Grundig rrcd 1300 Bedienungsanleitung - Holländisch - 16 seiten


Das Handbuch wird per E-Mail gesendet. Überprüfen Sie ihre E-Mail.

Wenn Sie innerhalb von 15 Minuten keine E-Mail mit dem Handbuch erhalten haben, kann es sein, dass Sie eine falsche E-Mail-Adresse eingegeben haben oder dass Ihr ISP eine maximale Größe eingestellt hat, um E-Mails zu erhalten, die kleiner als die Größe des Handbuchs sind.

Ihre Frage wurde zu diesem Forum hinzugefügt

Möchten Sie eine E-Mail erhalten, wenn neue Antworten und Fragen veröffentlicht werden? Geben Sie bitte Ihre Email-Adresse ein.


Info