hometec
hometec
WS-103
Quick Start Guide
Motion Sensor
English
Please keep these instructions in a safe place for future
reference.
Kit Contents:
1x i.onik
®
Motion Sensor
1x Ball-head joint mounting bracket
3x Screws and wall plugs
1x Instruction leaet
1. Introduction
The i.onik
®
Motion Sensor is designed to trigger the i.on
®
Alarm-
syst
Note:
Where pets are in the home it is advised that they are not
allowed onto higher surfaces (above 1 m in height) where they
may trigger the sensor.
2. Location
First determine the location of the Sensor
•
oor
• Near key entry/exit points.
•
et
performance.
• Away from direct sunlight.
• Indoors only and not behind partitions.
•
(if necessary).
3. Installation and Operation
3.1 Powering up the Motion Sensor
•
9 V battery as shown in diagram below and
replace the cover (R
•
be replaced, the RED LED will ash (not inclu-
ding entry/exit delay ashing).
3.2 Installing the Motion Sensor
•
location and mark the points for drilling.
• Drill the holes and insert wall plugs.
•
• Attach the Motion Sensor to the mounting brack
3.3 Sensor Sensitivity
IMPORTANT! The Motion Sensor is designed with a power saving
program and will remain inactive for 3 minutes after each detection.
Please bear this in mind during system set up.
The sensitivity of the Motion Sensor is adjustable and can be chan-
ged by setting the connector on either the “High”
position. When the sensitivity is set to “Low”
required to trigger the sensor
to “Low” and perform a “W
walk test result is satisfactory
adjustment. If the walk test result shows the sensitivity is too low
then the sensitivity can be set to “Middle” or “High” as required. It
is recommended that a walk test be conducted after each change in
sensitivity setting.
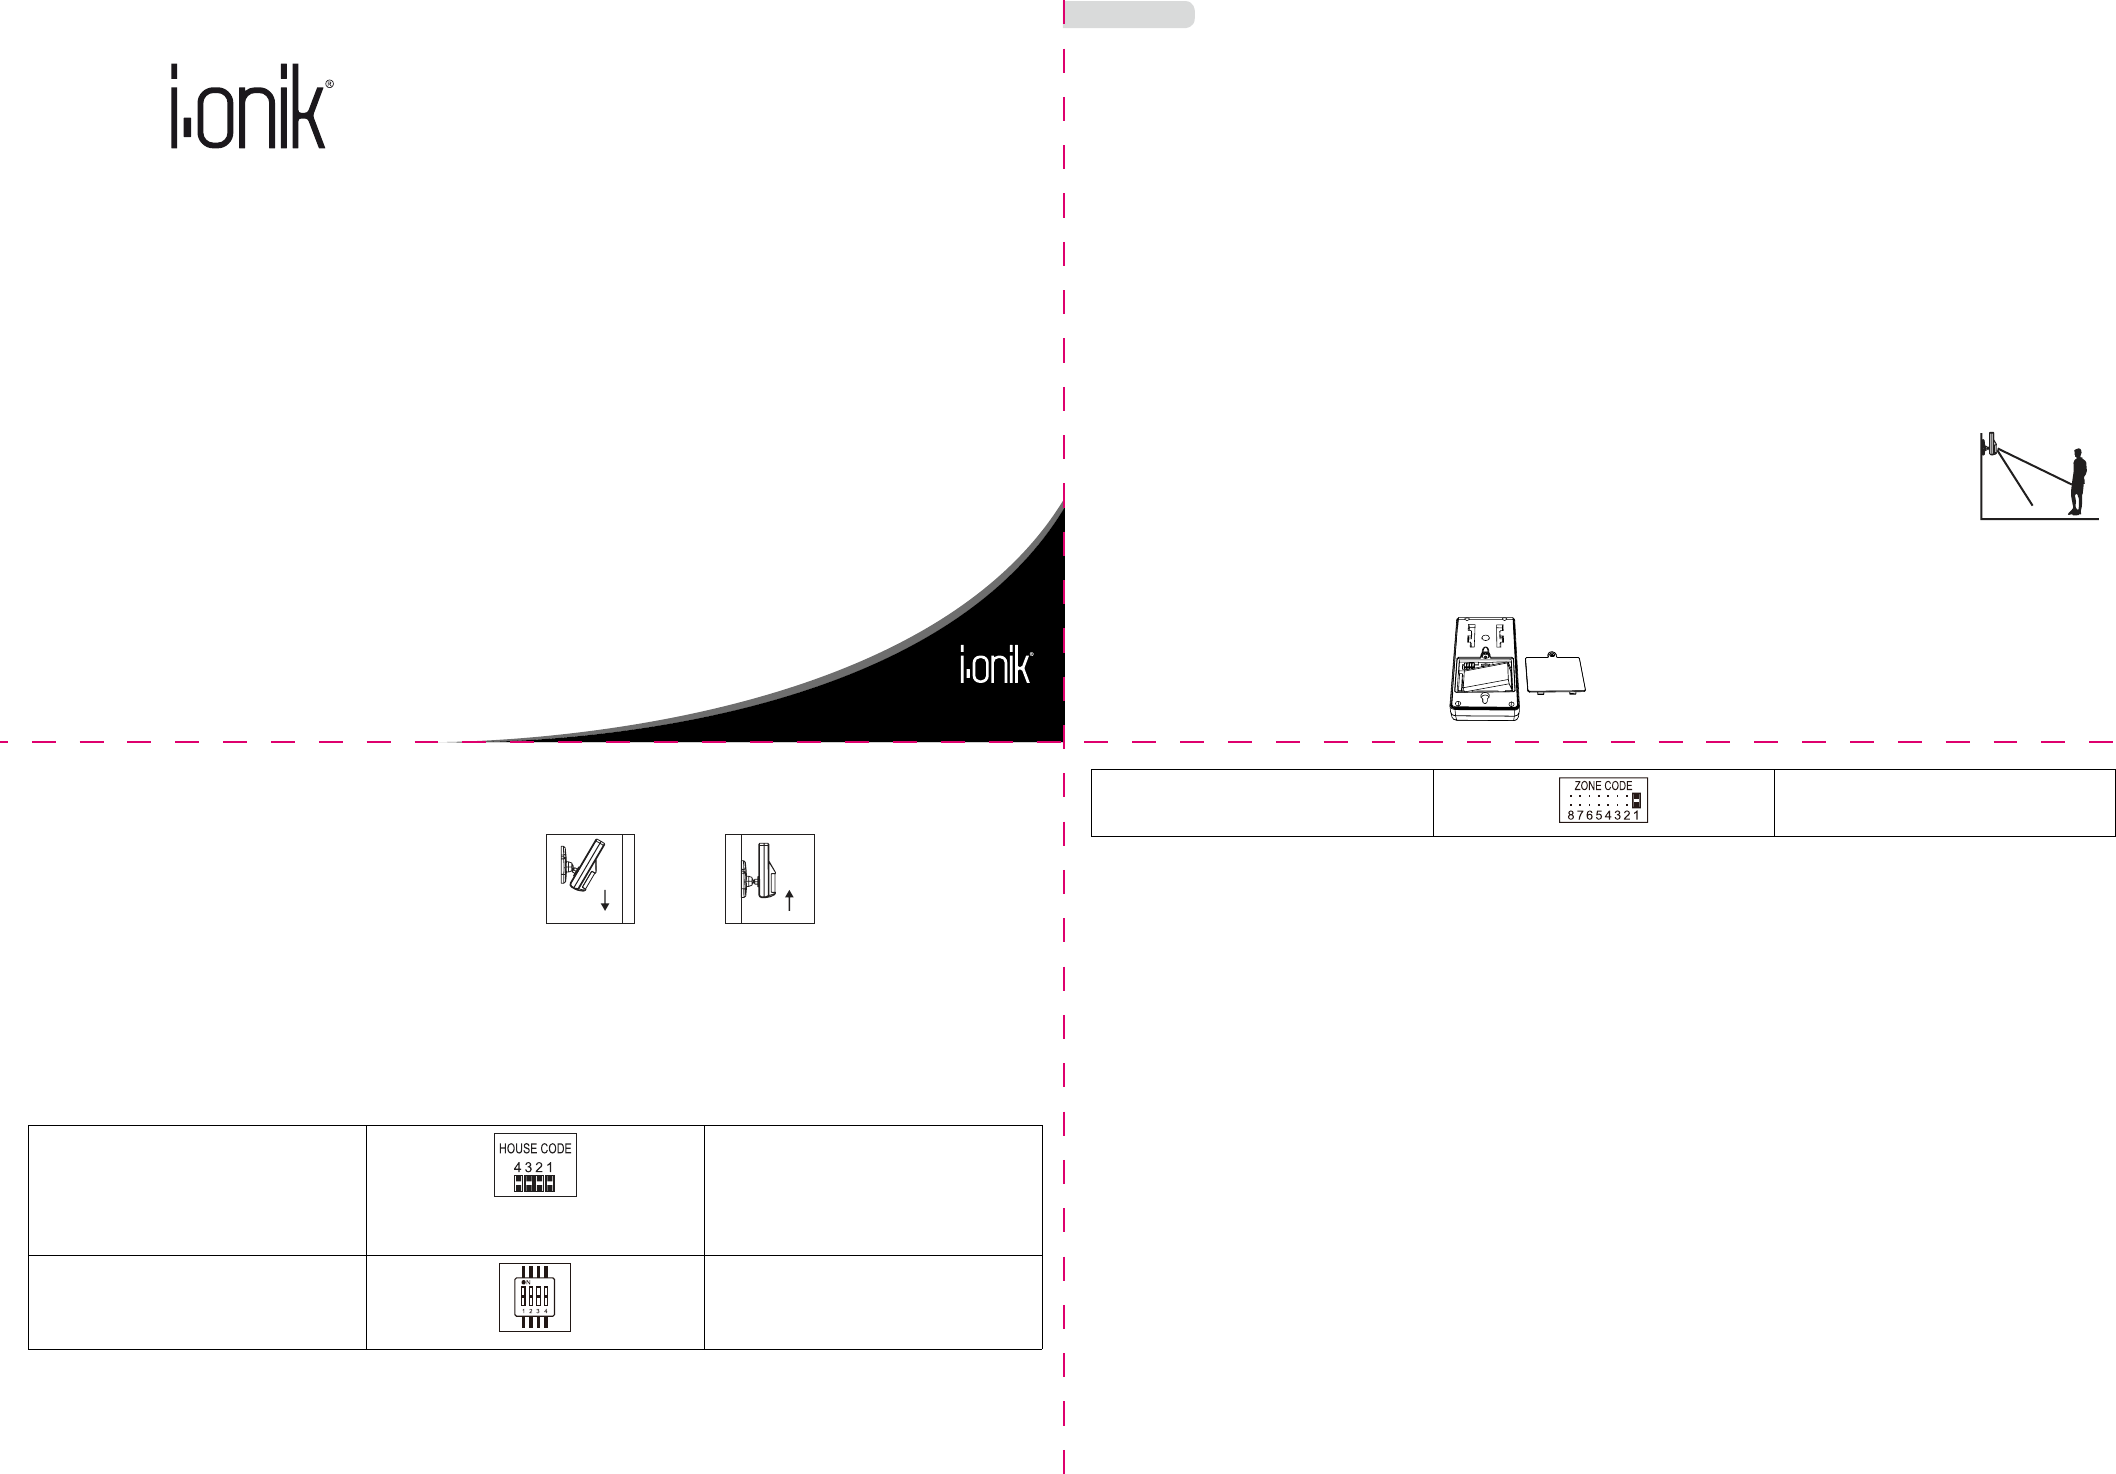
3.4 Walk test
After mounting the sensor at the desired location,
it is important to perform a walk test in order to
determine if the sensor is detecting the correct
area. The distance at which the sensor can detect
motion can be adjusted by altering the angle of the
sensor
the sensor downward and move the sensor upw
the range.
Note:
Enter into ALERT mode before you perform the walk test, so
that the alarm is not triggered.
You should walk in the area that you would like the sensor
to monitor. If movement is detected the red light inside the
unit will appear. If the red light does not appear, adjust the
mounting angle accordingly. Perform the walk test again after
3 minutes. Repeat this procedure until motion is detected.
Whilst carrying out the test, there should be no movement in
the detection area during the 3 minute interval.
Tips:
The sensor should not face towards direct sunlight, be placed near
heat or cold producing devices (i.e. air conditioning, radiators, fans,
ovens, heaters etc.) that may cause false triggers. Also perform the
walk test in areas which the sensor is not intended to cover
movement cannot be detected.
4. House Security Code Settings
Unless the factory settings of the i.onik
®
Alarmsystem Smart Panel
have been altered, the House Security Code will NO-
ged. However
or need to be altered to solve the problem of the Smart P
sensors activating intermittently (or not working at all) or interference
with other systems, then the House Security Code on all system mo-
dules (sensors and sirens) will also need to be changed.
House Security Code settings can be altered as follows:
• There are 4 jumpers or dip-switches on each device.
•
jumper into the contacts to change the House Security Code
•
is with all the jumpers plugged.
•
the Smart Panel and all other system modules (sensors and sirens)
match exactly
5. Zone Code Settings
The sensor is supplied with a pre-assigned Z
can be assigned to a different zone as follows:
•
the sensor
• -
tacts with a number next to each.
•
with a jumper is the current zone.
•
current zone and plug it across the contacts corresponding to the
new zone number selected.
6. Maintenance
The product may be cleaned with a soft damp cloth and then wiped
dry
may damage and/or discolour the product.
Do not allow water to enter or attempt to clean inside the unit.
7. Batteries
Do not allow the batteries to corrode or leak as this may cause per-
manent damage to the product. T
the correct polarity as shown inside the battery compartments. Do not
mix new and old batteries or different types of batteries. Do not use
rechargeable batteries.
At the end of their useful life the batteries should be disposed of
via a suitable recycling centre. Do not dispose of with your normal
household waste. DO NO
8. Alarm System Limitations
Even the most advanced alarm systems cannot guar-
tection against burglary or environmental problems. All alarm systems
are subject to possible compromise or failure-to-warn for a v
reasons.
Please note that you
if:
• -
ping or remote parts of the premises.
• The sensors are placed behind doors or other obstacles.
•
sensors are not located).
•
or disconnecting all or part of the system.
• The power to the sensors is inadequate or disconnected.
•
conditions i.e. too close to a heat source.
Note:
Inadequate maintenance is the most common cause of alarm
failure; therefore, test your system at least once per week to
be sure the sensors and sirens are working properly.
Although having an alarm system may make you eligible for
reduced insurance premiums, the system is no sub-stitute for
insurance.
Chips and More GmbH
Gewerbestr
Service: + 49 7664
Email: support@i-onik.de
Weitere Informationen und Erklärungen zur Handhabung des Alarmsystems finden Sie unter www
For more details and questions on how to operate the alarm kits, please go to www.i-onik.de
Move the sensor
downward to reduce
the range.
Move the sensor
upward to maximize
the range.
Jumpers for house secu - Smart Panel
-
Default house code:
1: ON, 2: ON, 3: ON, 4: ON
*Jumper:
ON = Plugged,
OFF = Pull Out
Dip-Switches for house se
-
Default house code:
1: ON, 2: ON,
Jumpers for zone code Default zone code: Z