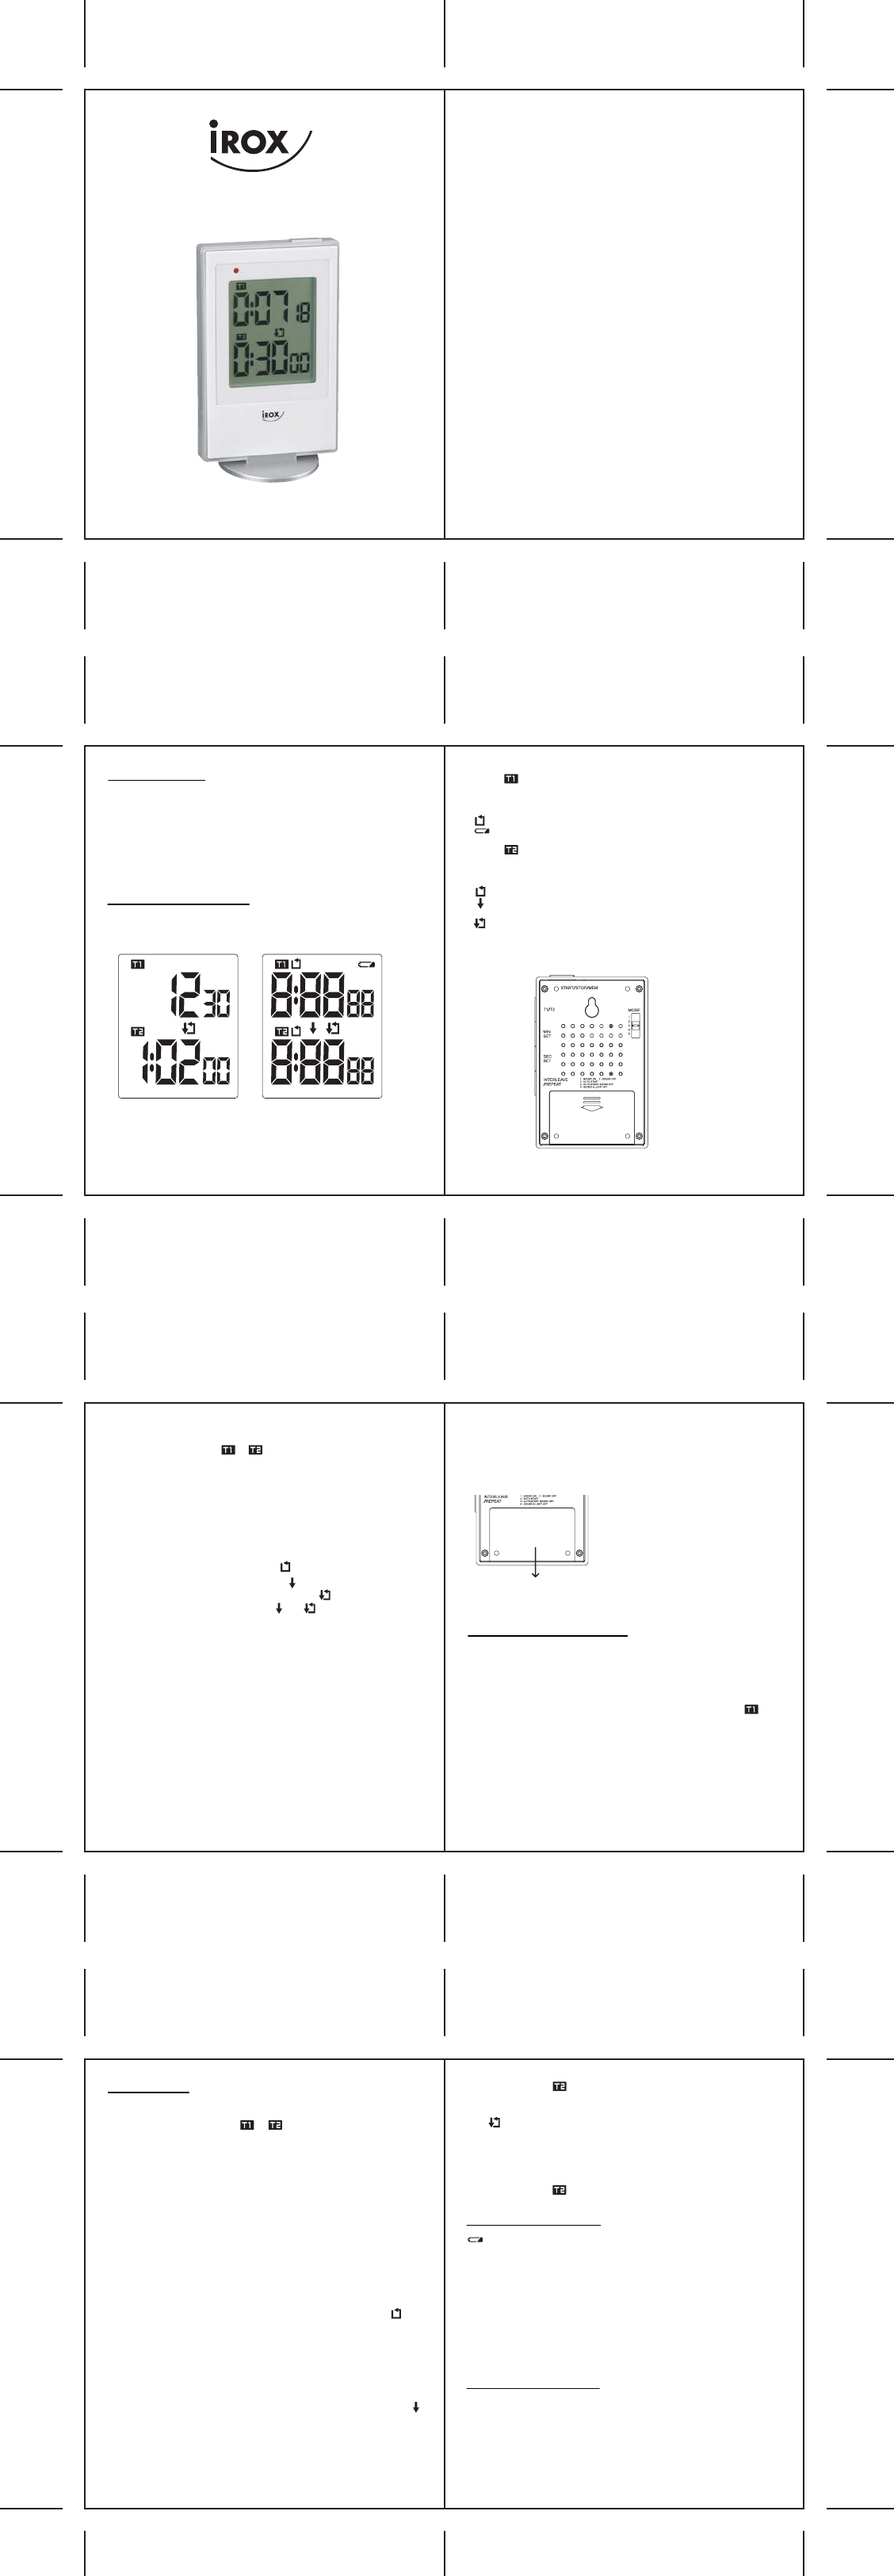
We would like to thank you for selecting the JK-TR1 by IROX. You are
now the owner of one of the markets highest quality timer. It is the result of
Swiss engineering and is manufactured in one of the best factories in
greater Hong Kong.
The JK-TR1 offers absolutely unique features by interlinking two
countdown timers as well as 5 different options in the alarm announcement
and the start logic.
Please read these instructions carefully to benefit fully of all features of
this timer.
1. INTRODUCTION
1. Introduction
2. Operating elements
2.1 LCD Display
2.2 Keys / Switch / Battery
compartment
3. Putting into operation
4. Operation
4.1 Setting of the timer
4.2 Start / Stop / Reset the timer
4.3 Stop the alarm
4.4 Repeat the timer
4.5 Setting an interleave between
T1 and T2
4.6 Setting a continuous interleave
between T1 and T2
5. Change of battery
6. Care instructions
7. Support
8. Technical data
Page 23
Page 23
Page 23
Page 24
Page 26
Page 27
Page 27
Page 27
Page 27
Page 27
Page 27
Page 28
Page 28
Page 28
Page 29
Page 29
2. OPERATING ELEMENTS
2.1 LCD DISPLAY
All functions are depicted on the liquid crystal display (LCD) in two
windows (TIMER 1 and TIMER 2).
Full-segment display
Timer 1
- Display of the programmed value of timer 1
- The timer can be set up to a maximum of 9 hours 59 minutes and 59
seconds
- Indicates when the timer 1 is set to be repeated
- Indicates when the batteries are week
Timer 2
- Display of the programmed value of timer 2
- The timer ca be set up to a maximum of 9 hours 59 minutes and 59
seconds
- Indicates when the timer 2 is set to be repeated
- Indicates when the interleave function between timer 1 and timer 2 is
set
- Indicates when the interleave function between timer 1 and timer 2 is
set to repeat the interleave cycle
2.2 KEYS / SWITCH / BATTERY COMPARTMENT
Rear view
T1/T2
- Press to select the timer
- The selected timer’s icon or will flash on the display.
MIN SET
- Press to set the minutes of the selected timer
- Press and hold 3 seconds to roll the minutes setting
- Press and hold 5 seconds to roll the minutes setting faster
SEC SET
- Press to set the seconds of the selected timer
- Press and hold 3 seconds to roll the seconds setting
- Press and hold 5 seconds to roll the seconds setting faster
INTERLEAVE / REPEAT
- Press to set the repeat timer (T1 or T2 )
- Press to set the interleave function (in T2 )
- Press to set the interleave repeat function (in T2 )
Important note: the interleave functions and can only be set in T2 !
START / STOP / MEM
- Press to start the countdown of the selected timer
- Press to stop the countdown of the selected timer
- Press to show the previous setting of the selected timer (after the
countdown has reached 0:00:00)
- Press and hold for 3 seconds to reset the selected timer to 0:00:00
MODE
JK-TR1 provides 5 alarm modes. It is managed by sliding the switch for
selection:
Pos. 1: SOUND ON – Alarm sound on and the LED light flash above the
display
Pos. 2: SOUND OFF – Alarm sound off and the LED light flash above the
display
Pos. 3: AUTO-START – The countdown will start automatically 5 seconds
after the setting. Alarm sound on and the LED light flash above the
display
Pos. 4: AUTO-START, SOUND OFF – The countdown will start
automatically 5 seconds after the setting. Alarm sound off and the
LED light flash above the display
Pos. 5: SOUND & LIGHT OFF – Alarm sound off and the LED light off
3. PUTTING INTO OPERATION
1. Open the battery compartment of the display device and remove all
insulation strips. If no batteries are in the device, insert the 2 batteries
(AM-4 or ‘AAA’ 1.5 V) in the correct polarity.
2. Now close the battery compartment.
3. Directly after the activation of the batteries, all segments are displayed
for a few seconds on the display. The JK-TR1 then begins with icon
flashing.
Battery compartment
2 x 1.5 batteries of the size AM-4 resp. “AAA”
To open: slide lid in the direction of the arrow (indicated on the lid) after the
stand has been removed.
4. OPERATION
4.1 Setting of the timer
Press T1/T2 to select the timer.
The icon of the selected timer ( or )will flash on the display.
Press MIN SET to set the minutes. Press 3 seconds to roll the digit and
press 5 seconds to roll it faster.
Press SEC SET to set the seconds. Press 3 seconds to roll the digit and
press 5 seconds to roll it faster.
4.2 Start / Stop / Reset the timer
After setting the timer, press START/STOP/MEM to start the countdown.
Press START/STOP/MEM to stop the countdown.
Press START/STOP/MEM to show the pre-set value.
Press and hold the START/STOP/MEM for 3 seconds, the timer will be
reset to 0:00:00.
4.3 Stop the alarm
After the countdown completed, the alarm will be on with the selected
mode (described in section 2.2).
Press any button to stop the alarm.
Without stopping the alarm, it will be off automatically after 1 minute.
4.4 Repeat the timer
After setting the timer, press INTERLEAVE/REPEAT, until the icon
shown on the display of the selected timer.
Press START/STOP/MEM to start the countdown.
The countdown will be repeated continuously.
Press any button to stop the alarm.
Press START/STOP/MEM to stop the countdown
Note: Only one repeat timer can be run at the same time.
4.5 Setting an interleave between T1 and T2
After setting the T1 and T2, press INTERLEAVE/REPEAT, until the icon
shown on the display of T2
Press START/STOP/MEM to start the countdown of T1
Once the countdown of T1 completed, the T2 will start immediately.
Press any button to stop the alarm.
Press START/STOP/MEM to stop the countdown
Note: Even the icon is flashing, the countdown always starts with T1
4.6 Setting a continuous interleave between T1 and T2
After setting the T1 and T2, press INTERLEAVE/REPEAT, until the
icon shown on the display of T2.
Press START/STOP/MEM to start the countdown of T1.
Once the countdown of T1 completed, the T2 will start immediately.
The T1 and T2 will be repeated continuously.
Press any button to stop the alarm.
Press START/STOP/MEM to stop the countdown
Note: Even the icon is flashing, the interleave countdown always
starts with T1
5. CHANGE OF BATTERY
: BATTERY CHANGE DISPLAY
The batteries last for around 8-12 months. Depending on the usage of the
appliance and the batteries used, this time can be slightly shorter or longer.
In order to avoid a surprising and unpleasant interruption of operations, the
battery symbol appears in the window of timer 1.
This means that batteries are becoming too weak and need to be replaced.
To change the batteries, please note Chapter 3 (Putting into operation).
Please only use new batteries and never mix old and new batteries.
Please also remember that used batteries should not be thrown in the
household rubbish bin but handed in at the designated collection points.
The environment will thank you for it!
6. CARE INSTRUCTIONS
- Do not expose the device to extreme temperatures or direct sunlight over
longer periods.
- Avoid blows and shocks of any kind to the device.
- For cleaning use a dry soft cloth that you have moistened with water and
a mild cleaning agent. Never use volatile substances such as benzene,
thinner, cleansing agents in spray cans etc.
- When the device is not being used store it in a dry area and out of the
reach of small children.
1
22
2324
2526
2728
12
12
Brauchen Sie Hilfe? Stellen Sie Ihre Frage.
Missbrauch melden von Frage und/oder Antwort
Libble nimmt den Missbrauch seiner Dienste sehr ernst. Wir setzen uns dafür ein, derartige Missbrauchsfälle gemäß den Gesetzen Ihres Heimatlandes zu behandeln. Wenn Sie eine Meldung übermitteln, überprüfen wir Ihre Informationen und ergreifen entsprechende Maßnahmen. Wir melden uns nur dann wieder bei Ihnen, wenn wir weitere Einzelheiten wissen müssen oder weitere Informationen für Sie haben.
Art des Missbrauchs:
Forenregeln
Um zu sinnvolle Fragen zu kommen halten Sie sich bitte an folgende Spielregeln:
Lesen Sie zuerst die Anleitung;
Schauen Sie nach, ob die Frage bereits gestellt wurde;
Stellen Sie die Frage so deutlich wie nur einigermaßen möglich;
Erwähnen Sie was Sie bereits versucht haben um das Problem zu lösen;
Ist Ihr Problem von einem Besucher gelöst dann lassen Sie ihn / sie wissen in diesem Forum;
Falls Sie reagieren möchten, so verwenden Sie bitte das Antworten- Formular;
Da ihre Frage für alle Besucher sichtbar ist, sollten Sie lieber keine persönliche Daten erwähnen.
Neu registrieren
Registrieren auf E - Mails für Irox JK-TR1 wenn:
neue Frage gestellt werden
neue Handbücher vorhanden sind
Sie erhalten eine E-Mail, um sich für eine oder beide Optionen anzumelden.
Das Handbuch wird per E-Mail gesendet. Überprüfen Sie ihre E-Mail.
Wenn Sie innerhalb von 15 Minuten keine E-Mail mit dem Handbuch erhalten haben, kann es sein, dass Sie eine falsche E-Mail-Adresse eingegeben haben oder dass Ihr ISP eine maximale Größe eingestellt hat, um E-Mails zu erhalten, die kleiner als die Größe des Handbuchs sind.
Ihre Frage wurde zu diesem Forum hinzugefügt
Möchten Sie eine E-Mail erhalten, wenn neue Antworten und Fragen veröffentlicht werden? Geben Sie bitte Ihre Email-Adresse ein.