NOTE:When replacing the batteries,the recorded messages will be saved,but the date
and time will have to be reset.
NOTE:When replacing the batteries,the recorded messages will be saved,but the date
and time will have to be reset.
SETTING THE TIME AND DATE SETTING THE TIME AND DATE
When the batteries are inserted,0 hour and 0 min and Jan01 will appear in the display.Set When the batteries are inserted,0 hour and 0 min and Jan01 will appear in the display.Set
the time and date as follows: the time and date as follows:
2
REVFWD
PLAY/STOP
REC/
STOP
ERASE/REPEAT
1
3
1
2
REVFWD
PLAY/STOP
REC/
STOP
ERASE/REPEAT
TO TURN THE UNIT ON & OFF TO SWITCH BETWEEN MODES
POWER SOURCE
OPERATION
(
CONTINUED
)
1 2
1 2
RECORDING QUALITY
You can choose between there voice recording quality modes. For best sound quality,
select HP(High play);for very good sound quality, select MP(Medium Play);for longer
recording time (reasonable sound quality),select LP(long Play).
SELECTING A FILE FOLDER
This unit has four memory storage areas(file folders)to choose from, labelled A,B,C and D.
You can store 99 messages in each individual file folder, for four file folder you can totally
save 396pcs of messages.
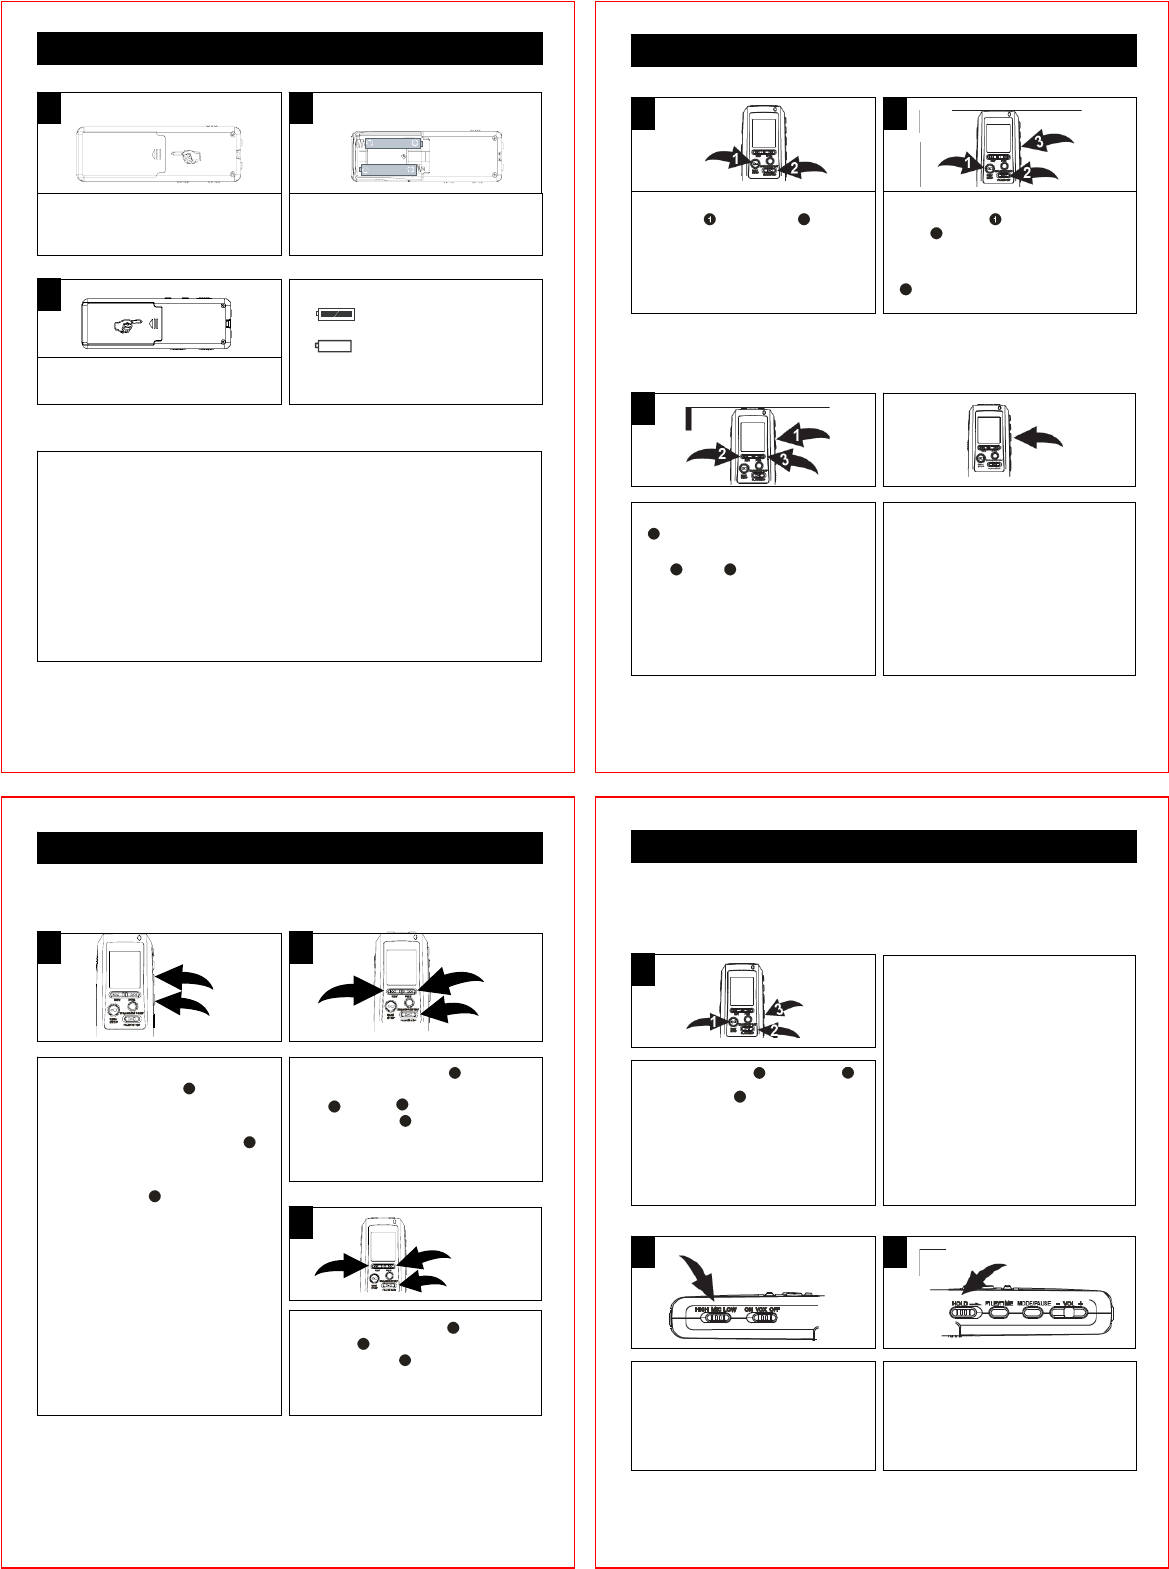
RECORDING SENSITIVITY HOLD SWITCH
Insert two 2pcs of”AAA”size batteries.(not
Included.)
following the polarity diagram.
3
Slide the battery compartment
back in place.
R
Y BATTERY INDICATORS:
The batteries are fresh.
The batteries are weak or dead,replace.
B
BATTERY PRECAUTIONS
Follow these precautions when using batteries in this device:
1. Use only the size and type of batteries specified.
2. Be sure to follow the correct polarity when installing the batteries as indicated in the battery compartment.
Reversed batteries may cause damage to the device.
3. Do not mix different types of batteries together(e.g.Alkaline and Carbon-zinc)or old batteries with fresh ones.
4. If the device is not to be used for a long period of time, remove the batteries to prevent damage or injury from
possible battery leakage.
5. Do not try to recharge batteries not intended to be recharged;they can overheat and rupture.(Follow battery
manufacturer’s directions.)
OPERATION
1 2
Press the PLAY/STOP button
1
to confirm
and the year will blink. Set the year using the
REV
2
and FWD
3
buttons, then press the
PLAY/STOP button
1
again to confirm.
While the date/time appears in the display,
press the
FILE/TIME button
1
to shift
between 12 or 24 time display.
Press and hold the Mode/Pause button
2
for two seconds, then release, ’SET’ will
appear in the display. Press the
Mode/Pause button
2
once again to enter
the Date /Time set mode.
3
1
2
REVFWD
PLAY/STOP
REC/
STOP
ERASE/REPEAT
Set the Month using the REV
2
and FWD
3
buttons, then press the
PLAY/STOP button
1
again to confirm.
Repeat this step to set the Day, Hour and
Minute.
3
To turn the unit on, Press the
REC/STOP
or PLAY/STOP
2
button. To
turn the unit off, simply do not touch any
button for 30 seconds, and the unit will
automatically turn off and show the time.
To enter the standby mode, press the
REC/STOP button
or PLAY/STOP
button
2
while in the Time mode. The unit will
change to the Time mode if no button is
pressed in 30 seconds. To enter the Time
mode, press the MODE/PAUSE button
3
.while in the standby mode.
1
Press and hold the MODE/PAUSE button
1
for two seconds; “SET” will appear and
the recording quality will blink press the
REV
2
or FWD
3
button to select the
desired recording quality.
When the desired recording quality appears,
press the MODE/PAUSE button twice to
confirm and return to the Time
mode or it will change to the Time mode if no
button is pressed in 30 seconds.
High Play:..................................... 878 min.
Medium Play:............................... 1759 min .
Long Play:.....................................3369 min .
Libble nimmt den Missbrauch seiner Dienste sehr ernst. Wir setzen uns dafür ein, derartige Missbrauchsfälle gemäß den Gesetzen Ihres Heimatlandes zu behandeln. Wenn Sie eine Meldung übermitteln, überprüfen wir Ihre Informationen und ergreifen entsprechende Maßnahmen. Wir melden uns nur dann wieder bei Ihnen, wenn wir weitere Einzelheiten wissen müssen oder weitere Informationen für Sie haben.
Art des Missbrauchs:
Forenregeln
Um zu sinnvolle Fragen zu kommen halten Sie sich bitte an folgende Spielregeln:
Lesen Sie zuerst die Anleitung;
Schauen Sie nach, ob die Frage bereits gestellt wurde;
Stellen Sie die Frage so deutlich wie nur einigermaßen möglich;
Erwähnen Sie was Sie bereits versucht haben um das Problem zu lösen;
Ist Ihr Problem von einem Besucher gelöst dann lassen Sie ihn / sie wissen in diesem Forum;
Falls Sie reagieren möchten, so verwenden Sie bitte das Antworten- Formular;
Da ihre Frage für alle Besucher sichtbar ist, sollten Sie lieber keine persönliche Daten erwähnen.
Neu registrieren
Registrieren auf E - Mails für Mpman ICR110 wenn:
neue Frage gestellt werden
neue Handbücher vorhanden sind
Sie erhalten eine E-Mail, um sich für eine oder beide Optionen anzumelden.
Das Handbuch wird per E-Mail gesendet. Überprüfen Sie ihre E-Mail.
Wenn Sie innerhalb von 15 Minuten keine E-Mail mit dem Handbuch erhalten haben, kann es sein, dass Sie eine falsche E-Mail-Adresse eingegeben haben oder dass Ihr ISP eine maximale Größe eingestellt hat, um E-Mails zu erhalten, die kleiner als die Größe des Handbuchs sind.
Ihre Frage wurde zu diesem Forum hinzugefügt
Möchten Sie eine E-Mail erhalten, wenn neue Antworten und Fragen veröffentlicht werden? Geben Sie bitte Ihre Email-Adresse ein.