(release button)
PWR (Power button)
9/ button (Skip forward)
7/MOD button
SEL/VOL knob (Audio/V
AMS/SCH button (Automatic stor-
ing)
TA button (Tfi c alarm)
LCD display
USB slot
AUX in jack
0/DSP button (Display time)
6/DIR+ button (Directory up)
5/DIR- button (Directory down)
4/RDM button (Random)
3/RPT button (Repeat)
2/INT button (Intro)
1/P button (Pause)
BAND/LOUD button
PTY button (Program type select-
ing)
EQ button (equalizer)
8/ (skip backward)
AF button (Alternative Frequency)
Reset button
SD/MMC slot
Do not attempt to modify the unit, modifying the unit may cause an accident.
Installation or servicing of the unit by persons without training and experience in
electronic equipment and automotive accessories
expose you to the risk of electric shock or other hazards.
Stop the vehicle before carrying out any operation that could interfere with your
driving.
Keep the volume at a level which you could hear sounds from outside the vehicle.
Do not work in extremely high or low temperature. Be sure the temperature inside
the vehicle is between +60°C and -10°C before turning on your unit.
When replacing the fuse(s), the replacement must be of the same amperage as
shown on the fuse holder
Do not block vents or radiator panels. Blocking them will cause heat to build up
inside and may result in fi re.
Using this unit without running the engine can result in battery drainage
Use only in cars with a 12 volt negative ground.
After completing the installation and beginning to play the unit(including replacing
the battery), please remove the front panel at fi
on the base with pointed object (such
status.
1.
2.
3.
4.
5.
6.
7.
8.
9.
10.
11
12.
13.
14.
15.
16.
17.
18.
19.
20.
21.
22.
23.
24.
1.
2.
3.
4.
5.
6.
7.
8.
9.
10.
M-098 MR
GB - 1
User Manual
CAR RADIO WITH USB & SD/MMC
Please read the instruction carefully before
operating the unit
PRECAUT
English
GB - 2
GB - 3
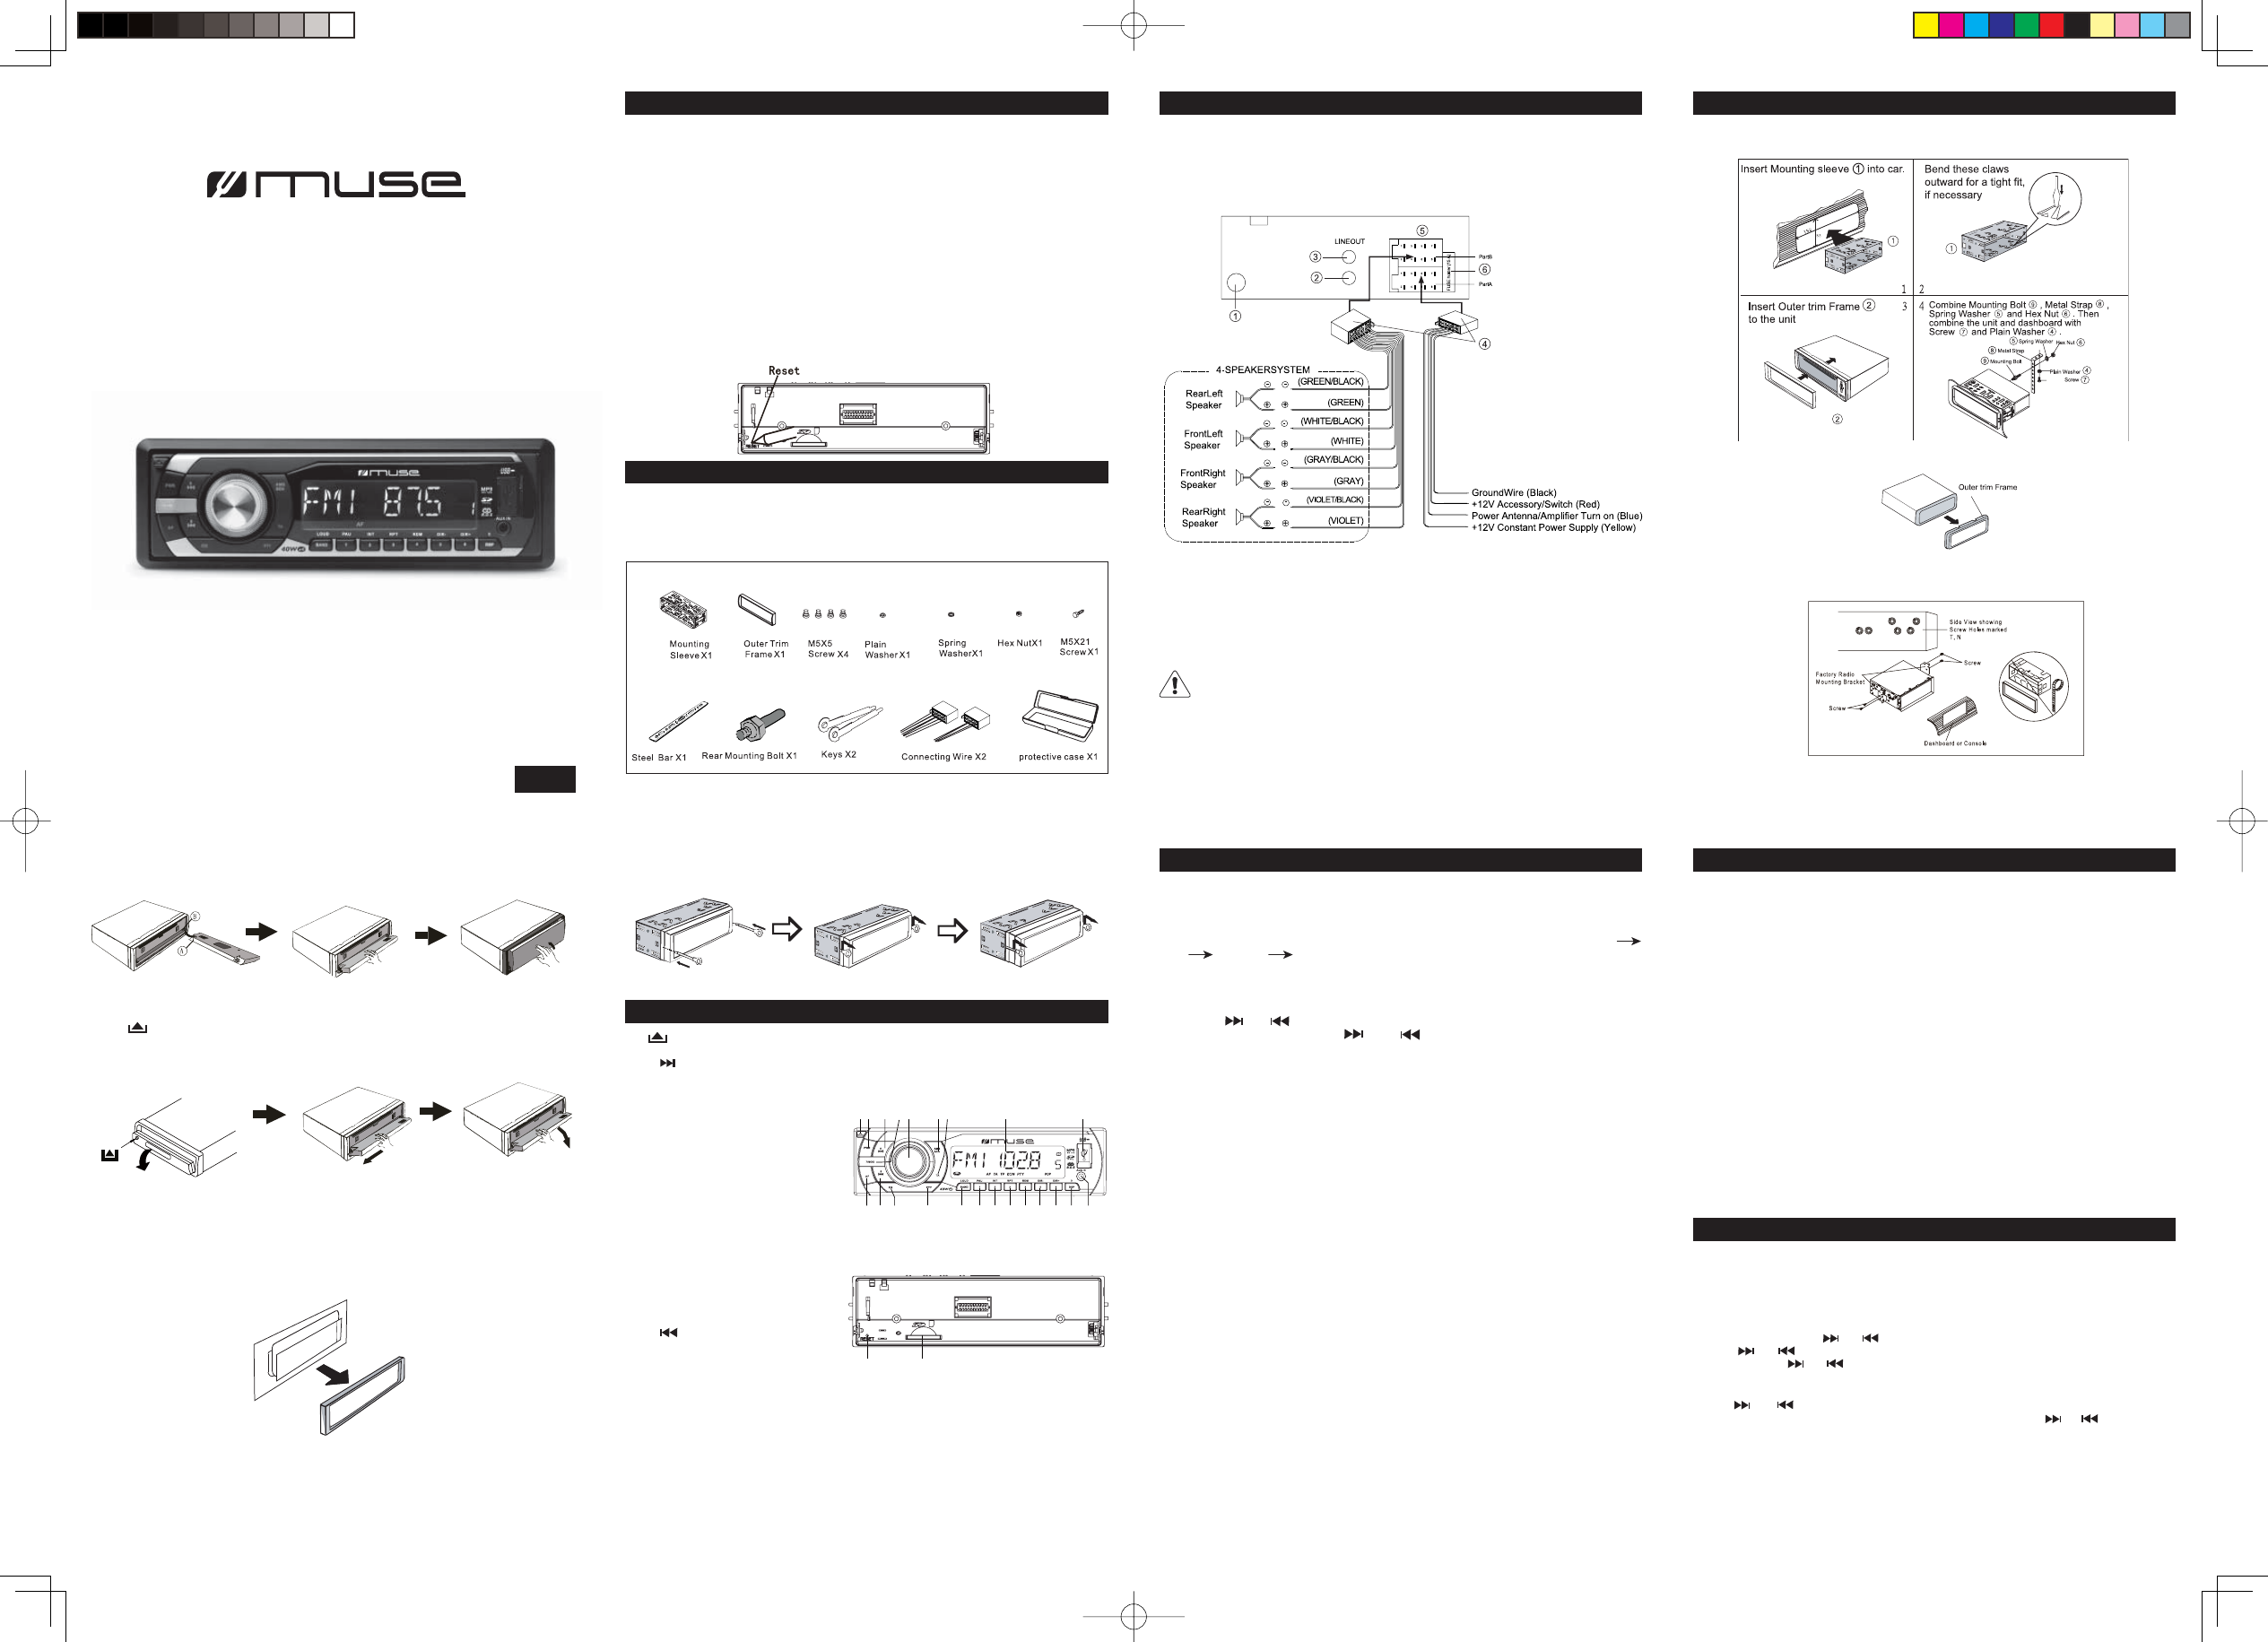
1. Antenna
2. Line out Right (red)
3. Line out Left (white)
4. Output plug (male)
5. Output plug (female)
6. FUSE holder (15
Caution!
- Make sure to connect the color coded leads according to the diagram. Incorrect
connections may cause the unit to malfunction or damage the vehicle’s electrical system.
-
connect the left and right channel speaker cables each other or to the vehicle body
- Make sure all the connections are completely correct before turning on your unit.
Do not connect the ignition wire (red) and the battery wire (yellow), it may cause a short circuit,
even result in fi re.
Install the unit
- Method 1: DIN Front-Mount
1. Remove the outer trim frame
GB - 4 GB - 5
Install the front panel
Put notch
Note: Never put any objects into the front panel.
3. Insert the keys supplied to the unit at the both sides of the unit (shown as illustrated)
until they click. Pulling the keys and makes them to remove the unit from the dash-
board.
GB - 6
LOC
Front panel
Base
When you unpack your new car radio, make sure that you have removed all the acces-
sories and information papers:
Main unit with connector
User manual
Accessories:
- Method 2 DIN Rear-mount (For Japanese car)
BASIC O
T
Press PWR button (2) to turn on the unit. Press this button again to turn off the unit.
Selecting the mode
After the unit is on, press MOD (4) button to select different sourcing mode: Radio
USB
SD/MMC AUX
CONNECT INST
SOUND F
Setting the Sound Characteristics:
Repeatedly press SEL/ VOL knob (5) to select the desired mode in the following order:
“BAS” (Bass) -> “TRE” (T
volume) ->”REG” (REG ON /OFF) -> “LOC” (LOC ON/ OFF) ->STEREO/ MONO ->
“VOL” (V
rotating the SEL/ VOL knob (5).
Note: -The unit will return to the precious mode if no adjusting within 3 seconds.
Time displaying
Press DSP button (1
Adjust time: Long press DSP (1fl
Then Press and button to adjust the hour value and press DSP (1fi rm.
Then minute digits fl
press DSP (1fi rm
Reset the unit
Operating the unit for the fi
unit. TRESET button (23) located on the base with
a pointed object. When some errors occur in display
will erase the clock setting and some memorized functions.
V
TSEL/VOL knob
anti-clockwise.
Preset equalizer
When you are listening to popular music, classic music or rock music, using EQ func-
tion to select relative status can adjust the sound quality perfectly
EQ (20) to select different equalizer mode in following order: FLA
->CLASS -> EQ off.
Loudness On/off
Press and hold BAND/LOUD button (18) until “LOUD ON” shows on display to acti-
vate LOUD function. By this function, you can increase the low frequency
improve sound sensitivity
LOUD function.
Information display
- In case of receiving a RDS station.
The display will show: CT -> FREQ -> PTY
-In case of not receiving a RDS station
The display will show: CT -> FREQ -> NO PTY
Note: It will return to normal play mode if no key is pressed within 5 seconds.
12 3 54
89 1 110
UNP
2. Select a position where the screw holes of the mounting bracket supplied with the
car and the screw holes of the main unit become aligned (are fi tted).
Detach the Front Panel
Press button in the upper left corner
When the front panel was turned down to the angle of 45°, hold and push the front
panel to left, and then pull it out.
Detach the Unit
1. Detach the front panel. (Please refer to upper part)
2. T
GB - 7
LIST
Selecting band
InBAND/ button
following order: FM1->FM2->FM3.
Manual/automatic tuning
- Manual T
Press and hold button or (3/21) until “MANUAL” shows on display
button or (3/21) continuously to select a station downward or upward. Press
and hold button or (3/21)to tune the station with a faster speed.
- Automatic T
Press or (3/21) once, the radio automatically searches a station upward or
downward respectively and plays when it fi
stop scanning.
23 24
1 2
22
4
3
56 8 9
21 20
19 18 17 16 15 14 13 12 11 1
M5 X 21
M5 X 21
3. T
AR-3043 IB MUSE 001 REV0 GB.indd1 1AR-3043 IB MUSE 001 REV0 GB.indd1 1 2011-3-4 17:27:282011-3-4 17:27:28