6
Press and release the On/Off button (A4).
Then release the M key. The symbol now blinks together with the selected number.
Press the M key once and the symbol blinks together with the selected number.
Select the desired number using the
and
keys. NOTE! This number must be the same for the
baby unit and the parent unit.
Then press the OK key and the unit now returns to normal operations.
3. Select high temperature alarm
The unit must be switched off before starting this procedure.
Press and hold the M key.
Press and release the On/Off button (B4).
Then release the M key. The symbol now blinks together with the selected number.
Press the M key twice and the HIGH symbol now blinks together with the selected number. The value
can be adjusted from 0 to 45°C. NOTE! It is possible to adjust values up to 49°C, but the alarm is
disabled when the value is over 45°C.
Adjust by one degree by pressing the
key, and by every 10th degree by pressing the
key. The
values increase by one degree each time you press the key. If you go past the value you want, you
must continue up to 9 for each degree and up to 4 for each 10th degree before starting again from 0.
When you have finished adjusting, press the OK key. The unit then returns to normal operations.
Stop the alarm by pressing the OK key. The number will nevertheless continue to blink until the
temperature is again within the set range.
4. Select low temperature alarm
The unit must be switched off before starting this procedure.
Press and hold the M key.
Press and release the On/Off button (B4).
Then release the M key. The symbol now blinks together with the selected number.
Press the M key three times and the LOW symbol now blinks together with the selected number. The
value can be adjusted from 0 to 45°C. NOTE! The unit displays temperatures down to - 5°C, but
the value cannot be set to lower than 0°C. If the temperature drops below 0°C the alarm will be
triggered. Stop the alarm by pressing the OK key.
Adjust by one degree by pressing the
key, and by every 10th degree by pressing the
key. The
values increase by one degree each time you press the key. If you go past the value you want, you
must continue up to 9 for each degree and up to 4 for each 10th degree before starting again from 0.
When you have finished adjusting, press the OK key. The unit then returns to normal operations.
Stop the alarm by pressing the OK key. The number will nevertheless continue to blink until the
temperature is again within the set range.
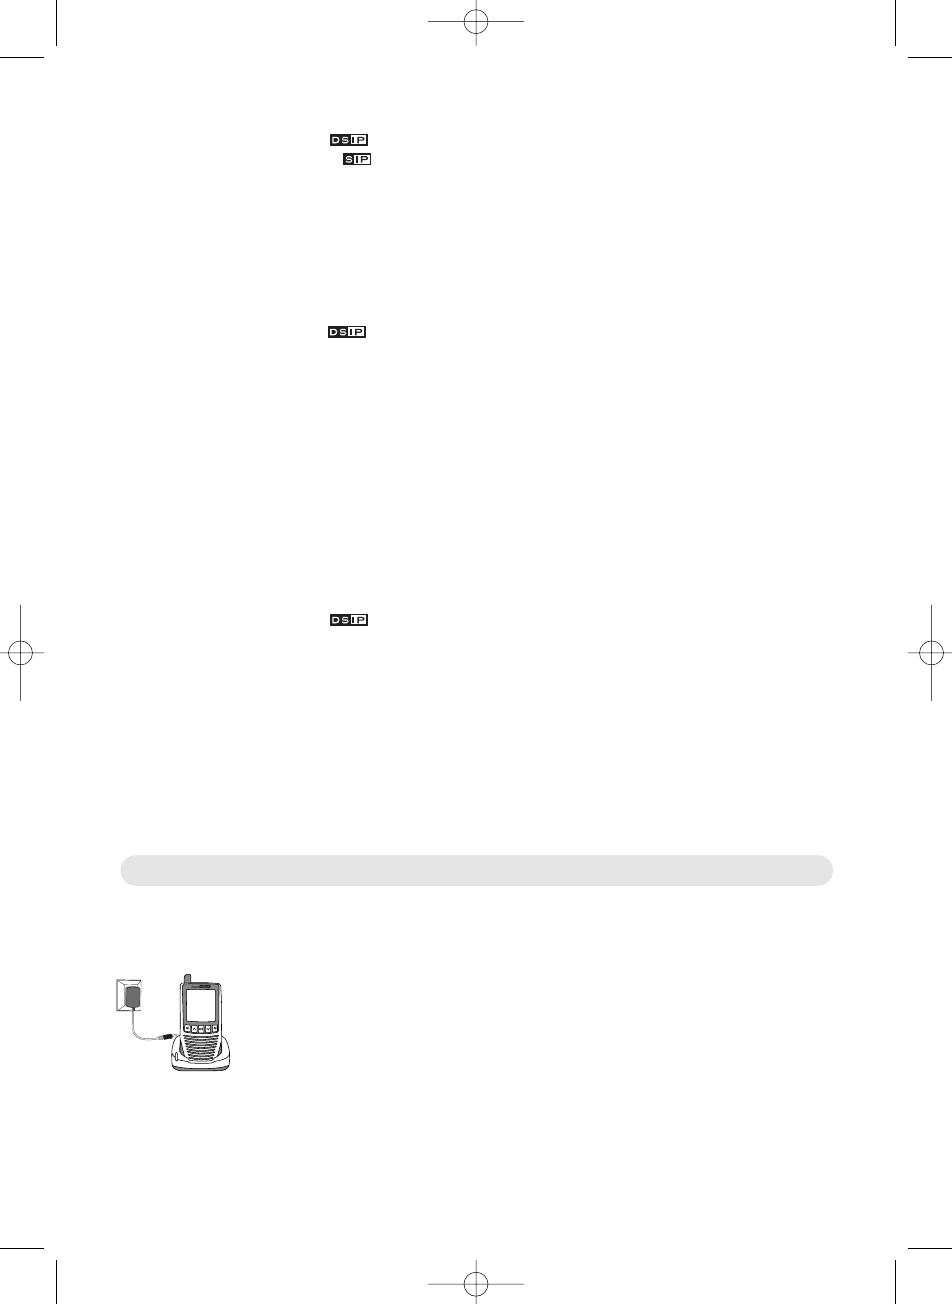
Both units may be used while being charged.
Connect the chargers to the wall outlet using the adapters provided (15). Only these adapters must
be used.
Place the baby unit and parent unit in the chargers (14); the batteries will then be
charged. The light indicator(13) on the charger lights red during charging and
switches to green when the batteries are at full voltage (after around 4-6 hours),
but they should remain in the charger for a few hours more to get a full charge.
When the green light is on, the charger has gone into maintenance charging
mode. The batteries therefore will not be damaged, even if they remain in the
charger for a long time. The batteries may be recharged up to 1000 times as long
as they are used properly, see Quick start, number 5.
Note: Rechargeable batteries are consumable articles that gradually decline as they are used.
Extra batteries can be purchased from your dealer. Read the troubleshooting chart if you have any
problems.
Using the charger and batteries