T
Name: COMP AIR
Model: NE-C900 (NE-C900-E)
T Compressor Nebulizer
Rating: AC 220-240V
Power Consumption: 220V
Operating T
Humidity:
+10°C to +40°C / 30% to 85%RH
Storage and T
T
Air Pressure:
-20°C to +60°C / 10% to 95%RH /
700 - 1060hPa
Weight: Approx. 2.2kg (compressor only)
Dimensions: Approx. 175 (W) × 1
(compressor only)
Contents:
Compressor
200cm), Mouthpiece, Nosepiece,
(PVC), Child Mask (PVC), 5 pcs Spare
Filters, Instruction Manual, W
Classification: Class ll equipment, T
= Class ll
equipment
=
applied
Read the instruction
manual
= Power off
= Power on
T
Particle Size: **MMAD m
MMAD = Mass Median
Medication T 7ml maximum
Appropriate Medication
Quantities:
2ml minimum - 7ml maximum
Sound: *Approx. 55dB
Nebulization Rate: *Approx. 0.4ml/min (by weight loss)
Airflow/Compressor
Output:
*7L/min @100kPa
Aerosol Output: **0.57ml (2ml, 1%NaF)
Aerosol Output Rate: **0.08ml/min (2ml, 1%NaF)
Result of cascade impactor measurements for particle size**
*
Measured by OMRON HEAL
**
Independently measured by Prof. Dr
Engineering and Materials Science, Faculty of Science and Engineering, Doshisha
University
Notes:
Subject to technical modification without prior notice.
This OMRON product is produced under the strict quality system of OMRON
HEAL
The device may not work if the temperature and voltage conditions are different to
those defined in the specifications.
This device fulfils the provisions of the EC directive 93/42/EEC (Medical Device
Directive) and the European Standard EN13544-1:2007+A1:2009, Respiratory
therapy equipment - Part1: Nebulizing systems and their components.
Performance may vary with drugs such as suspensions or high viscosity
supplier
See website of OMRON HEAL
URL: www
•
•
•
•
•
•
Removing condensation from the air tube
If there is moisture or liquid remaining in the air tube, be sure to follow the
procedure below to remove any moisture from within the air tube.
1) Make sure that the air tube is connected to the air connector on the
compressor
2) Remove the air tube from the nebulizer kit.
3) T
moisture.
Changing the air filter
If the air filter has changed colour
than 60 days, replace it with a new one.
1. Pull the air filter cover off the compressor
2. Change the air filter.
Remove the old air filter with a sharp object,
such as a toothpick, and insert the new air
filter
3. Put the air filter cover back in place.
Notes:
Use only OMRON air filters designed for this device. Do not operate without a filter
Do not attempt to wash or clean the filter
air filters can cause blockages.
There is no front or back orientation for the air filters.
Check that air filters are clean and free of dust before inserting them.
T
boil the air filter cover
reattached correctly
•
•
•
•
•
Cleaning and daily disinfecting
Cleaning
Clean the parts after each use to remove residual medication. This will avoid
inefficient nebulization or infection.
Firstly
■
Nebulizer Kit (Inhalation top, Medication tank), Mask (PVC),
Mouthpiece, Nosepiece
W
clean hot tap water and allow to air dry in a clean place.
Note: Nebulizer kit should be replaced after using for one year
■
Compressor
Wipe clean with a soft cloth moistened with water or mild detergent.
Disinfecting
Always disinfect the parts after the last treatment of the day
heavily stained, replace them with new ones.
Use one of the following methods:
T
A. Use a commercially available disinfectant. Follow the instructions
provided by the disinfectant manufacturer
1)
2)
Note: Never clean with benzene, thinner or a flammable chemical.
B. Parts may be boiled between 15 to 20 minutes.
After boiling, carefully remove the parts, shake
off excess water and allow to air dry in a clean
environment.
Note:
cover
Use the table below as a guideline to select a method for disinfecting.
O: applicable ×: not applicable
Parts
Mouthpiece
Nosepiece
Nebulizer Kit
Air Filter
Air Filter Cover
Adult Mask (PVC)
Child Mask (PVC)
Infant Mask (PVC)
(optional)
Air Tube
(PVC, 200cm)
Adult Mask (SEBS)
(optional)
Child Mask (SEBS)
(optional)
Materials
PP
PP
PP
Polyester
ABS
Mask: PVC
(Phthalate free)
Band: Rubber
(non-latex)
PVC
(Phthalate free)
Mask: SEBS
Band: Rubber
(non-latex)
Adapter: PP
Boiling O O O × × × × O
Alcohol
O O × O
Disinfecting
ethanol
Sodium
hypochlorite
O O × O
Milton*
(0.1%)
Quaternary
ammonium
O O × O
Osvan*
(0.1%)
Chlorhexidine
O O × O
Hibitane*
(0.5%)
Amphoteric
Surfactant
O O × O
T
(0.2%)
*
an example of commercially available disinfectant.
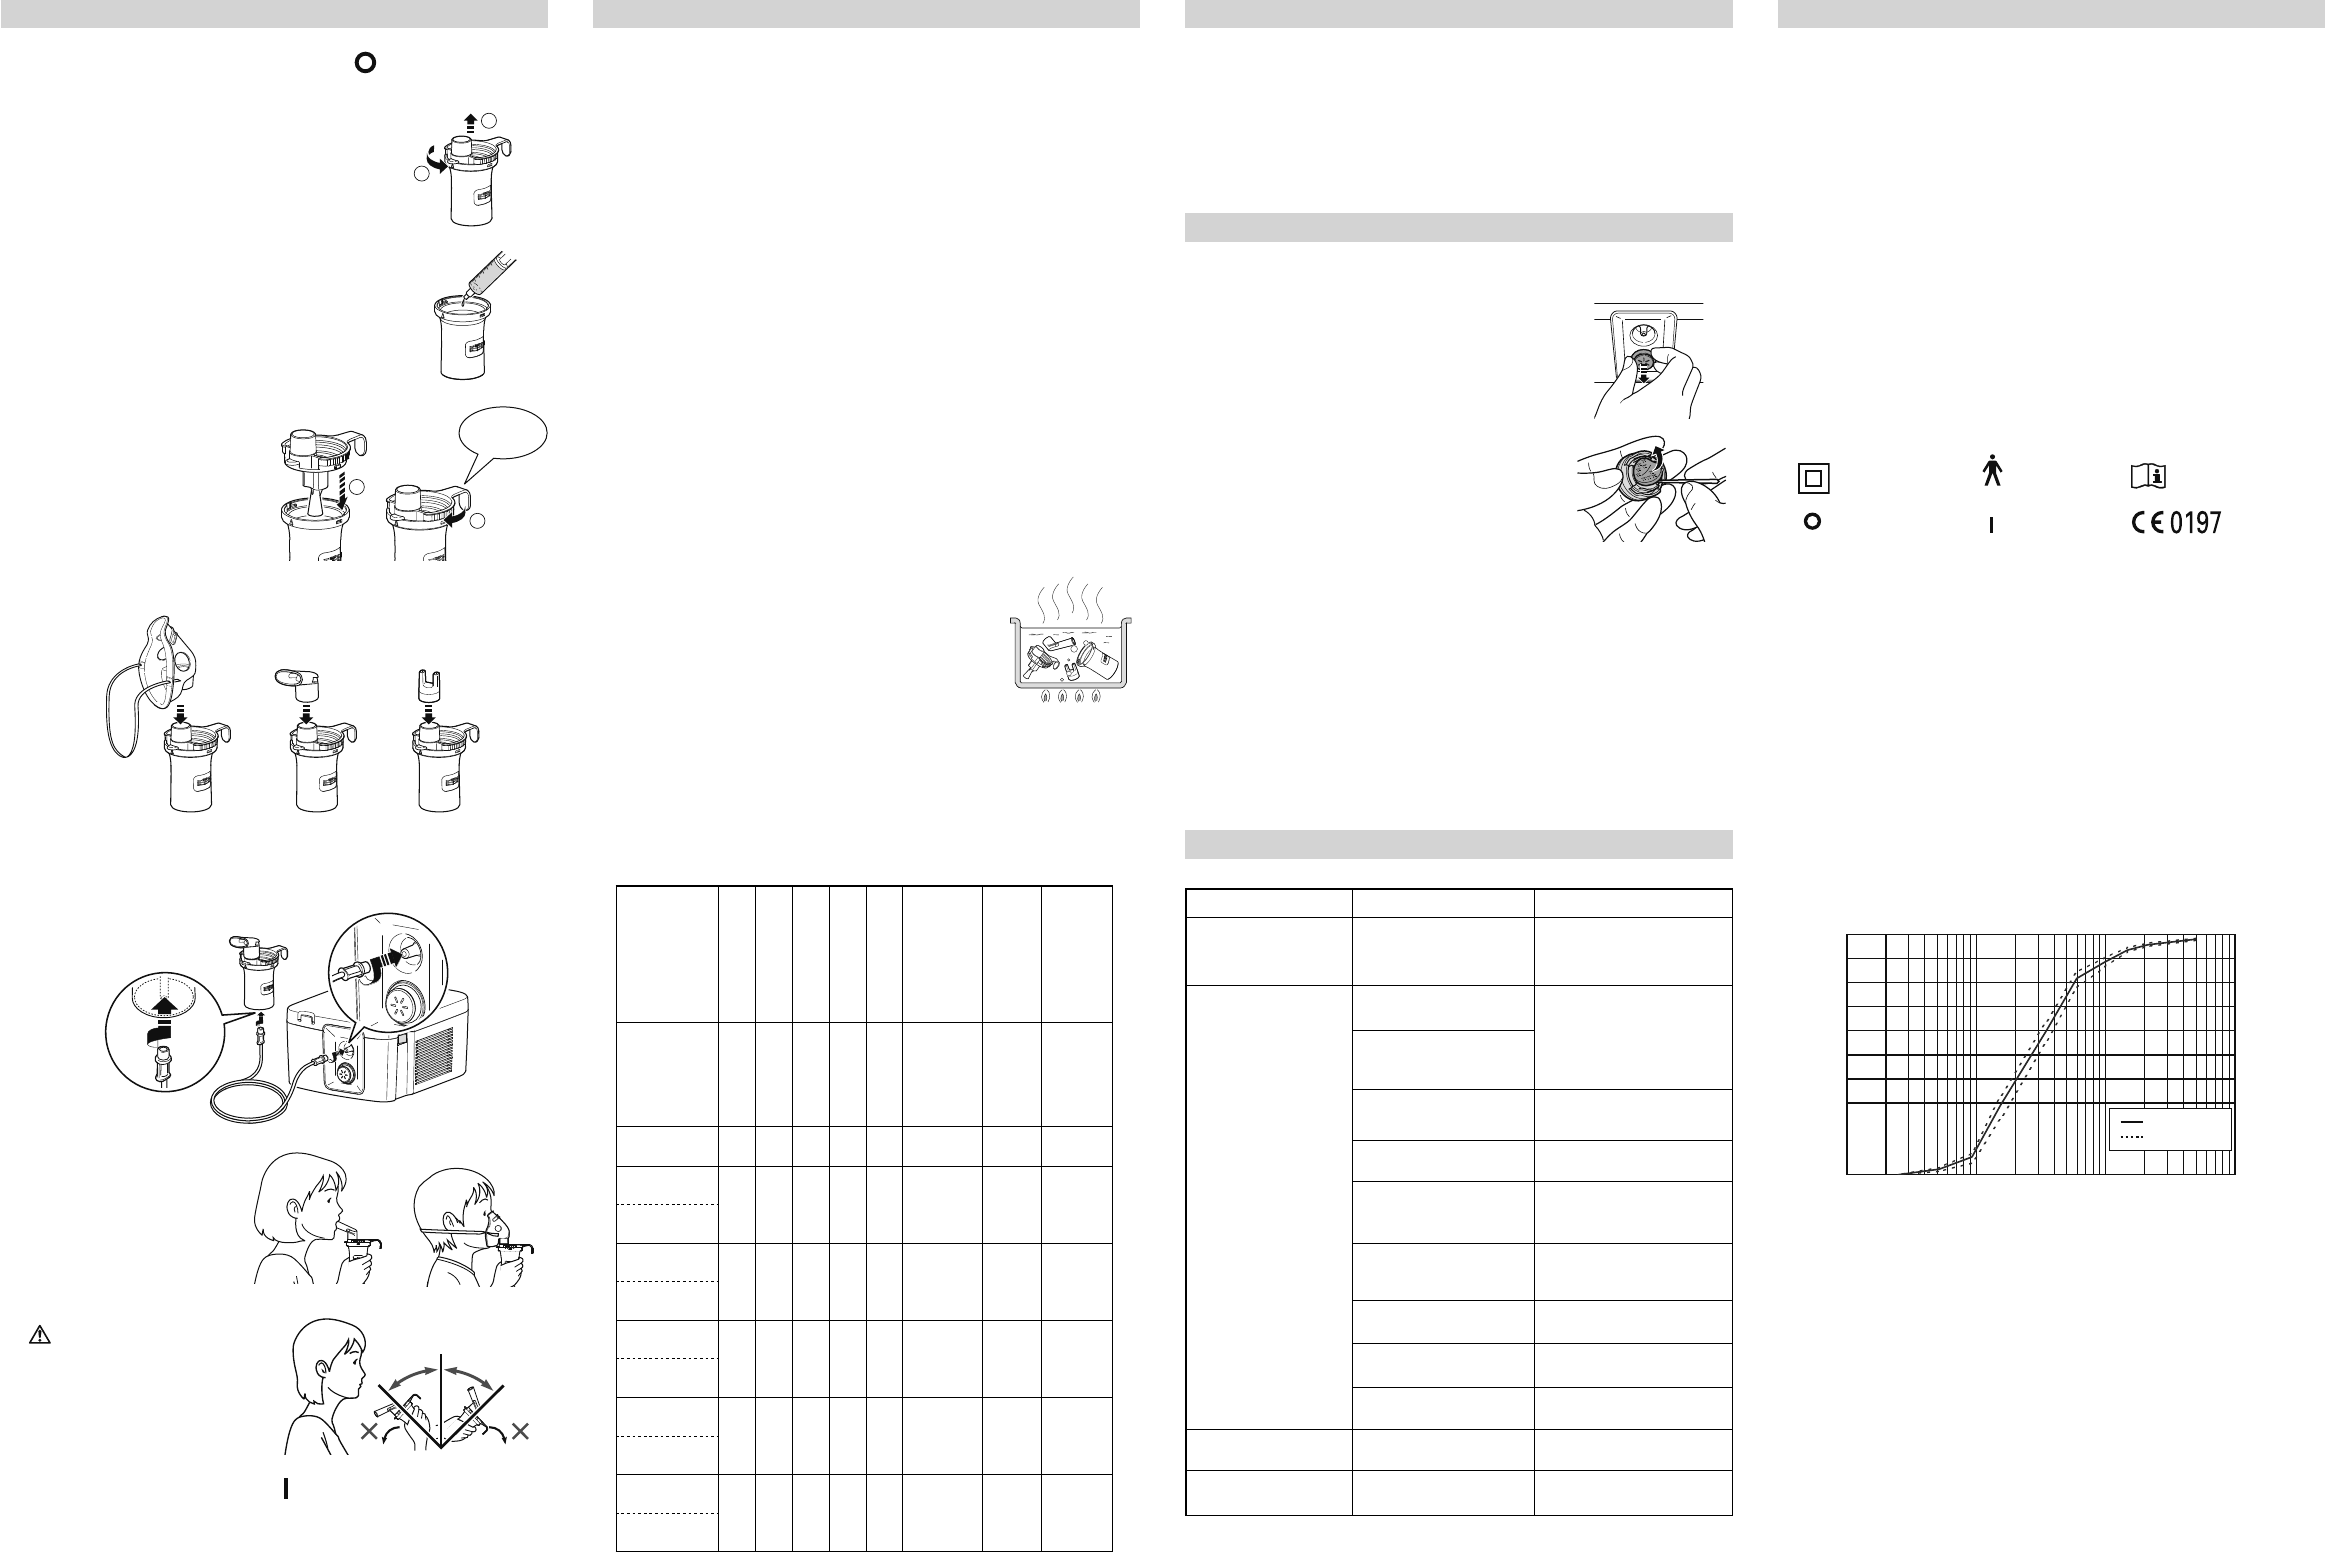
How to use
1. Make sure that the power switch is in the off (
) position.
2. Plug the power plug into a power outlet.
3. Remove the inhalation top from the medication
tank.
4. Add the correct amount of prescribed medication
to the medication tank.
5. Put the inhalation top back inside the medication
tank.
6. Attach the mask, mouthpiece or nosepiece to the nebulizer kit tightly
7. Attach the air tube.
T
8. Hold the nebulizer kit as
indicated on the right.
Follow the instructions of
your doctor or respiratory
therapist.
Caution:
Do not tilt the nebulizer kit at an
angle of greater than 45 degrees
in all directions. Medication may
flow into the mouth or it may result
in not nebulizing effectively
9. Press the power switch to the on (
) position.
starts, nebulization begins and aerosol is generated.
Inhale the medication.
10. When treatment is complete, turn the power of
compressor from the power outlet.
T
Check the following if your unit should fail during operation.
Problem Cause Remedy
Nothing happens when the
power switch is pressed.
Is the power plug plugged into
a power outlet?
Check that the plug is inserted
in a power outlet. Unplug then
reinsert the plug if necessary
No nebulization or low
nebulization rate, when the
power is on.
Is there medication in the
medication tank?
Add the correct amount of
medication to the medication tank.
Is there too much/little
medication in the medication
tank?
Is the nebulizer kit assembled
correctly?
Assemble the nebulizer kit
correctly
Is the nozzle blocked? Make sure that the nozzle is free
of blockages.
Is the nebulizer kit tilted at a
sharp angle?
Make sure that the nebulizer kit is
not tilted at an angle of more than
45 degrees.
Is the air tube connected
correctly?
Make sure that the air tube
is correctly connected to the
compressor and nebulizer kit.
Is the air tube folded or
damaged?
Make sure that the air tube does
not contain kinks.
Is the air tube blocked? Make sure that the air tube is free
of blockages.
Is the air filter dirty? Replace the air filter with a new
one.
The device is abnormally
loud.
Is the air filter cover attached
correctly?
Attach the air filter cover correctly
The device is very hot. Is the compressor covered?
Do not cover the compressor with
any type of cover during use.
Note:
If the suggested remedy does not solve the problem, do not try to repair the device
- no parts of the unit are user serviceable. Return the unit to an authorized
OMRON retail outlet or distributor
1
2
1
2
Clicks
Right angle
45°
100
90
80
70
60
50
40
30
20
10
0
1 10 100
Cumulative % particle mass of sodium fluoride under size
Cumulative Undersize%
Particle Size Dp ( m)
Individual tests
Mean