A
B
C
D
E
F
G
H
I
J
K
L
M
N
O
P
Q
R
S
U
V
W
X
Y
Z
a
b
T
1
CONTR
E [PR
[RE
[
F [4 /9 , US
[4 /9 , C
G [2 /3 ],5/ 6] (2
H [R
I [B6)
J [R/ T] (
[Y/ U] have the ex
tho2 /3 ] or [5 /6 ].
[O
K [D
L [AUTO PRES
M [T
N [# , PL
O [C
P [SLEEP] (5
Q [A
Thi
(exce
unu
act
cancel
R V
],
[+
S [M
Mute
“
adj
T [
U [F
V [8 ] (
W [D
X [PR
Y [T
Z [S
a [
b [F
c MUS
d Disp
e Remosensor
Aim t
sig
ma
unit.
f USB p
(3)
g [BAS
h [x , OPE
Refer to t
references.
A Standby/` ],1] (
Press to sw
mo
is st
B [DIMMER]
Dim
C Nume ≧10
T
exam≧10] [1] ] [6]
T
exam≧10] [≧10] [ ] [2 ]
[6]
D [D
1 Presx, OPE
to op
faci
x , OPEN
tray
2 Pres4/ 9 , CD
Stop
playback
Pre8].
Pau
4 /9, CDPress aga
res
Skip track
Pre2/ 3] or [ 5/ 6].
Search
through
tracks
Pres2 /3 ] or
[5 /6 ] dur
PreR/ T].
PrePLA
mode.
1-TR
1T
Play one s
disc.
Pres
sel
1-
1A
Play one s
disc.
R/ T] to sel
RAN
RND
Play a di
1-
RAN
Play all t
album randomly
R/ T] to sel
Thi
tracks.
1 Pres4/ 9, CD 8].
2 PresPR
3 Pres
track.
Rep
4 Pres4/ 9 , CD
1 Pres4/ 9, CD 8].
2 PresPR
3 PresR/ T] to sele
4 Pres5/ 6] on
but
5 PresOK
6 Rep
tracks.
7 Pres4/ 9 , CD
Cancel
program
mode
Pres
mode.
Rep
program
Pres
[4 /9 , CD] i
Check
program
conte
2 /3 ] o5 /6 ]
whe
the s
pres
“P
[2 /3 ] or [5 /6 ].
Cle
track
PreDEL] in th
Cle
programmed
tracks
Pres8 ] in th
“C
5 sec
agai
Note:
• The p
the d
• T
press [ REPE
Y
from t
PreDIS
Note:
•
• T
display
• Thi
• Thi
audi
• It may not b
to the c
• File
treate
• Thi
255 a
• Dis
(exce
• T
fi
want th
Limi
• If you h
as CD
ses
• Som
co
• Rec
ord
4
FM/AM RADIO
1 PresF
2 PresT
3 Pres2/ 3] or [ 5/ 6] to sel
fre
T
2 /3 ] or [5 /6 ] u
frequ
• Auto tun
ex
• 2 /3 ] or
[5 /6 ] once again.
PreFM MOD
Pre
• “
changed
• T
PreTUNE
Eac
BP2
BP1
the r
areas.
PreDIS
Note:
RDS di
poor
Stat
(PS)
]
Prog
(PTY)
]
Fre
(F
30 FM a
Aut
1 Pr
or “
2 PrAUTO PR
Manu
1 Pr
2 Pr
[2 /3 ] o5 /6 ]
to tun
require
3 PrPRO
4 Pr
channel.
The s
anot
5 R
Se
1 Pr
2 Pr
[2 /3 ] o5 /6 ] to s
channel.
Alter
the channel.
(b
Thi
all
Pre
Af
fl
Rel
changes
• T
steps.
• Af
freq
3
USB
The US
play MP3 t
Prep
Befor
to the u
bee
Do no
mas
not b
1
mas
dis
2 Pr4/ 9, USB
Stop
playback
Pre8]. “
display
4 /9, USB
play
8 ] agai
position.
For oth
de
Devi
class:
• USB d
• USB dev
Supported formats
• T
• CBI (
• A devi
sup
T
• Dep
not wor
•
•
•
5
CLOCK AND
1 PrC
2 R /T ] to set t
time.
3 PresOK
Note:
• Pres
fe
• Res
autom
30 M] 60 MIN ] 9] 120 MIN ] OFF
Pres
pres
Note:
• The p
• The s
not to over
Y
to wake you u
.
Prepar
dis
volu
1 Pr
“ # PL # PL # PL
2 R /T ] to set t
starting time.
3 Pr
4 R nishing
time.
5 Pr#, # PL 1”
“ # PL # PL
6 Pr `] to turn o
Cha
settings
Rep
(Z s
Cha
source or
volu
1) Press # ,
cle
display
2) Ma
or vol
Per
(Z s
Che
settings
Press [
select
“ # # PL 2
or
“
# PL
”
.
Cancel
Pres# ,
the t
display
.
Note:
• The t
volu
• The u
to fun
6
SOUND ADJUSTMENT
Pre PrePRESET EQ
“
“
Bass or
Tr b
1) PBASTREBLE
(m
BASS
])
sel
2) Pre2/ 3] or [ 5/ 6]
to adj
Surround
sound
PreS
“O
“OF
If inter
rec
surr
D. PrD.BASS
“O
Re-m
PreRE-
“O
“OF
7
OPTIONAL EQUIPMENTS
P
Ot
star
the s
T
mai
ope
1 PrM
and [ 2 ] u
2 PrOK ] for at l
2 se
T
step2
] with [ ].
T
the p
the M
spe
1 Pl
2 PrM
mai
)
and p
T
PreI
“NORMAL
Note:
• Cor
• For de
equ
2
DISCS
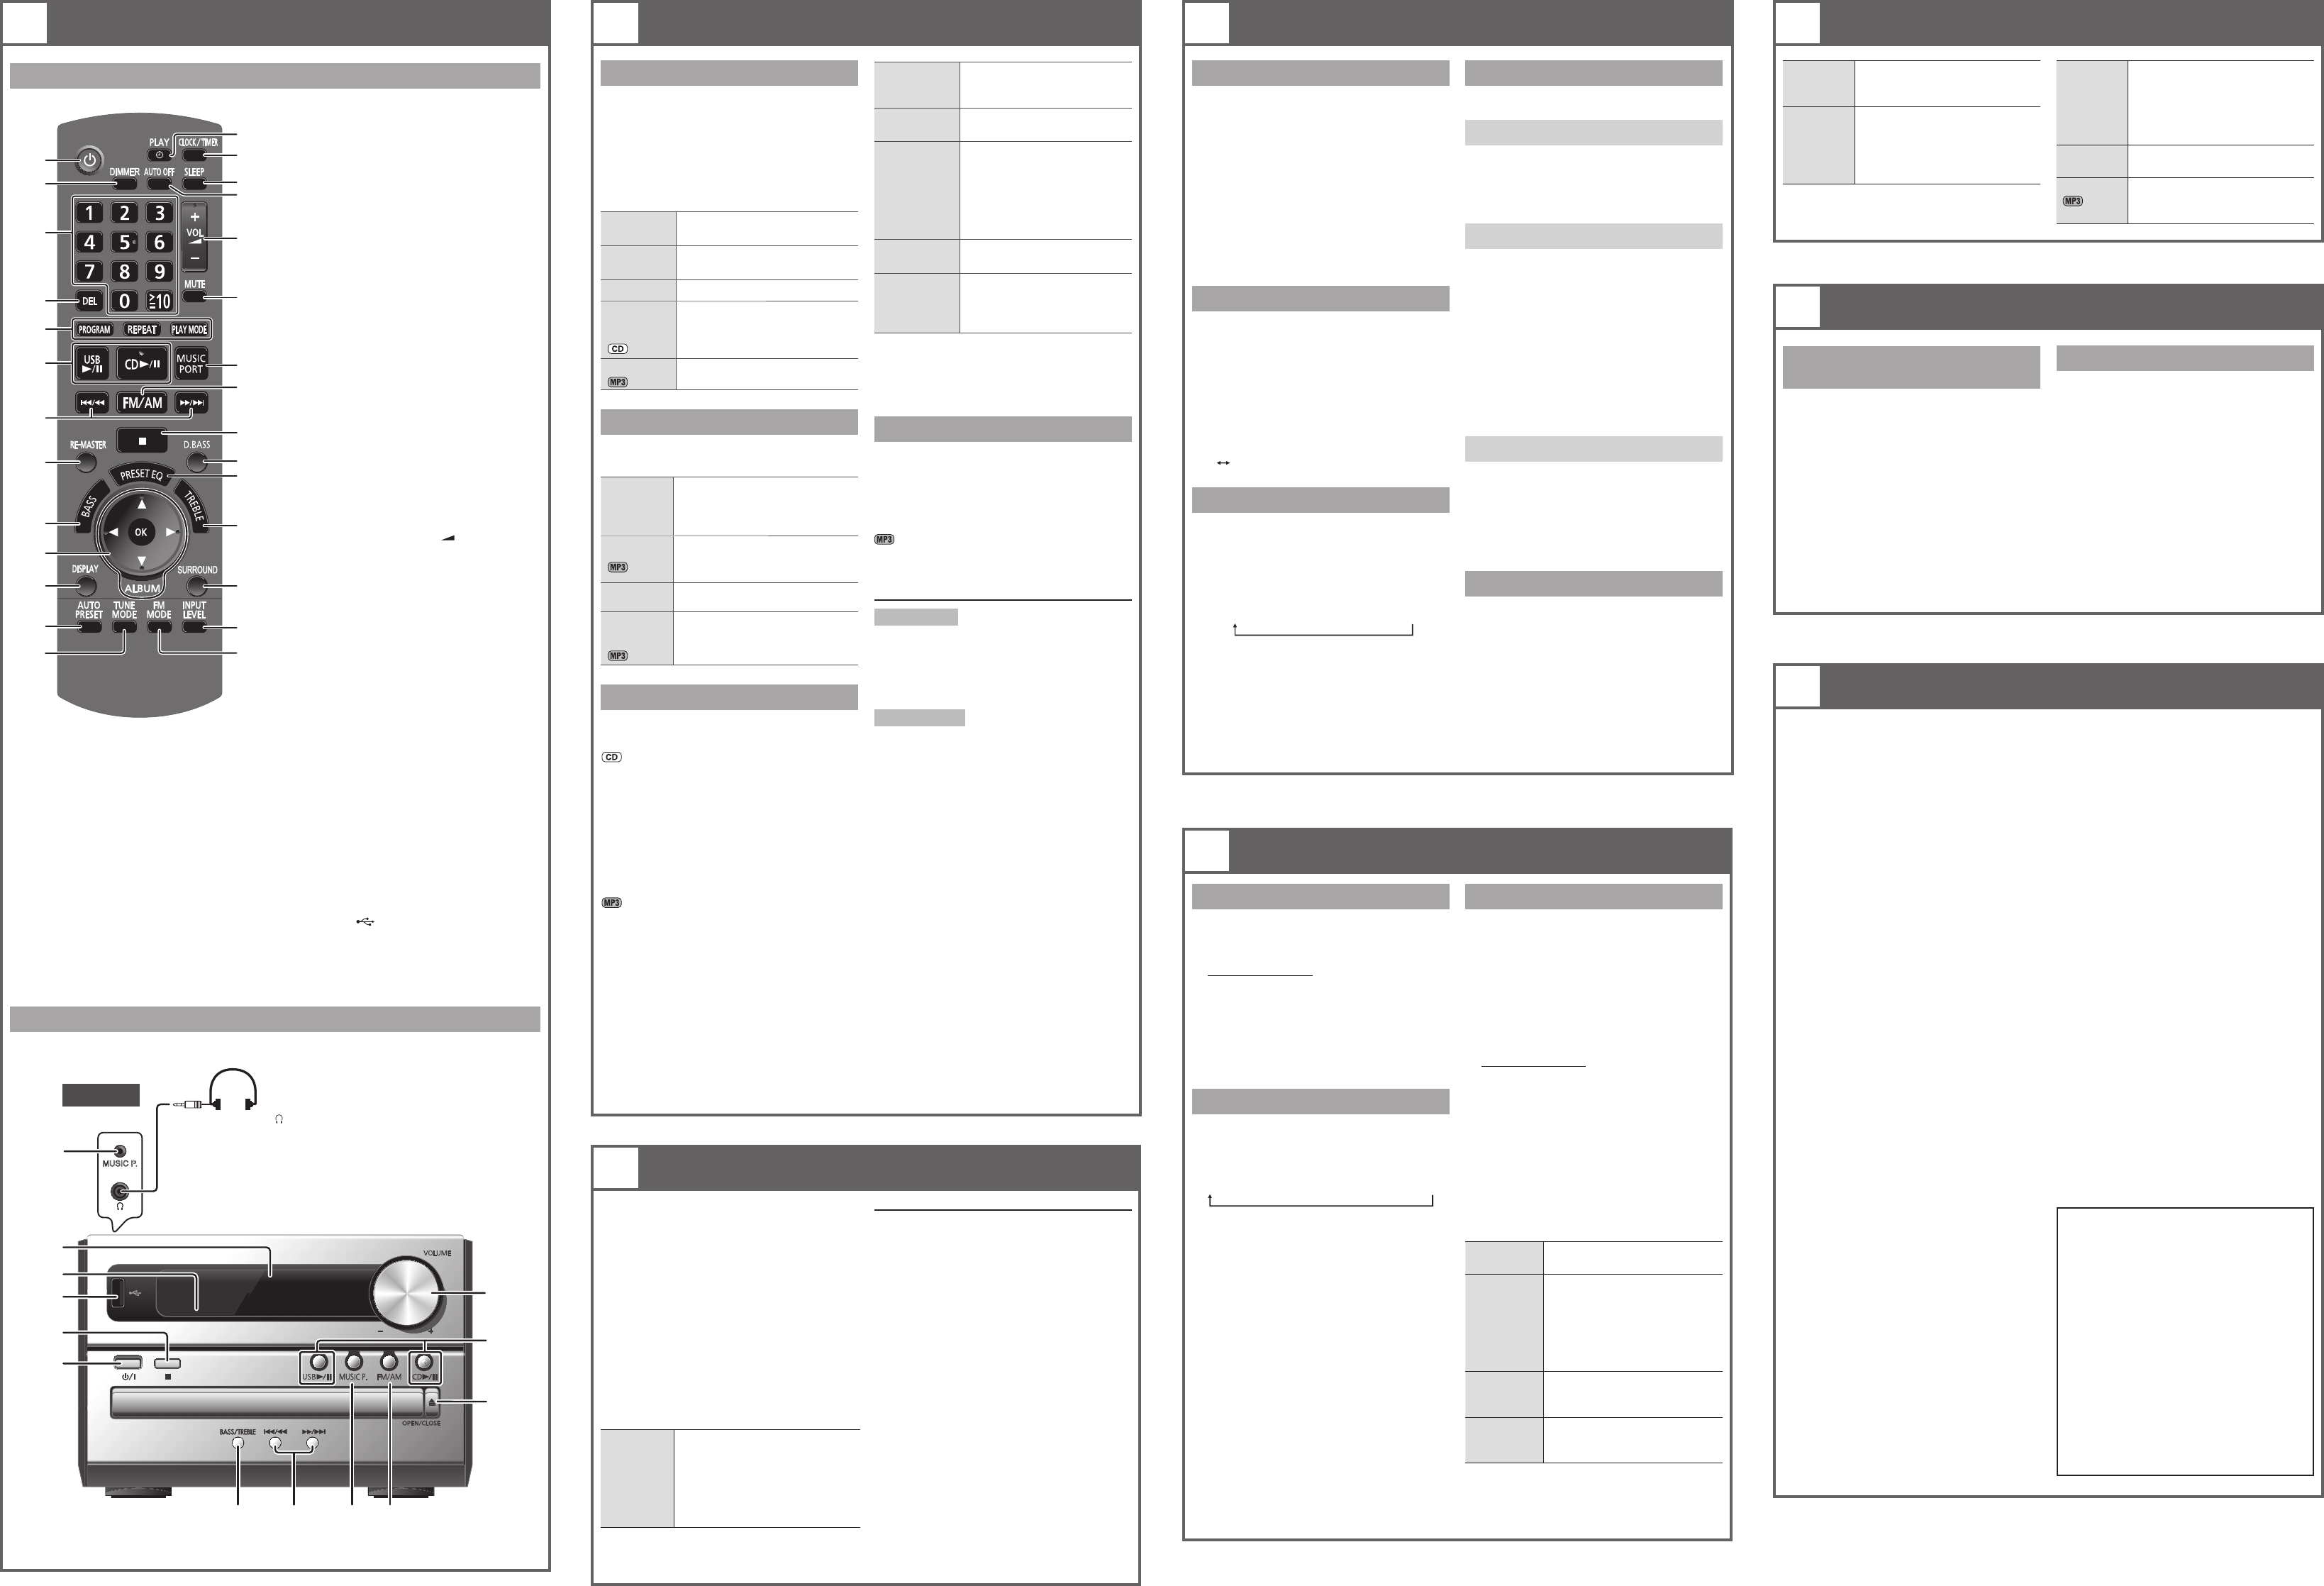
Remote control
Main unit
T
Headp ( )
Plug t (n
• Avoid li
damage
• Exc
cau
• Lis
ear
earphones.
TR
■
No re
pressed.
• Che
• T
• T
cau
by str
volu
environment.
A “humm
• An AC mai
the u
from t
■
Inc
•
correct
• Dis
• Rep
non-standard.
• Con
to evaporate.
■
• T
away from any tel
• Swi
mode.
A low hum i
• Sep
cords.
■
No res
4/ 9
, USB
• Dis
it. A
• The US
co
• The US
work wi
• USB dev
8 gig
Slow o
• Lar
take
“N
•
• On
• If the
(au
in th
T
Alter
the
non
■
•
connection.
• Dis
on again.
“ERROR”
• Inc
ins
“A
• Clo
“A
• Play tim
accord
“A
• The u
29 mi
any but
Me
Whe
ins
• The
pressed.
• Y
conte
T
1) Di
le
step 2.
2 Whil1 ],
re
“
panel.
3) Release 1].
All t
preset.
Y
Befor
po
PM02_EB.indd 2PM02_EB.indd 2 6/24/2010 5:52:05 PM6/24/2010 5:52:05 PM