Battery type: 395 (diameter 9.5mm x 2.6mm / SR 927 SW)
Accuracy: +20 / -10 seconds per month
In case your watch needs to be repaired or to raise claims
under a guarantee, please contact the point of sales
10
20
30
12
2
4
6
8
10
15
60
30
45
21
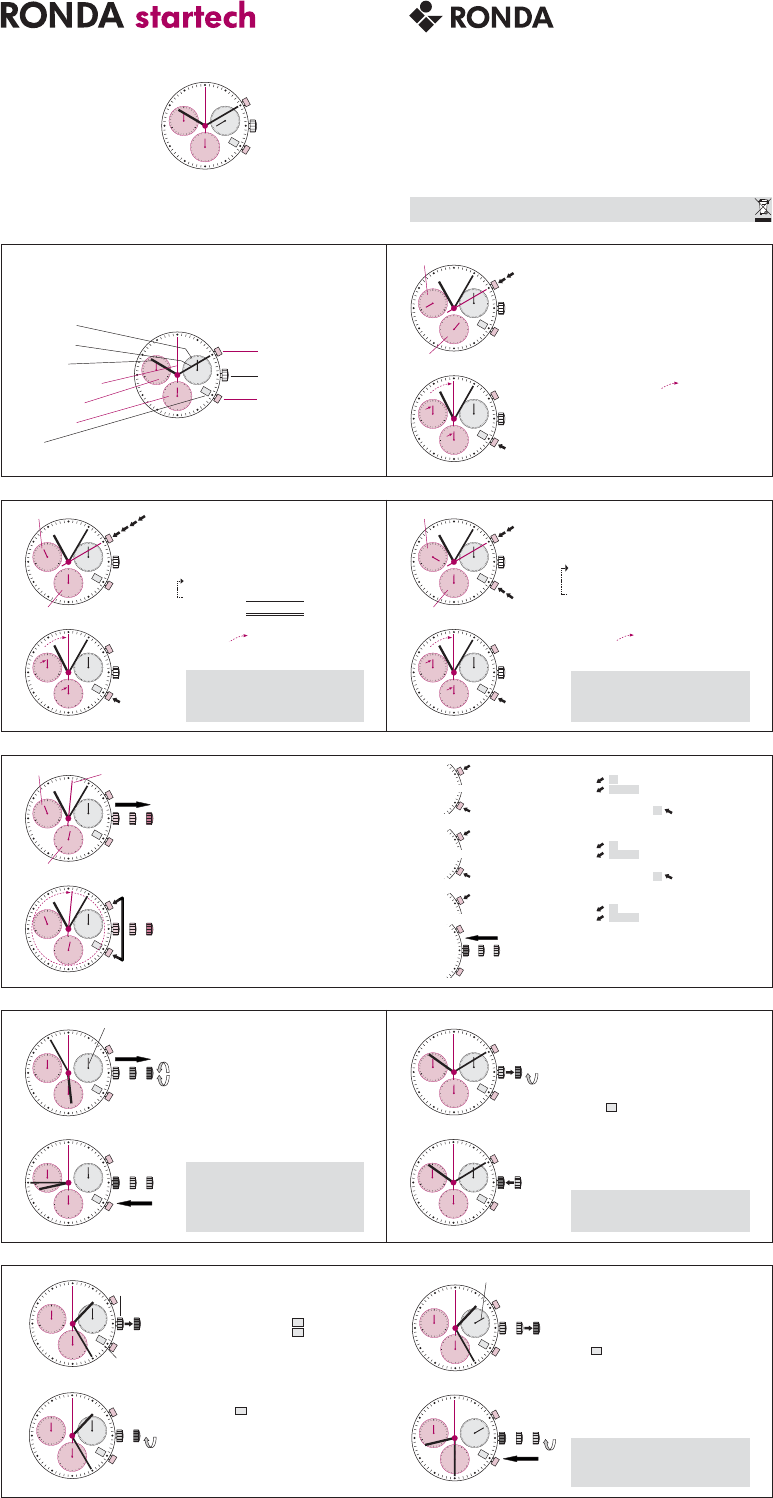
Description of the display and control buttons
Display elements
Second hand
Minute hand
Hour hand
Centre stop-second
Minute counter
Hour counter
Date
Control buttons
Push button A
Crown
Push button B
10
20
30
12
2
4
6
8
10
15
60
30
45
21
10
20
30
12
2
4
6
8
10
15
60
30
45
21
Chronograph: Basic function
(Start / Stop / Reset)
Example:
ᕡ
Start:
Press push-button
A
.
ᕢ
Stop:
to stop the timing, press push-
button A once more and read the three
chronograph hands:
1h
/
20min
/
10 sec.
ᕣ
Zero positioning:
Press push-button
B
.
(The three chronograph hands will be reset
to their zero positions).
ᕡ
ᕢ
Push-button A
Push-button B
ᕣ
Minute counter
Hour counter
10
20
30
12
2
4
6
8
10
15
60
30
45
21
10
20
30
12
2
4
6
8
10
15
60
30
45
21
Chronograph:
Accumulated timing
Example:
ᕡ
Start:
(start timing)
ᕢ
Stop:
(e.g.
15
min
5
sec following
ᕡ
)
ᕣ
Restart:
(timing is resumed)
ᕤ
*
Stop:
(e.g.
13
min
5
secfollowing
ᕣ
)
= 28min10 sec
(
The accumulated measured time is shown
)
ᕥ
Reset:
The three chronograph hands are returned
to their zero positions.
ᕣ
ᕢ
ᕡ
ᕤ
Push-button A
Push-button B
ᕥ
Please note:
* Following
ᕤ
, the accumulation of the
timing can be continued by pressing
push-
button A
(Restart / Stop, Restart / Stop, …)
Minute counter
Hour counter
10
20
30
12
2
4
6
8
10
15
60
30
45
21
10
20
30
12
2
4
6
8
10
15
60
30
45
21
Chronograph:
Intermediate or interval timing
Example:
ᕡ
Start:
(start timing)
ᕢ
Display interval:
e.g.
10 minutes 10 seconds
(timing
continues in the background)
ᕣ
Making up the measured time:
(the 3 chronograph hands are quickly
advanced to the ongoing measured time).
ᕤ
Stop:
(Final time is displayed)
ᕥ
Reset:
The 3 chronograph hands are returned to
their zero position
Push-button A
Push-button B
Push-button B
ᕤ
ᕡ
ᕥ
Please note:
* Following
ᕣ
, further intervals or inter-
mediates can be displayed by pressing
push-button B
(display interval / make up
measured time, ...)
*
ᕢ
ᕣ
Minute counter
Hour counter
10
20
30
12
2
4
6
8
10
15
60
30
45
IIIIII
21
10
20
30
12
2
4
6
8
10
15
60
30
45
21
III
Adjusting the chronograph
hands to zero position
Example:
One or several chronograph hands are not in
their correct zero positions and have to be
adjusted (e.g. following a battery change).
ᕡ
Pull out the crown to position
III
(all 3
chronograph hands are in their correct or
incorrect zero position).
ᕢ
Keep push-buttons
A and B
depressed
simultaneously
for at least 2 seconds
(the centre stop-second rotates by
360°
Ǟ
corrective mode is activated).
Center
stop-second
Push-button A
Push-button B
ᕡ
ᕢ
ȇ
Minute counter
Hour counter
Adjusting the centre stop second
A
A
1 x short
long
Single step
Continuous
Adjusting the next hand
B
Adjusting the next hand
B
ᕣ
Returning the crown to position
I
Termination of the chronograph hands adjustment
(can be carried out at any time).
III
III
A
B
A
A
B
A
A
1 x short
long
Single step
Continuous
A
A
1 x short
long
Single step
Continuous
ᕣ
ȇ
Adjusting the hour counter hand (position 6h)
Adjusting the minute counter hand (position 9h)
ȇ
ȇ
ȇ
ȇ
ȇ
IIIIII
10
20
30
12
2
4
6
8
10
15
60
30
45
21
IIIIII
10
20
30
12
2
4
6
8
10
15
60
30
45
21
Setting the time
ᕡ
*
Pull out the crown to position
III
(the watch stops).
ᕢ
Turn the crown until you reach the correct
time
8:45
.
ᕣ
*
Push the crown back into position
I.
Please note:
* In order to set the time to the exact second,
ᕡ
must be pulled out when the second hand
is in position «60» (I).
Once the hour and minute hands have been
set,
ᕣ
must be pushed back into position I at
the exact second.
Second hand
ᕡᕢ
ᕣ
III
10
20
30
12
2
4
6
8
10
15
60
30
45
31
III
10
20
30
12
2
4
6
8
10
15
60
30
45
1
Setting the date (quick mode)
ᕡ
Pull out the crown to position
II
(the watch
continues to run).
ᕢ
Turn the crown until the correct
date appears.
ᕣ
Push the crown back into position
I
.
1
Please note:
During the date changing phase between
9 PM and 12 PM; the date must be set to the
date of the following day.
ᕡᕢ
ᕣ
III
10
20
30
12
2
4
6
8
10
15
60
30
45
17
III
10
20
30
12
2
4
6
8
10
15
60
30
45
3
Setting the date/time
following a battery change
Example:
– Date / time on the watch:/ 1:25 AM
– Present date / time:/ 8:30 PM
ᕡ
Pull out the crown to position
II
(the watch continues to run).
ᕢ
Turn the crown until yesterday’s date
appears
.
3
17
4
Crown
Date
ᕡ
ᕢ
ȇ
IIIIII
10
20
30
12
2
4
6
8
10
15
60
30
45
3
IIIIII
10
20
30
12
2
4
6
8
10
15
60
30
45
4
ᕣ
**
Pull out the crown to position
III
(the watch stops).
ᕤ
**
Turn the crown until the correct date
appears.
ᕥ
**
Continue to turn the crown until the
correct time 8:30 PM appears.
ᕦ
**
Push the crown back into position
I
.
4
Please note:
*
*
To set your watch to the exact second,
please refer to the chapter entitled «setting
the time».
**
Please observe the AM/PM clock rhythm.
Second hand
ᕣ
ᕤ
ᕥ
ᕦ
ȇ
Brauchen Sie Hilfe? Stellen Sie Ihre Frage.
Missbrauch melden von Frage und/oder Antwort
Libble nimmt den Missbrauch seiner Dienste sehr ernst. Wir setzen uns dafür ein, derartige Missbrauchsfälle gemäß den Gesetzen Ihres Heimatlandes zu behandeln. Wenn Sie eine Meldung übermitteln, überprüfen wir Ihre Informationen und ergreifen entsprechende Maßnahmen. Wir melden uns nur dann wieder bei Ihnen, wenn wir weitere Einzelheiten wissen müssen oder weitere Informationen für Sie haben.
Art des Missbrauchs:
Forenregeln
Um zu sinnvolle Fragen zu kommen halten Sie sich bitte an folgende Spielregeln:
Lesen Sie zuerst die Anleitung;
Schauen Sie nach, ob die Frage bereits gestellt wurde;
Stellen Sie die Frage so deutlich wie nur einigermaßen möglich;
Erwähnen Sie was Sie bereits versucht haben um das Problem zu lösen;
Ist Ihr Problem von einem Besucher gelöst dann lassen Sie ihn / sie wissen in diesem Forum;
Falls Sie reagieren möchten, so verwenden Sie bitte das Antworten- Formular;
Da ihre Frage für alle Besucher sichtbar ist, sollten Sie lieber keine persönliche Daten erwähnen.
Neu registrieren
Registrieren auf E - Mails für Ronda Startech 5030D wenn:
neue Frage gestellt werden
neue Handbücher vorhanden sind
Sie erhalten eine E-Mail, um sich für eine oder beide Optionen anzumelden.
Das Handbuch wird per E-Mail gesendet. Überprüfen Sie ihre E-Mail.
Wenn Sie innerhalb von 15 Minuten keine E-Mail mit dem Handbuch erhalten haben, kann es sein, dass Sie eine falsche E-Mail-Adresse eingegeben haben oder dass Ihr ISP eine maximale Größe eingestellt hat, um E-Mails zu erhalten, die kleiner als die Größe des Handbuchs sind.
Ihre Frage wurde zu diesem Forum hinzugefügt
Möchten Sie eine E-Mail erhalten, wenn neue Antworten und Fragen veröffentlicht werden? Geben Sie bitte Ihre Email-Adresse ein.