644344
1
Zoom out
Zoom in
/UTPUT#ONNECTOR
'REEN,%$
!#$#!DAPTER
#ONNECTOR
ONLYFOR45-2#
3PEAKER
-ODEL2EFERENCE
)NPUTCONNECTOR
"UILTIN0ICKUP
%ARPHONECONNECTOR
/RANGE,%$
/RANGE,%$
6OLUME
#ONTROLLER
0OWER&UNCTION
"UTTON
-ETRONOME
&UNCTION
4UNER&UNCTION
,#$$ISPLAY
WARNING: If display is unclear or showing unusual characters when powered ON, please remove batteries and
re-insert them after a few seconds ( g4). This will reset the device. Should there be no improvement please replace all
the batteries by new ones of same type. (1.5 V DC, AAA size). Whenever possible, please recycle used batteries.
TUM 50 is an automated Chromatic Tuner - Digital Metronome combination.
TUM 50RC is an automated Chromatic Tuner - Digital Metronome combination with adaptor-recharge option.
In this manual common functions will be described for both models as TUM 50 (RC).
Function Operation Function Note
Power On/Off
Press
and hold for
2 seconds to activate or
de-activate the device.
In tuner mode: after 5 minutes without signal from
buttons, input jack or elect ret microphone, the power
will automatically shut down to preserve battery life.
Back Light
Press
to activate or
de-activate the display
backlight.
In tuner mode: : After 30 seconds without signal from
buttons, input jack or electret microphone, the backlight
will automatically switch off to preserve battery life.
Tuner and Metronome
Mode Transfer
Press
and hold for
2 seconds to change the
device mode.
The machine switches between tuner mode and
metronome mode.
Tuner Mode
Key
Select
Press
to select a
different key for tuning.
# & " %
Different notes can be selected
according to key sequence loop.
Semi
Tone
Mode
Press
to switch tuning
mode.
# & " %
to switch from at to sharp tuning.
A4 Pitch
Press
to activate the
pitch calibration mode.
Press
to set the
selected A4 pitch and de-
activate calibration mode.
Press
to increase or to decrease the A4
(440 Hz) tuning reference tone frequency, ranging from
435Hz to 445Hz. The frequency adds or deducts by 1Hz
at a time.
Metronome Mode
Play
Sound
Press
Sound Demo will be activated or de-activated.
Speaker volume can be adjusted by the volume wheel.
Beat
Scale
Press
to select the
scale.
0/4(0),1/4,2/4,3/4,4/4, 5/4, 3/8, 6/8, 7/8, 8/8, 9/8,
10/8, 11/8, 12/8, 13/8.
BPM
Tempo
Press
to increase or
to decrease tempo.
Tempo range: 15-300 Beats Per Minute.
Value
Option
Press
to select the
value.
Please refer to the blinking cursor on the display.
Selected value is marked between brackets.
Digital Metronome Mode Operation Guide
Operation Display
Metronome Mode
Beat Indicater
LED Lights
Tempo
Current Beat
Current
Tempo Grade
Measure Number
Metronome
Demonstration Bars
Current Value
Energy Level
(Only TUM-50RC)
Operation Steps
1 Play Sound Start / Stop: In metronome mode, press to start or stop the sound signal. The selected rhythm
demonstration will be played through the 1” (2.54cm) speaker. If the output connector/earphone connector is used, the
speaker signal will be bypassed and interrupted.
2 Beat Select: Press to select a different beat scale. The selected beat will be shown in the «Beat» space on the
display. The beats can be selected incrementally according to the following time signatures: 0/4,(0), 1/4, 2/4, 3/4,4/4,
5/4, 3/8, 6/8, 7/8, 8/8, 9/8, 10/8, 11/8, 12/8, 13/8. When the beat is changed to x/8, the value as displayed in the
«Value» space is amended accordingly.
3 Tempo Select: Press
or to change tempo. The tempo interval ranges from 15 BPM to 300 BPM. The tempo
grade is displayed below the tempo space and changed according to the tempo indicator arrow on the tempo scale.
4 Value Select: Press
to select a value. The value cursors will blink on the display and current selected value will
be indicated by brackets.
5 Visual Beat Demonstration:
• When demonstrating in metronome mode the LEDs will blink according to the beat. Two orange LEDs and one green
LED will blink at every accent, while only the green LED will blink on the pulse.
• Metronome Demonstration Bars will move according to the beat, visually indicating the rhythmic beat loop. The rst
bar represents the accent and the following bar(s) the pulse.
• The measure count is shown in the «count» space on the display.
6 Sound Volume: The volume is adjusted with the volume control. For silent rehearsal or when in a noisy environment
it is appropriate to use earphones which can be inserted into the designated
Metronome Mode
Beat Indicater
LED Lights
Tempo
Current Beat
Current
Tempo Grade
Measure Number
Metronome
Demonstration Bars
Current Value
Energy Level
(Only TUM-50RC)
earphone jack. This will bypass the
speaker signal.
Automatic Chromatic Tuner Mode Operation Guide
Operation Display
4UNER-ODE
!CCURACY
)NDICATOR,%$,IGHTS
!&REQUENCY
!&REQUENCY
#ALIBRATION
#URRENT!UTOMATICALLY
$ETECTED4ONE
#URRENT+EY
%NERGY,EVEL
/NLY45-2#
!CCURACY
)NDICATOR!RROW
!CCURACY
#ALIBRATION
Operation Steps
1.SemiTone Mode: Press to select # ( semitone sharp ) or b ( semitone at). NOTE: # or
b
disappears from
the display two seconds after selection.
This function serves only to choose between # or b semitone notes to be displayed. It is not
for sharp or at tuning. This device is an automatically chromatic tuner when in tuner mode.
2. Key Select: Press to select the tuning key from a choice of C,F,
b
B and
b
E. “
The «Key» space on the display shows the currently selected key. (C for most instruments, F,
b
B and
b
E for some
wind instruments).
3. A4 Pitch Selection & Generator Operation:
1. Press
or to select A4 frequency. The frequency ranges from 435Hz to 445Hz. The display will show
the A4 frequency accordingly.
2. The A4 Frequency Calibration Bars show the selected frequency ( 1 bar for 435 Hz, 1 more bar for every when 1Hz
added. A total of 11 bars appear when the frequency is up to 445Hz).
3. The machine will generate the selected A4 pitch under tuner mode if
is pressed. The display shows the selected A4 Pitch.
4. You can adjust the A4 pitch volume by turning volume control wheel.
5. Press
again to set the selected Pitch and stop the tone generator operation.
NOTE: When switched on, the machine will automatically set the A4 frequency at 440Hz. If a different pitch is
selected the device will memorize it as long as the batteries are inside.
4. Tuning:
The machine will automatically detect the note generated from the instrument. The display will show both the desired
note and the tone accuracy.
If the note shown by the machine is identical to the tone generated by the instrument, the green LED light will be
activated and the tuning accuracy indicator arrow will point to the center of the accuracy calibration scale.
To tune the instrument: please decrease the frequency of the instrument rst before increasing the frequency gra-
dually until the note on the machine display matches the tone from the instrument.
• Acoustic Tuning
After selecting the desired A4 frequency and key, place the machine in a position where it can easily pick up the
sound of the instrument. Direct the device’s built in microphone towards the instrument to ensure a good tuning ef-
fect. Use the foldable stand to increase visibility of the LCD, if required. Should the tuning accuracy be compromised
by ambient noises, an external microphone (clip-on, contact pickup microphone or other) may be connected to the
1/4”
input connector to bypass the built in electret microphone. Eventually the machine can be connected
to an amplier by inserting cable into output jack to output the generated tone.
• Electric Tuning
Plug the instrument cable into the 1/4” input connector. Use the foldable stand to increase visibility of the
LCD, if required.
To listen to your instrument while tuning, connect the TUM 50 (RC) to a(n) (pre)amplier or effect pedal loop by
inserting a second cable into output jack . When the TUM 50 (RC) is powered off, the sound of the instru-
ment will still be heard, thus the device may be permanently connected to the input amp loop.
Technical Specications
A4 Calibration Range: 435Hz - 445Hz
Tuning Method:
# & " %
BPM range 15 - 300
Value range 0/4 - 13/8
Power: 2x 1.5 V DC, AAA size batteries (TUM 50)
2x 1.5 V DC, AAA size rechargeable batteries (TUM 50 RC)
+ AC-DC Power adaptor DC in 9V/1A
Warning
Only qualied technicians can repair or service this device.
Only qualied accessories and batteries are suitable for use in combination with this machine.
Never use unmatched accessories.
This device is not water proof. Do not expose to moist or humidity. Do not use water to clean the
device.
This manual has been printed on recycled, Chlorine-free paper.
The packaging blister is made out of recycled bottle grade PET and can again be recycled amongst PET
waste if disposed of properly. The packaging cardboard is made of recycled, chlorine free carton.
[g1] [g2] [g3]
Users Manual TUM50 (/RC)
Automatic Chromatic Tuner- Digital Metronome Combination
EN
Product Function Diagram
[g6-1] [g6-2] [g6-3] [g6-4]
[g4]
Step 1: Open the battery compartment lid smoothly in
direction of arrow.
MM
MM
Step 2: Install batteries as shown in gure 4.
Step 3: To close battery compartment., press the lid
carefully in opposite direction of arrow.
[g5]
How to Recharge Batteries (available for TUM 50RC only)
Power Supply
[g6]
Use an AC-DC 9V/1A Adaptor (g5).
Connect adaptor into the TUM 50RC as indicated on
gure 5.
When charging mode is active, a lightning symbol will
ash above the energy level indication diagram.
The batteries are fully recharged as soon as the
recharging indication diagram shows «energy level 4»
(g6-4).
NOTE:
The model can be activated and used normally
while charging, if rechargeable batteries are installed.
WARNING:
1. DO NOT use an AC-DC adaptor when using non-rechargeable batteries.
2. DO NOT recharge batteries for longer than 48 hours.
3. ONLY USE AC-DC in 9V/1A adaptor for this device. Pay caution to the proper battery
pole when using AC-DC adaptor.
4. DO NOT use peeled or leaking rechargeable batteries.
5. DO NOT remove rechargeable batteries when using AC-DC adaptor to avoid disturbing the charging
program.
6. Please remove batteries if device will not be in use for any extended period.
7. Please replace rechargeable batteries if device’s operation time is short when fully recharged. Please
recycle all used batteries.
How to Install Batteries
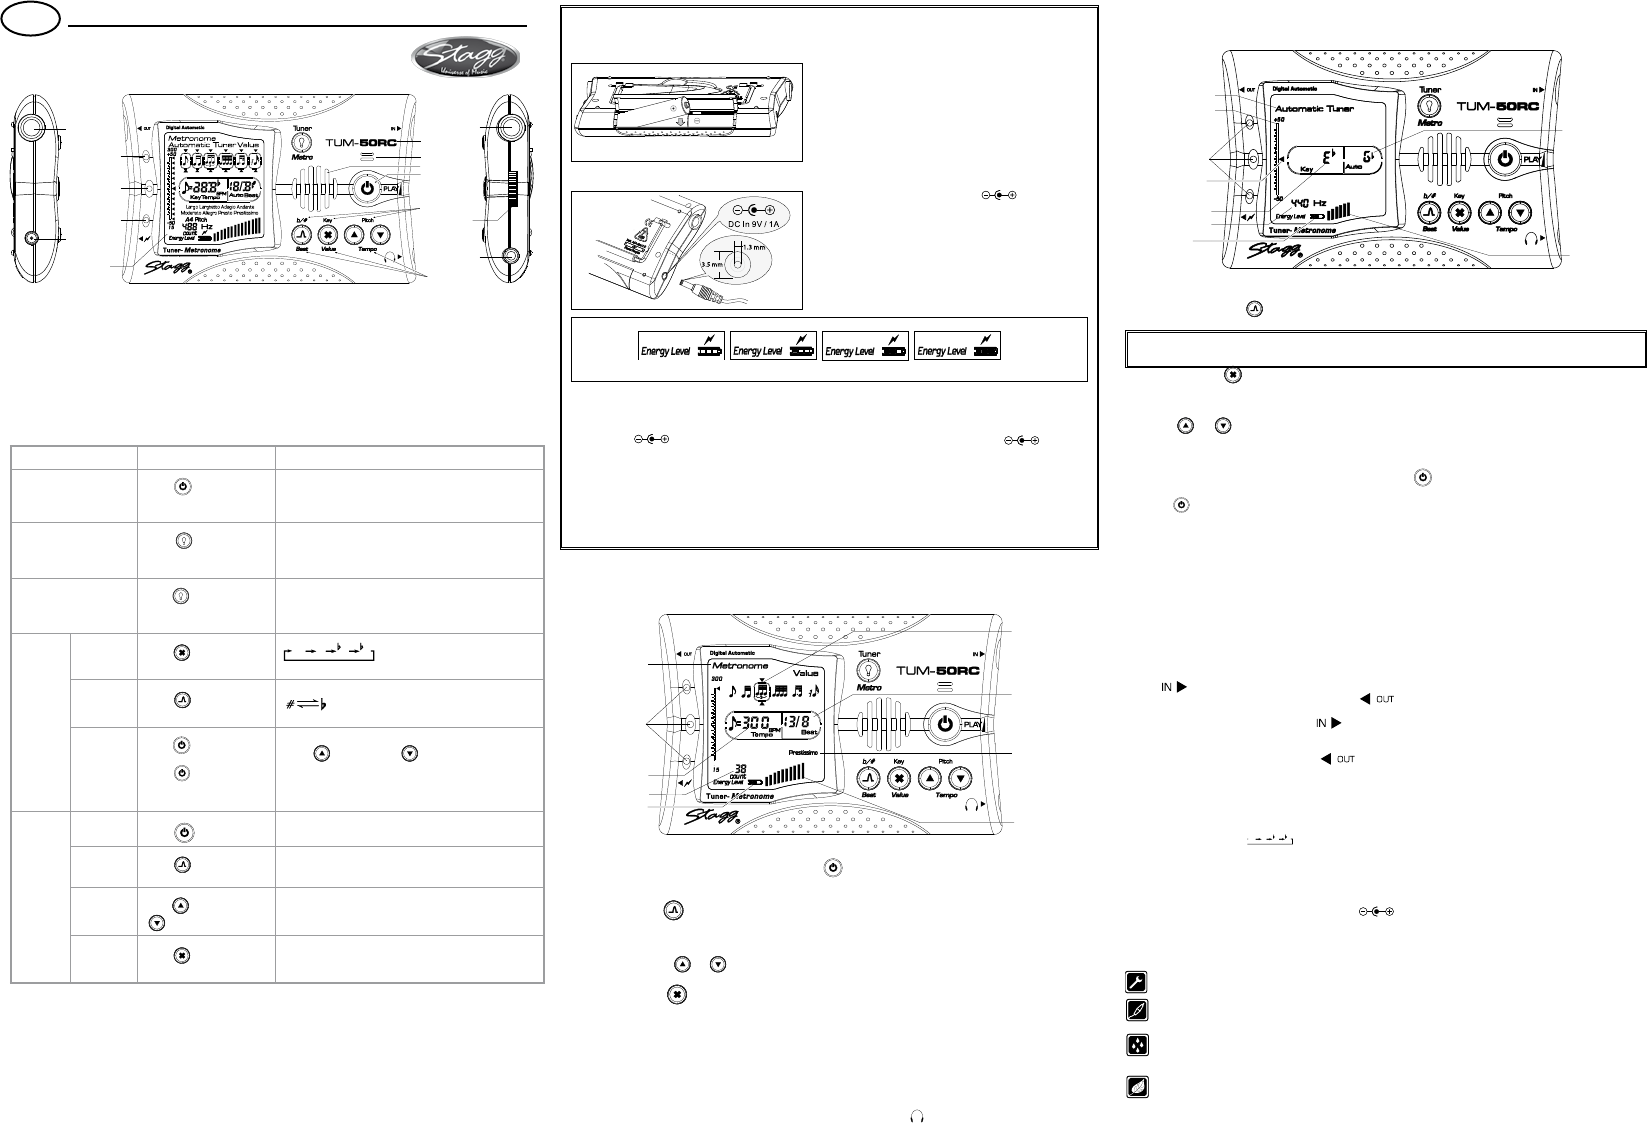
Finger Pick Storage Compartment
The TUM 50 (RC) has an integrated nger pick storage compartment at the back.
The compartment can store multiple nger picks, or any single pick of up to 3.5 mm thickness.
The pick is held in place by a clip. Slide the nger pick under the metal blade spring of the clip for storage. The clip is
designed to attach the TUM 50 (RC) to your clothing if required to carry the device on your person.
Weight: 0.2lb / 85g
Color: Dark Grey or Silver
Dimensions: 4.5 x 2.9 x 0.7” (L x H x W)
114 x 74 x 18 mm (L x H x E)

Brauchen Sie Hilfe? Stellen Sie Ihre Frage.

Forenregeln

Missbrauch melden von Frage und/oder Antwort

Libble nimmt den Missbrauch seiner Dienste sehr ernst. Wir setzen uns dafür ein, derartige Missbrauchsfälle gemäß den Gesetzen Ihres Heimatlandes zu behandeln. Wenn Sie eine Meldung übermitteln, überprüfen wir Ihre Informationen und ergreifen entsprechende Maßnahmen. Wir melden uns nur dann wieder bei Ihnen, wenn wir weitere Einzelheiten wissen müssen oder weitere Informationen für Sie haben.

Art des Missbrauchs:

Zum Beispiel antisemitische Inhalte, rassistische Inhalte oder Material, das zu einer Gewalttat führen könnte.

Beispielsweise eine Kreditkartennummer, persönliche Identifikationsnummer oder unveröffentlichte Privatadresse. Beachten Sie, dass E-Mail-Adressen und der vollständige Name nicht als private Informationen angesehen werden.

Forenregeln

Um zu sinnvolle Fragen zu kommen halten Sie sich bitte an folgende Spielregeln:

Neu registrieren

Registrieren auf E - Mails für Stagg TUM-50 wenn:


Sie erhalten eine E-Mail, um sich für eine oder beide Optionen anzumelden.


Andere Handbücher von Stagg TUM-50

Stagg TUM-50 Bedienungsanleitung - Deutsch - 1 seiten

Stagg TUM-50 Bedienungsanleitung - Holländisch - 3 seiten


Das Handbuch wird per E-Mail gesendet. Überprüfen Sie ihre E-Mail.

Wenn Sie innerhalb von 15 Minuten keine E-Mail mit dem Handbuch erhalten haben, kann es sein, dass Sie eine falsche E-Mail-Adresse eingegeben haben oder dass Ihr ISP eine maximale Größe eingestellt hat, um E-Mails zu erhalten, die kleiner als die Größe des Handbuchs sind.

Ihre Frage wurde zu diesem Forum hinzugefügt

Möchten Sie eine E-Mail erhalten, wenn neue Antworten und Fragen veröffentlicht werden? Geben Sie bitte Ihre Email-Adresse ein.


Info