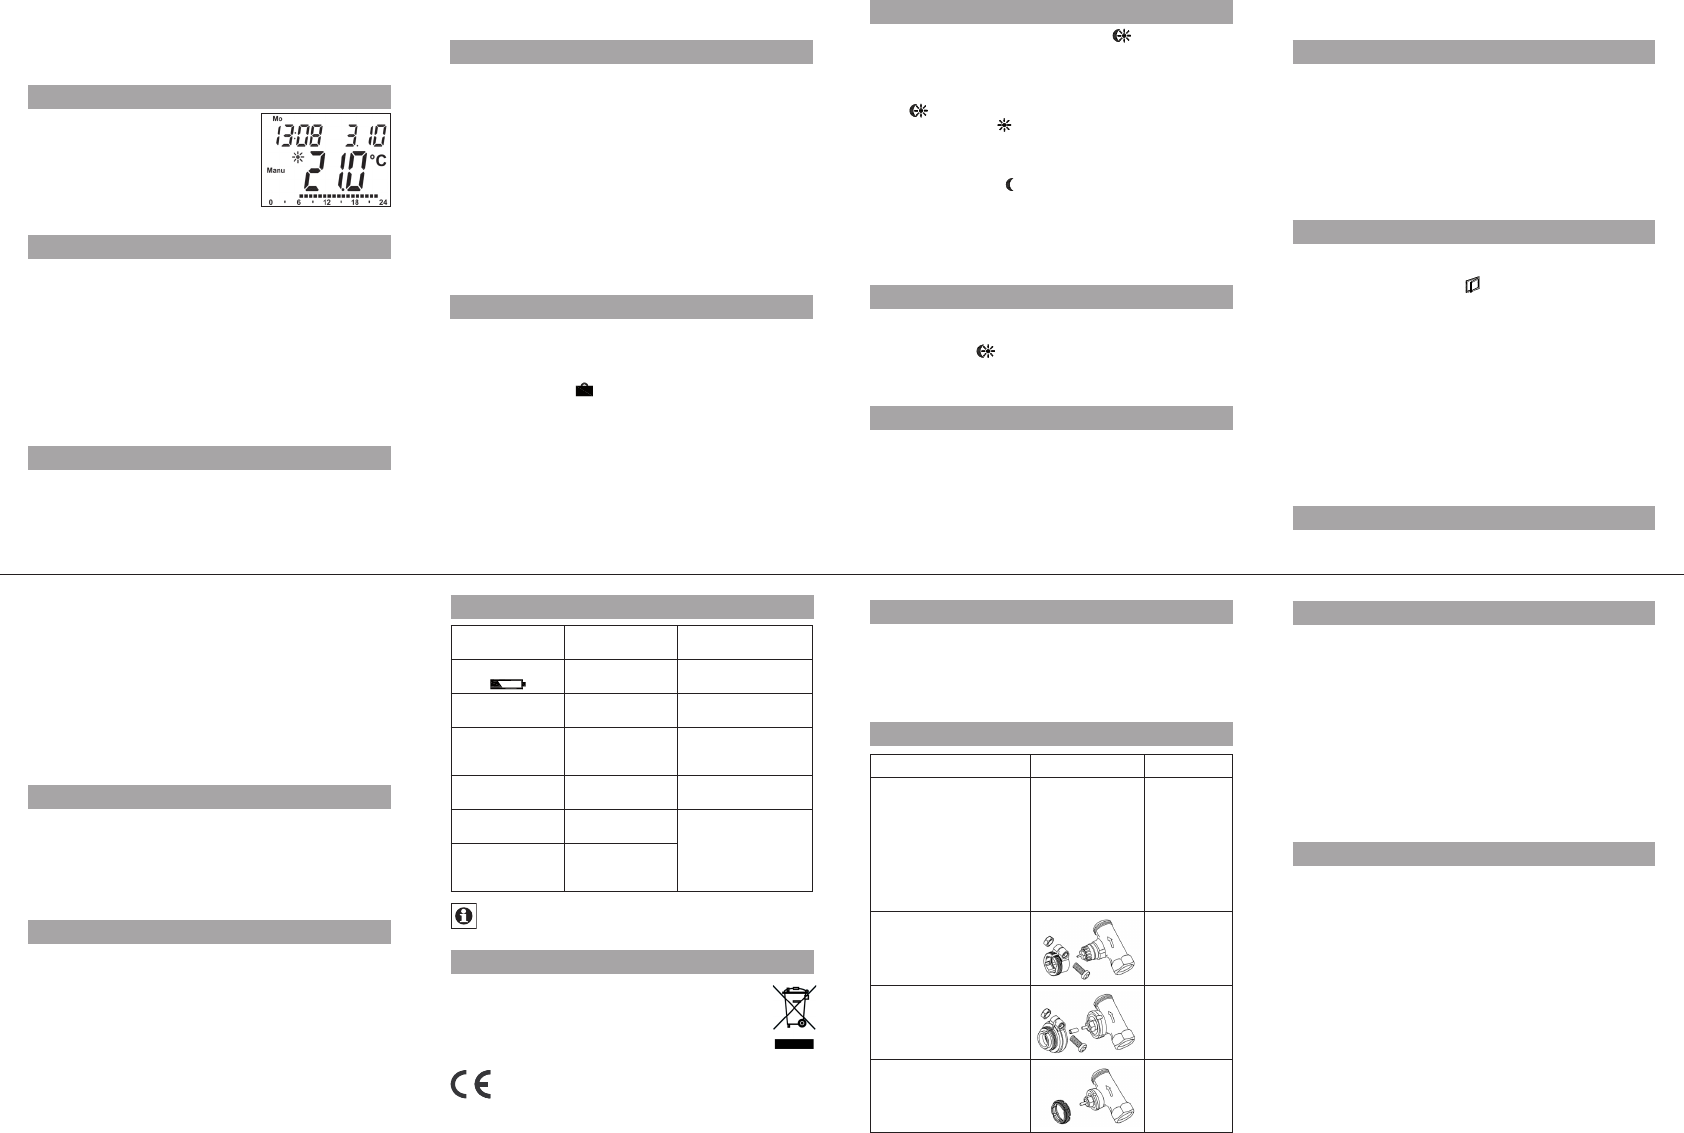
542292
2
Zoom out
Zoom in
Vorherige Seite
1/2
Nächste Seite
UnL: For teaching out all taught-in wireless components •
Use the setting wheel to select menu items and the OK but-
ton to confirm your choice. Press the menu button again to
return to the previous level. After 65 seconds without any-
thing happening, the menu will close automatically.
5. Display content during normal operation
During normal operation, the following
are displayed: day of the week, time of
day, date, operating mode, tempera-
ture setting and switching periods.
The bars indicating the weekly pro-
gram’s switching periods are shown
for every other time interval. For an ex-
ample, please refer to “2. Weekly program: Examples”.
6. Teaching in wireless components
The actuator supports the teaching in of up to 4 system
components (e.g. remote control and window contact),
plus 1 wall thermostat.
Press and hold down the OK button for more than 3 seconds.•
The remaining teach-in time will be displayed (30 seconds).•
The device being taught-in now needs to send a wireless •
signal (e.g. press button on remote control).
The display will then switch to the normal view.•
Once this has been done, the actuator will respond to wire-
less commands from taught-in devices. Whenever the ac-
tuator receives a signal from a window contact or remote
control, the display will light up briefly.
7. Teaching out wireless components
Components that have been taught in on the actuator can be
taught out again using theUnL (Unlearn) function. A ll wire-
less components are taught out at once with this function.
Press and hold down the menu button for more than 3 seconds.•
Use the setting wheel to select the “UnL” menu item.•
Confirm with OK.•
ACC” will appear on the display; press OK to confirm.•
8. Operation with a wall thermostat
If the actuator is going to be operated in conjunction with a wall
thermostat, this thermostat will need to be taught in (see 6). Once
it has been taught in,ECF will appear on the display. No further
settings can then be made on the actuator and it will no longer
respond to taught-in remote controls or window contacts.
If no wireless signal is received from the wall thermostat
for a period of 60 minutes, the actuator will exit ECF mode.
It will then assume control of the temperature, which it will
continue to regulate in accordance with the weekly pro-
gram until the next wireless signal is received.
To teach out a wall thermostat, you must reinser t the bat-
teries in the actuator (and wait for approx. 1 minute). Once
you have entered the date and time of day, you can use the
menu button (before the adjustment run is initiated) to per-
form the “teach-out” process as described in section 7.
9. Setting the holiday function
If you want a fixed temperature to be maintained for a set
period of time while you are on holiday or during a party,
you can make use of the Holiday function.
Press and release the menu button repeatedly until the •
suitcase symbol (
) appears on the display.
Use the setting wheel to set the end of the time period •
during which the temperature is to be maintained.
Press the OK button to confirm.•
Then use the setting wheel to set the date.•
Press the OK button to confirm.•
Use the setting wheel to set the temperature; press OK to •
confirm. The display will flash to confirm your settings.
The set temperature will remain in force until the speci-
fied time. After that, the actuator will adopt Auto mode.
Wireless commands from the window contact and remote
control will continue to be executed.
10. Comfort and set-back temperatures
The comfort/set-back temperature button (
) provides an ea sy
and convenient way of switching between these two tempera-
tures. The factory settings are 21.0°C and 17.0°C respectively.
To adapt them, proceed as follows:
Press and hold down the comfort/set-back temperature but-•
ton (
) for more than 3 seconds.
The sun symbol ( • ) will appear on the display along
with the current comfort temperature.
Use the setting wheel to modify the temperature; press •
OK to confirm.
The moon symbol ( •
) will appear together with the set-
back temperature.
Use the setting wheel to modify the temperature; press •
OK to confirm.
The temperature can even be modified in Auto mode at any
time by using this button. The new setting will be retained
until the program’s next switching time.
11. Child-proof lock/Operating inhibit
Operation can be inhibited.
To activate/deactivate the operating inhibit, briefly press •
the Menu and
buttons at the same time.
Once the function is active, “LOC” will appear on the •
display.
To deactivate the function, press both buttons again.•
12. Setting the heating break
If the heating is being switched off for the summer, you
can save battery power. This involves opening the valve
up fully. Limescale protection measures remain in place.
Wireless commands from the window contact or remote
control will no longer be executed.
To activate the heating break, turn the setting wheel •
clockwise during manual operation (Manu) until “On”
appears on the display.
To terminate the heating break, quit manual operation •
(Manu) or turn the setting wheel anticlockwise.
13. Setting frost protection mode
If you do not want the room to be heated, the valve can
be closed. It will only be opened again if there is a risk of
freezing due to frost. Limescale protection measures re-
main in place. Wireless commands from the window con-
tact or remote control will no longer be executed.
To activate frost protection mode, turn the setting wheel •
anticlockwise during manual operation (Manu) until “OFF”
appears on the display.
To terminate frost protection mode, quit manual opera-•
tion (Manu) or turn the setting wheel clockwise.
14. “Window open” function
If the room is being ventilated, the actuator controls the tem-
perature to save on heating costs. While this function is active,
the “window open” symbol (
) appears on the display.
Wit h o ut w indow c o ntact: The actuator will automatically de-
tect a significant drop in temperature due to ventilation. You
can set your own “window open” temperature and time.
With taught-in window contact: The temperature will only
be reduced during the time that the window is lef t open. You
can set your own “window open” temperature.
Press and hold down the menu button for more than •
3 seconds.
Use the setting wheel to select the “AEr” menu item.•
Confirm with OK.•
Use the setting wheel to set the temperature/time. Then •
press OK to confirm.
Without a taught-in window contact, this function can •
be deactivated by selecting a time of “0”.
15. Setting the offset temperature
The temperature is measured at the heating appliance it-
self, with the result that other parts of the room may be
warmer or colder than this. To allow for this, you can set
a temperature offset of ±3.5°C. If, for example, a temper-
ature of 18°C is measured somewhere within the room
instead of the 20°C set, it means that an offset of -2.0°C
needs to be configured.
Press and hold down the menu button for more than •
3 seconds.
Use the setting wheel to select the “tOF” menu item.•
Confirm with OK.•
Use the setting wheel to modify the temperature.•
Press the OK button to confirm.•
16. Restoring the factory settings
You can reset the actuator to its initial state manually. This
will clear all the settings that have been made manually.
Press and hold down the menu button for more than •
3 seconds.
Use the setting wheel to select the “rES” menu item.•
Confirm with OK.•
ACC” will appear on the display; press OK to confirm.•
17. Intended use
The energy-saving controller has been designed for the
purpose of controlling a standard heating appliance valve.
The device may only be operated indoors and must be
protected from the effects of damp and dust, as well as
solar radiation and sources of radiant heat.
Using the device for a purpose or in a manner other than
that described in this operating manual constitutes a
breach of the “intended use” and shall invalidate the war-
ranty and any liability claims. The same shall apply in the
event of any conversion or modification work. The devices
are intended exclusively for domestic use.
18. Troubleshooting and maintenance
Error code on
display
Problem Remedy
Battery symbol
(
)
Battery power
too low
Replace batteries
F1
Valve actuator
sluggish
Check installation, in-
spect heating valve
F2
Adjusting range
too large
Check
actuator
fastening
F3
Adjusting range
too small
Check heating valve
F4
1 wall thermostat
already taught in
Teach out devices
F5
4 wireless com-
ponents already
taught in
At 12:00 every Saturday, the actuator performs a weekly
descaling function to prevent valve calcification. “CALwill
appear on the display.
19. Instructions for disposal
Do not dispose of the device with regular
domestic waste.
Electronic equipment must be disposed of at local col-
lection points for waste electronic equipment in com-
pliance with local directives governing waste electrical
and electronic equipment.
The CE sign is a free trade sign addressed exclusively to
the authorities and does not warrant any properties.
22. Information about radio operation
Radio transmission is performed on a non-exclusive trans-
mission path, which means that there is a possibility of in-
terference occurring.
Switching operations, electric motors or faulty electric devices
are some of the reasons why inte r ference may occur. The range
of transmission within buildings can deviate greatly from open
air distances. Besides the transmitting power and the reception
characteristics of the receiver, environmental influences such as
humidity and local structures also play an important role.
TechnoTrade Import-Export GmbH hereby declares that
this device conforms with the essential requirements and
other relevant regulations of Directive 1999/5/EC.
The full declaration of conformity is provided at
www.technoline-berlin.de/Konformitaetserklaerung.
23. Technical properties
Supply voltage: 3 V
Max. current consumption: 100 mA
Batteries: 2x LR6 batteries (Mignon/AA)
Battery life: Approx. 2 years
Display: LC display
Receiver frequency: 868.3 MHz
Housing dimensions: 63 x 76 x 102 mm (W x H x D)
Ambient temperature: +5 to +55°C
Max. surface temperature: +90°C (of radiator)
Linear travel: 4.2 mm
Spring force: max. 80 N
Connection: M30 x 1.5
We reserve the right to make any technical changes that
constitute an improvement to the device.
Issue 1 English 10/2009
Documentation © 2009 TechnoTrade Import-Export GmbH, Wildau.
All rights reserved.
CC-RT-RX-CyE-W-R3, V1.1 907-76
9
13
10
14
11
15
12
16
20. Safety instructions
The devices concerned are not intended for children and must not
be used as toys. Do not leave packaging material lying around,
as children might be tempted to play with it, which is extremely
dangerous. Do not open the devic e: it does not c ontain any com -
ponents that need to be serviced by the user. In the event of an
error, please return the device to our service department.
21. Adapter overview
Manufacturer Figure Adapter
Heimeier, MNG, Jun-
kers, Landis&Gyr
“Duodyr”, Honeywell-
Braukmann, Oventrop,
Schlösser, Simplex,
Valf Sanayii, Mertik
Maxitrol, Watts,
Wingenroth (Wiroflex),
R.B.M., Tiemme, Jaga
No adapter
required
Danfoss RA
Included
in scope of
supply
Danfoss RAV
Included
in scope of
supply
Danfoss RAVL
Included
in scope of
supply
2

Brauchen Sie Hilfe? Stellen Sie Ihre Frage.

Forenregeln

Missbrauch melden von Frage und/oder Antwort

Libble nimmt den Missbrauch seiner Dienste sehr ernst. Wir setzen uns dafür ein, derartige Missbrauchsfälle gemäß den Gesetzen Ihres Heimatlandes zu behandeln. Wenn Sie eine Meldung übermitteln, überprüfen wir Ihre Informationen und ergreifen entsprechende Maßnahmen. Wir melden uns nur dann wieder bei Ihnen, wenn wir weitere Einzelheiten wissen müssen oder weitere Informationen für Sie haben.

Art des Missbrauchs:

Zum Beispiel antisemitische Inhalte, rassistische Inhalte oder Material, das zu einer Gewalttat führen könnte.

Beispielsweise eine Kreditkartennummer, persönliche Identifikationsnummer oder unveröffentlichte Privatadresse. Beachten Sie, dass E-Mail-Adressen und der vollständige Name nicht als private Informationen angesehen werden.

Forenregeln

Um zu sinnvolle Fragen zu kommen halten Sie sich bitte an folgende Spielregeln:

Neu registrieren

Registrieren auf E - Mails für Techno line TM 3050-RF wenn:


Sie erhalten eine E-Mail, um sich für eine oder beide Optionen anzumelden.


Andere Handbücher von Techno line TM 3050-RF

Techno line TM 3050-RF Bedienungsanleitung - Deutsch - 2 seiten


Das Handbuch wird per E-Mail gesendet. Überprüfen Sie ihre E-Mail.

Wenn Sie innerhalb von 15 Minuten keine E-Mail mit dem Handbuch erhalten haben, kann es sein, dass Sie eine falsche E-Mail-Adresse eingegeben haben oder dass Ihr ISP eine maximale Größe eingestellt hat, um E-Mails zu erhalten, die kleiner als die Größe des Handbuchs sind.

Ihre Frage wurde zu diesem Forum hinzugefügt

Möchten Sie eine E-Mail erhalten, wenn neue Antworten und Fragen veröffentlicht werden? Geben Sie bitte Ihre Email-Adresse ein.


Info