56789
You can choose to listen to DAB or FM radio -
Selecting DAB or FM
Press the • MODE button repeatedly to switch
between DAB and FM mode.
To change to the FM band
Press the • MODE button to switch to the FM band.
FM will be displayed.
The radio will play the last FM station you were listening
to.
To auto-tune to FM stations
Press and • hold the TUNE/CHp or TUNE/CHq
button to search up or down for the next station
in the band.
The radio will search and the tuning frequency will be
displayed whilst searching.
When a usable station is detected the radio will stop
tuning and play the station. If RDS data is present, the
station name and scrolling radio text will be displayed. If
RDS data is not present, ‘No Radiotext’ will be displayed.
To manually tune to FM stations
Press the • TUNE/CHp or TUNE/CHq button
briey to tune up or down the band in 50kHz
steps.
FM stereo/mono
When listening to a weak or distant FM station in stereo
via earphones, there may be a high level of background
noise. In this case, setting mono reception may reduce
the level of background noise.
Mono reception is set via the FM settings menu. Refer to
page 8 for details of the menu.
Your radio can store up to 10 of your favourite stations
as presets on both the DAB and FM bands for quick
recall.
SELECTING DAB OR FM
LISTENING TO FM
To store a preset
Tune to the station you want to store as a preset.•
Press and • hold the PRESET button.
‘Preset Store’ will be displayed.
Press the • TUNE/CHp or TUNE/CHq button
repeatedly to choose the preset number you want
to store.
For each preset number the preset station currently stored
will be displayed or ‘(Empty)’ if none is stored.
Press the • SELECT button to conrm if you want to
store the station in the displayed preset number.
To recall any preset
Press the • PRESET button briey.
‘Preset Recall’ will be displayed.
Press the • TUNE/CHp or TUNE/CHq button
repeatedly to nd the preset number you want
to play.
Press the • SELECT button to play the preset.
The radio will re-tune and the preset number will be
displayed.
DAB & FM PRESETS
Tesco Stores Ltd,
Welwyn Garden City AL7 1GA, U.K.
DR1701 EN V1.4
Your Tesco appliance is covered by a warranty for 12
months from the date of purchase. If a fault develops
during this period, please contact the TESCO electrical
help line.
Please have your original purchase receipt with you
when you call. This warranty in no way aects your
consumer rights.
Tesco Helplines:
Landlines 0800 323 4060 (Freephone from a BT
landline).
Mobiles 0330 123 4060 (Calls cost no more than calls
to geographic numbers eg. 01 or 02 and are included in
inclusive minutes and discount schemes).
TROUBLESHOOTING
SPECIFICATIONS
CARE AND MAINTENANCE
DISPOSAL
WARRANTY
Poor quality radio reception
The aerial signal may not be adequate. Try adjusting
the aerial position while watching the signal strength
on the bargraph. Signal strength can be displayed by
tuning to a DAB station and pressing the Info/Menu
button until the signal strength bargraph is displayed.
Few DAB stations are available after moving area
The radio should be reset to renew the station list. Refer
to the ‘Factory Reset’ section on page 7.
Poor quality FM reception
If you are listening to a station with a weak signal, try
changing the Audio Setting to ‘Forced Mono’.
CARE AND CLEANING
All care and cleaning operations should be carried out
with the unit unplugged from the mains power and
switched o.
The surface of the unit can be cleaned with a barely
damp cloth and then dried carefully. Never use
abrasives, abrasive cloths or chemical solvents .
Supply Voltage: .......... 6 V , 500mA
AC Adapter input: ....... 100-240 V ~, 50-60 Hz
Batteries..................... 4 x 1.5V , ‘AA’ type batteries
Frequency range ........ 174-240 MHz (DAB)
................................... 87.5-108MHz (FM)
Net Weight: ................ 340 g
Class II construction double insulated.
This product must not be connected to
earth.
Made in China
UK: Waste electrical products/batteries
should not be disposed of with
household waste. Separate disposal
facilities exist, for your nearest facilities
see www.recycle-more.co.uk or in-store
for details.
ROI: Produced after 13th August 2005.
Waste electrical products/batteries
should not be disposed of with
household waste. Please recycle where
facilities exist. Check with your Local
Authority or retailer for recycling advice.
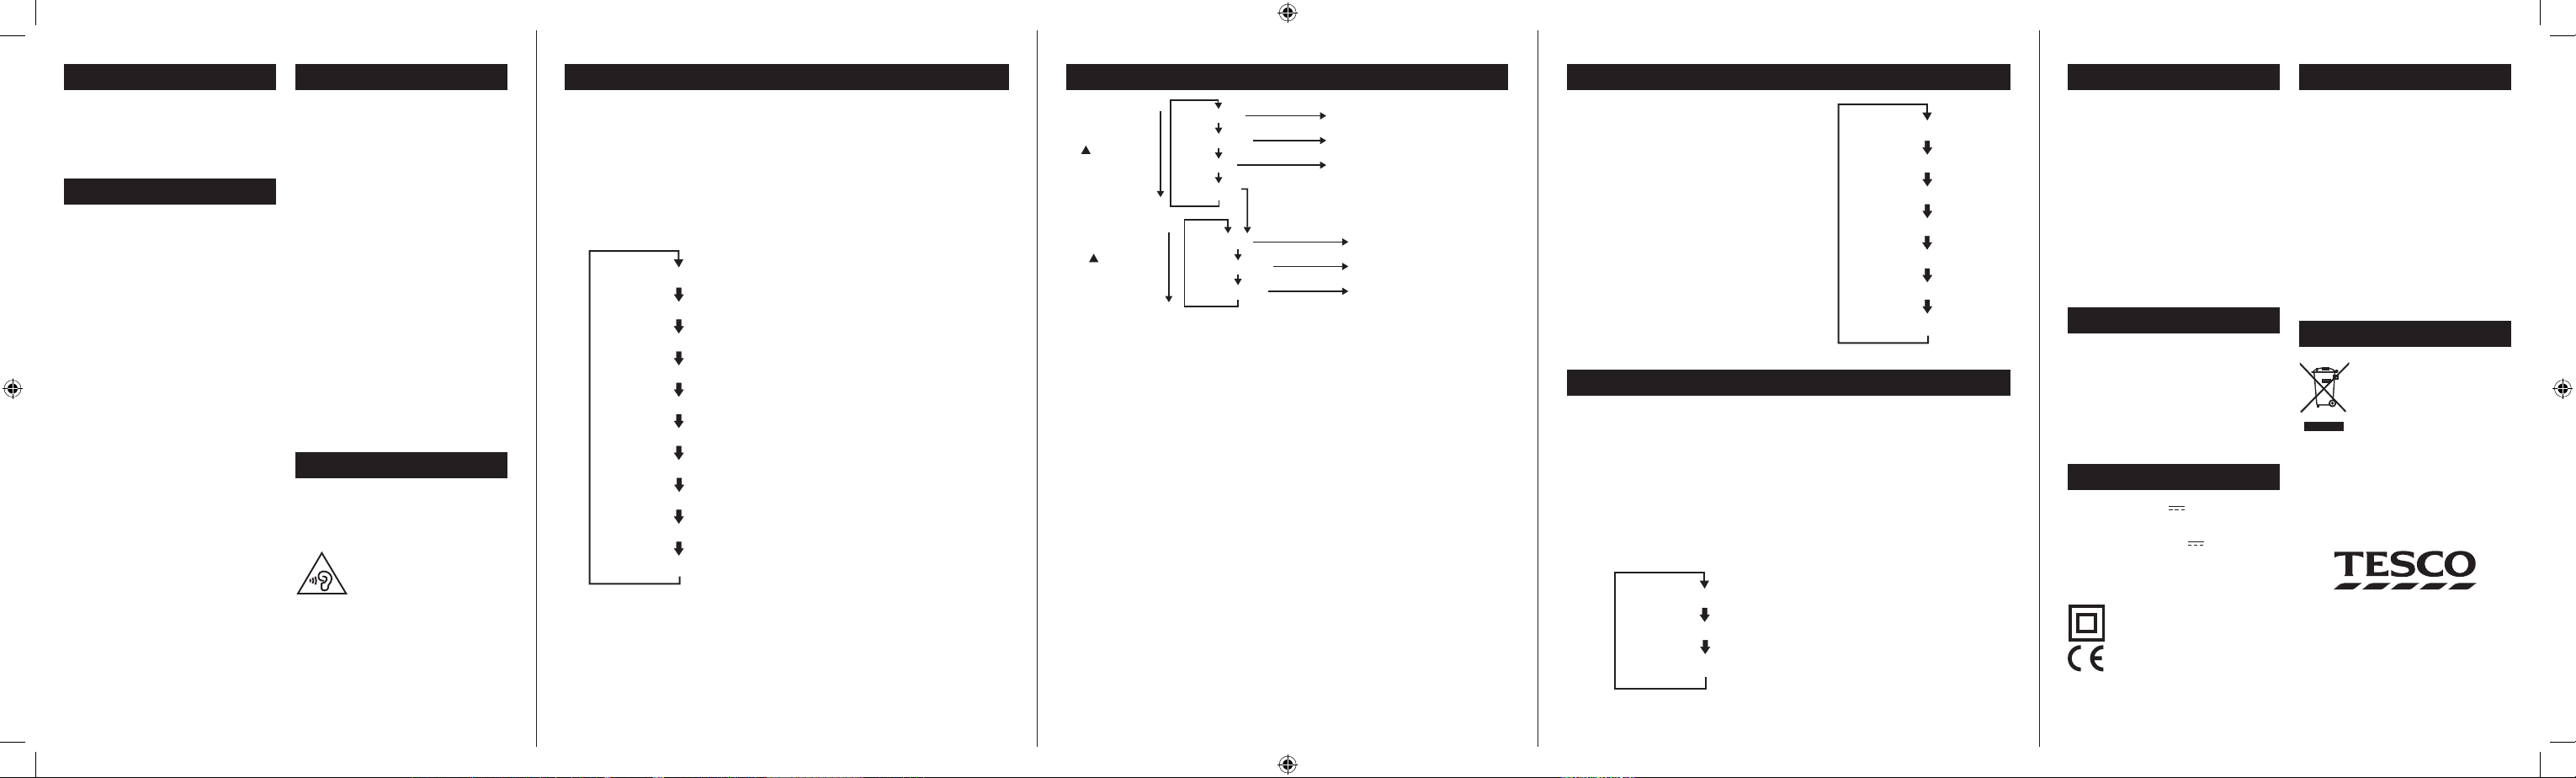
DAB MENU OPTIONS
DAB SETTINGS MENU
Your radio has some additional features and options
that may be reached through the Settings Menu.
A complete map of the menu is shown.
To enter the DAB Settings Menu
Set to DAB mode.•
Press and • hold the MENU/INFO button.
The menu will be displayed.
Press the • TUNE/CHp or TUNE/CHq button to
step through the available options.
To choose an option from the menu, press the •
SELECT button.
Choose the ‘System’ menu option to open the sub-menu
of system options shown on the menu map.
Full Scan: Select Full Scan to re-scan the entire DAB
band and refresh the station list.
Manual Tuning: Manual tuning enables you to search
the band manually by pressing the TUNE/CHp or
TUNE/CHq button to step through the multiplex
numbers and check if any have usable signal strength
on a bargraph display. Manual tuning is not necessary in
normal operation where scanning will have established
a station list of usable stations.
Prune: If your station list includes stations that you can
no longer receive (you may have moved to a dierent
area), you can select the ‘Prune’ option to remove them
and clean up the Station List.
System>Time: Select the time option to set the clock
manually. This may be useful if you are in an area where
it is not possible to receive DAB radio broadcasts.
You can also choose automatic clock setting options to
update from a DAB station, FM station or any station.
System>Factory reset: Select the ‘Yes’ sub-option to
reset all the settings of your radio to factory original
settings. The station list will also be cleared and any
stored preset memories will be erased. After a factory
reset the radio will re-scan the band and renew the
station list.
System>SW Version: This option will display the
version number of the control software currently
installed in your radio. This will be helpful to a
technician who is servicing the radio.
The bottom line of the display can be switched to show
dierent items of information that may be transmitted
with an FM station.
To change the display mode
Press the MENU/INFO button repeatedly to change
the information displayed while playing an FM radio
station.
The full range of display options are shown. Some
stations may not broadcast all of these options.
FM DISPLAY MODES
FM MENU OPTIONS
FM SETTINGS MENU
There are also some menu settings that are specic to
FM radio operation. These settings may be changed
through the Settings Menu.
To enter the FM Settings Menu
Set to FM mode.•
Press and • hold the MENU/INFO button.
A map of the menu is shown below. The menu is navigated
in the same way as the DAB settings menu.
MORE DETAIL OF THE FM SETTINGS MENU OPTIONS
Scan Setting: With this menu option you can set the
scanning sensitivity of the FM radio to two dierent
levels- ‘Strong stations’ or ‘All stations’. Setting to ‘Strong
stations’ will exclude weaker stations resulting in a
quicker scan. If you set to ‘All stations’ the scan will stop
at every station detected, even if the signal is weak.
Audio Setting: This option enables you to set the radio
to ‘Forced Mono’ or ‘Stereo Allowed’. Setting Forced Mono
may be useful if the signal is weak and the broadcast is
noisy when listening in stereo via headphones.
System: The System sub-menu options are the same as
those described in the DAB settings section.
DAB DISPLAY MODES
The bottom line of the display can be switched to show
dierent items of information that may be transmitted
with a DAB station.
Choosing the information display
Press the MENU/INFO button repeatedly to change
the information displayed while playing a DAB radio
station.
The full range of display options are shown below. Some
stations may not broadcast all of these options.
DLS (Dynamic Label Segment): This is a scrolling
message giving real-time information - song titles,
news headlines, etc.
SIGNAL STRENGTH: This setting will display a signal
strength bargraph. The longer the bargraph, the
stronger the signal. Setting the display to show signal
strength is useful when setting up the aerial for the
strongest signal.
PROGRAMME TYPE: This describes the style of the
programme being broadcast.
MULTIPLEX NAME: DAB Digital radio stations are
broadcast in multiplexes. Each multiplex is a bundle of
radio stations transmitted in a single frequency. There
are national and local multiplexes; local ones contain
stations specic to your area. This option displays the
name of the multiplex name that contains the station
you are listening to.
MULTIPLEX NUMBER/FREQ: This option will display
the multiplex number and frequency that contains the
station you are listening to.
SIGNAL ERROR RATE: This option will display the level
of signal errors in the current broadcast. The lower the
number, the better the quality of the signal.
BIT RATE: DAB allows broadcasters to vary the BIT
RATE (or the amount by which an audio signal can be
compressed) depending on the type of broadcast. This
enables the amount of stations on a multiplex to be
maximised. Speech and News are often broadcast at a
lower Bit Rate; music needs a higher Bit Rate for good
delity.
POWER SOURCE: This option will display the current
power source - Mains Power or Battery.
TIME AND DATE: Time and date are updated by
broadcasted information.
When rst used, your radio scanned the DAB band for
available stations. The station services found were then
stored in your radio’s memory.
You can re-scan the band at any time if you move
to a dierent area or just to refresh the stored list of
available stations.
NOTE: On some occasions, when moving to a dierent
area, re-scanning may not fully update the station list.
In this case it may be necessary to reset your radio. (see
the ‘Factory reset’ option on page 7).