Setting the T
WS290C Receiver
WT440H Remote T
When the T
Synchronized!!!
1
1
1
2
2
3
4
WIRELESS TRANSMIS
WIRELESS TRANSMIS
Automatic Learn Function:
For optimal performance:
Manual Learn Function (Remote Signal Search):
The learn function starts automatically and runs for approximately
3 minutes when batteries are first installed in the receiver
Press and hold for
3 seconds to start.
CHN
If a new remote transmitter is added or if signal is lost (outdoor readout
on the receiver is blinking), the learn function must be executed again.
Within these 3 minutes, the receiver will pick up the temperature and
humidity signals from the remote transmitter and display the reading.
Unit will beep to indicate that
learn function has started.
Channel symbol will blink and
unit will continue to beep as
each remote transmitter is detected.
1
3
Within 3 minutes, the temperature and humidity reading of the remote
transmitter will display on the receiver
2
1
6
2
3
4
5
1
1
1
2
4
3
5
1
4
3
5
1
2
TEMPERA
L
Place the receiver and remote transmitter side by side about 1 metre
apart, and allow the receiver and remote transmitter to synchronize
for 10 minutes before you place the remote transmitter outdoors.
Environmental factors and signals from other household devices, such
as remote entry controls, security systems, and computers, may
interfere with the wireless transmission of this product and cause
temporary reception loss. This is normal and does not affect the general
performance of this product. Stable reception will resume once the
interference ends.
The remote transmitter should be placed in a dry shaded area.
NOTE: Fog and mist will not harm the remote transmitter but
direct rain must be avoided.
Mount the remote transmitter upright avoiding metallic objects
and frames, such as window sills. Verify that there are no obstacles
like a transmission tower or steep hill that can cause interference
and blockage between the remote transmitter and receiver
Place the receiver unit at least 2 metres away from any electrical
devices, such as your television set, computer cordless phone, or
any radio controlled equipment.
Replace unit(s) with fresh batteries when the Low Battery Indicator
lights up. R to the LOW BATTERY INDICATION section.
Y may need to reposition the remote transmitter to a different
location and/or closer to the receiver for the best transmission.
Scroll to the remote temperature alarm setting
mode by pressing .MODE
Replace the batteries when the Low Battery Indication lights up on
the middle-right portion of the LCD screen on the WS290C receiver
NOTE: After replacing the batteries, you will need to perform the
Setup and Learn Function procedures again. Refer to the GETTING
STARTED and WIRELESS TRANSMISSION sections.
Replace the batteries when the Low Battery Indication lights up on
the bottom-left corner of the LCD screen on the WT440H transmitter
When the batteries are low on a transmitter a Low Battery Indication
will also light up on the bottom-right corner of the LCD screen on the
WS290C receiver for that particular channel.
The T Alarm symbol will appear
and the remote temperature will be blinking.
Press or key to set the desired value for the
temperature limit.
+-
Press to select the following settings:ON/OFF
Press to select the desired remote channel
( , or ) that you wish the temperature alarm to be set on.
Only one channel can be selected.
CHN
12 3
UP ARROW
UPPER TEMPERATURE LIMIT
LOWER TEMPERA
TEMPERATURE ALARM DISABLED
DOWN ARROW
BLANK
(NO ARROW)
2
The temperature alarm will sound when the actual temperature has
reached (or exceeded) the upper or lower temperature limit.
The temperature alarm has a distinctive tone different to that of
Alarm 1 or Alarm 2.
symbol will blink
Press ANY key to stop the temperature alarm. Or without interruption,
the temperature alarm will automatically stop after one minute.
TROUBLESHOOTING
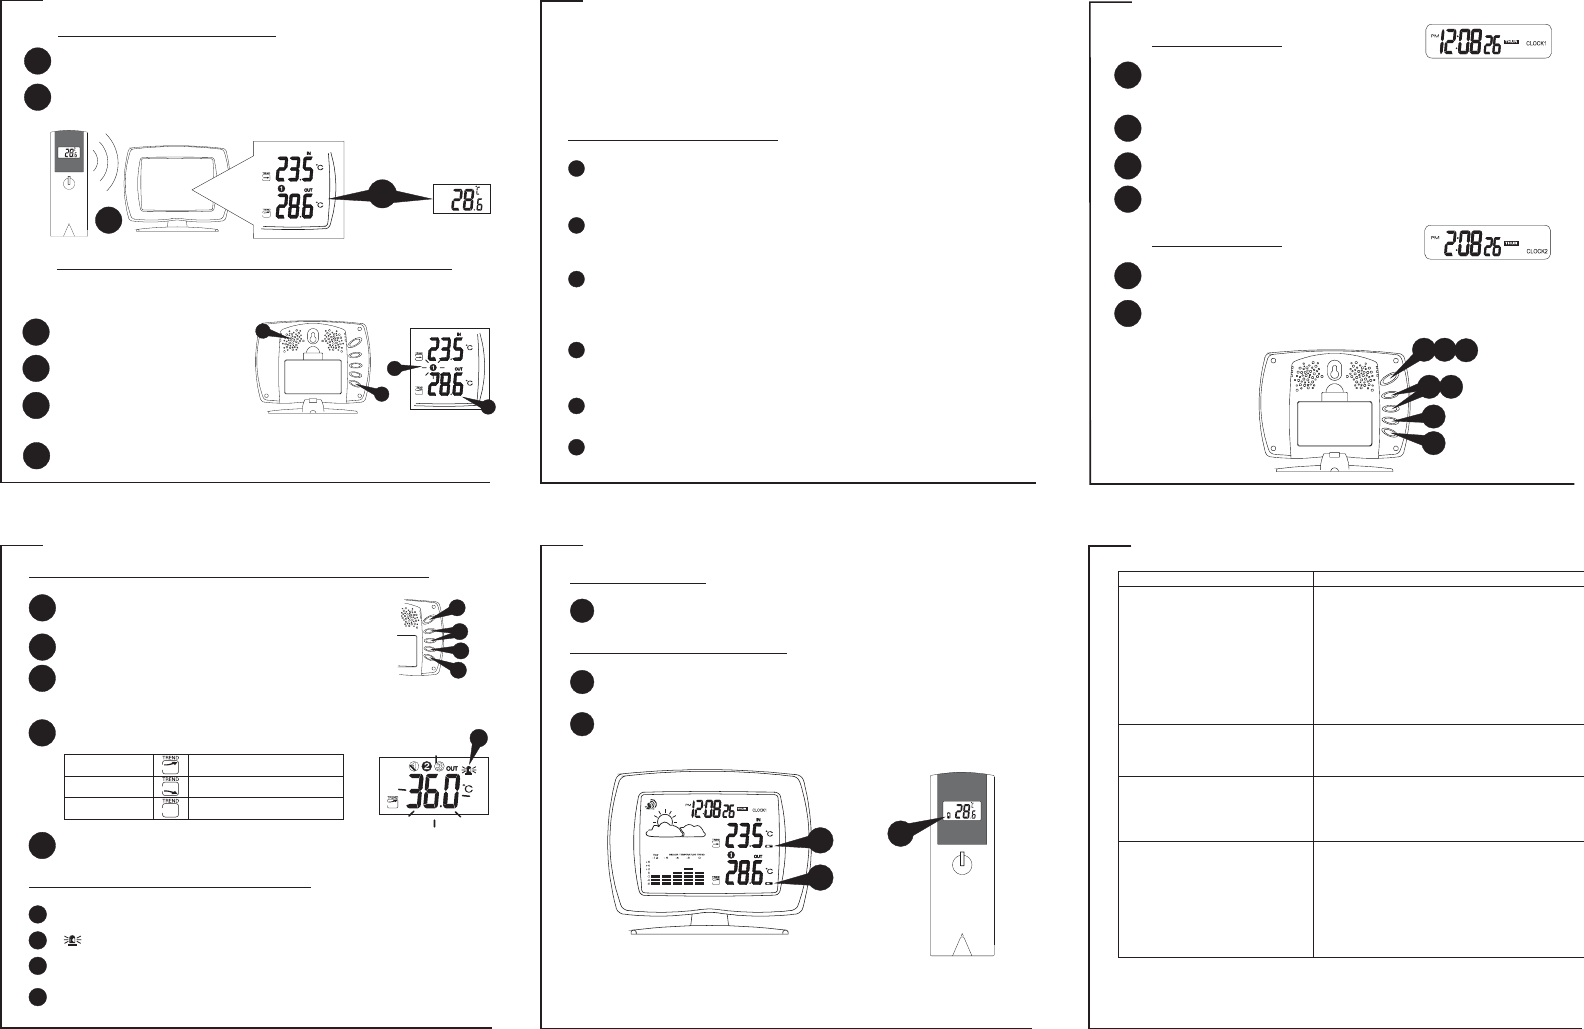
Clock 1 Setting
Clock 2 Setting
1
4
5
2 6
3
2
Press and hold for 3 seconds to
enter the Clock Setting mode. Y will hear
a beep. (The CLOCK1 symbol will appear and the time will blink).
MODE
Press to set the hour Press to set the minute; and press
to set the second.
HOUR MIN CHN
Press during clock setting to change between 12 and 24 hour
display
ON/OFF
Press twice or no key press for one minute will end clock setting.MODE
Press or key to change the hour (in one
hour increments/decrements relative to Clock 1).
+-
Scroll to Clock 2 mode using
(The CLOCK2 symbol will appear).
MODE
Clock 2 Setting:
Clock 1 Setting:
A
B
C
A
B
The remote (outdoor) readout on the receiver is
blinking.
The remote (outdoor) readout on the receiver is
blinking. The receiver will not detect or receive
the temperature and humidity data from the
remote transmitter
Function has been executed.
The temperature and humidity data on the
remote transmitter does not match the data
displayed on the receiver
The temperature and humidity data on the
remote transmitter does not match the data
displayed on the receiver
This may also be the result of a temporary loss of reception due
to interfering sources. Normal reception should resume once
the interference ends. Refer to the WIRELESS TRANSMIS
section.
Re-synchronize the remote transmitter and receiver by pressing
and holding on the receiver for 3 seconds until a beep is
heard. The temperature and humidity data from the remote
transmitter will display on the receiver within 3 minutes. Refer to
the WIRELESS TRANSMISSION (Manual Learn Function) section.
CHN
Ensure the remote transmitter is away from any possible source of
interference and electrical disturbances. Y
the remote transmitter in a different location and/or closer to the
receiver The remote transmitter does have a maximum range of
40 metres, but any walls or windows the signal has to pass through
will reduce the distance. Due to the nature of the batteries,
extreme cold temperatures may also affect the transmission range.
Refer to the WIRELESS TRANSMISSION section and repeat the
Manual Learn Function with the remote transmitter in a new
location.
This may occur when you move the remote transmitter from one
environment to another F
transmitter from inside the warm house out to the cold exterior I
such a case, there will be a big change in temperature. The
transmitter will record this change in temperature much quicker
than it is able to transmit the data to the receiver (which is done
once every minute). Therefore, you will temporarily get a
difference in reading between the remote transmitter and receiver
The solution is to allow the remote transmitter some time to sit in
its new location to reach equilibrium. This may take several
minutes. Once the data is stable, the data displayed on the
remote transmitter should match that displayed on the receiver
PROBLEM
SOLUTION
P
P
P
P
P
P
4
C
CL