the sides and gently manoeuvre into position. Plug the
the supply cable exits at the front of the
location and is not trapped under the
Before using the manual controls rstly
tank’).
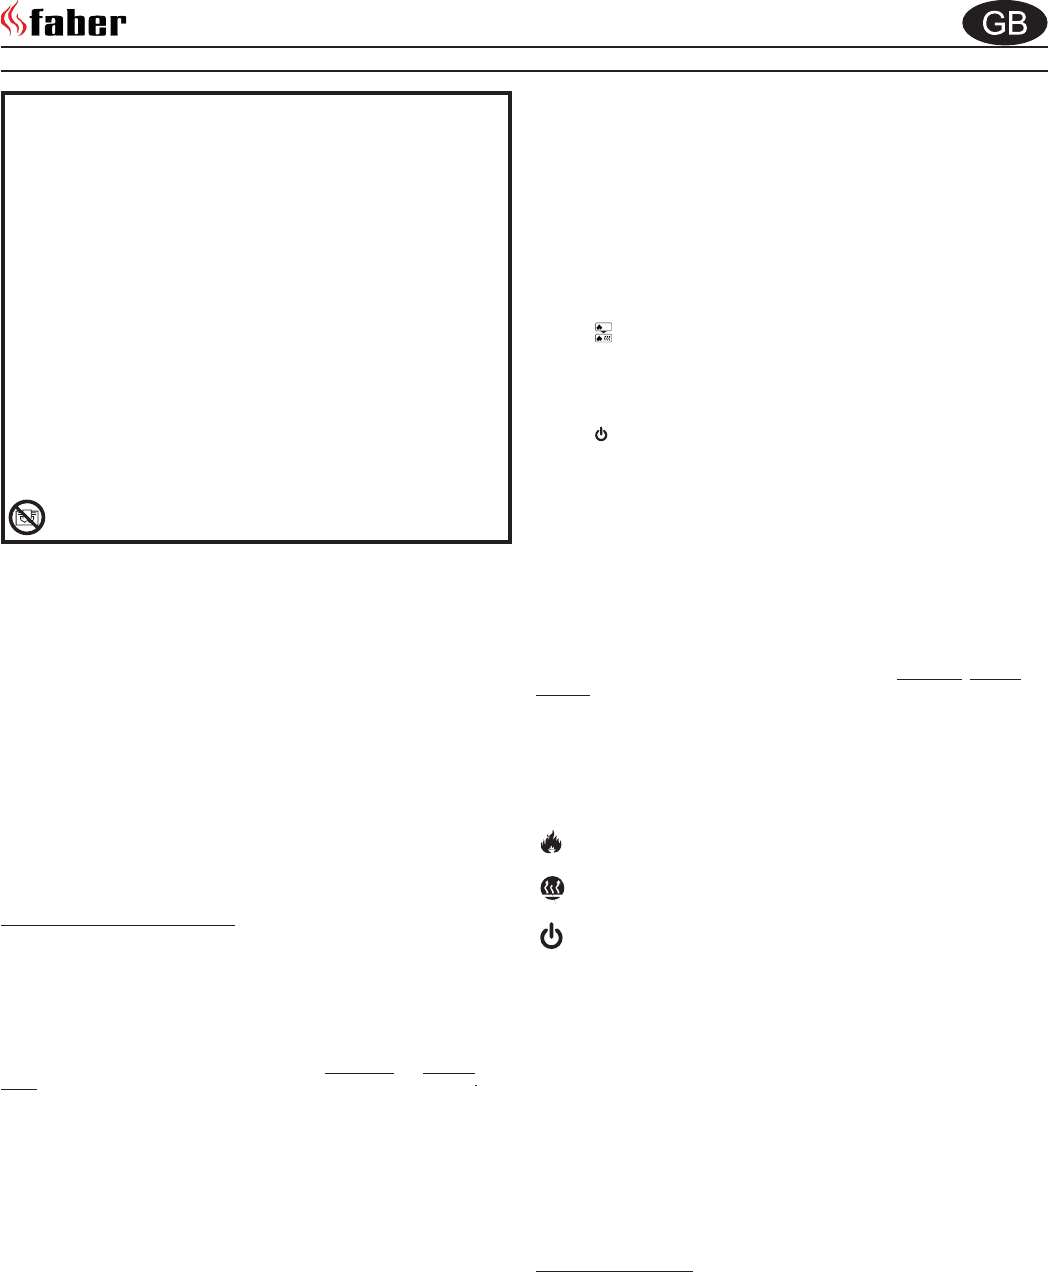
Manual Controls
The Opti-myst Manual controls ar
controls. (See F
Switch
Note: I ) position for the heater to operate with or without heat.
Switch re.
Press
once to turn on ame ect. This will be indicated b
Although the main lights operate immediately it will take a further 30 seconds before the ame
e ect
Press it again to give ame ec
Press it again to return to ame ec.
Thi
Press
to put
Thi
Switch
There are two speeds for the mist extractor motor
concensation on the glass.
speed for 1 minute and then will default to the switch setting
Thumb
Pressing the wheel up will increase the ammount of mist pr
decreaces the ammount of mist produced.
Note: Should condendsation occure on the glass, simply turn do
estractor motor to high speed until the concensation has been eliminated.
When the water is empty the main lamps go out. See instructions under
water tank’
before the ames return.
Remote Control Oper
On the control panel, Switch A (see F( I ) position in order for the remote contr
to operate.
T ect.
The remote control functions are as f
Press once to turn on F ec
This will be indicated by one beep
Press once to turn on Heat and F ect.
This will be indicated by tw
Standby
This will be indicated by one beep
Battery Information.
1. Unclip the battery cover on the back of the remote control
2. Install AAA batteries into the remote control
3. Replace the battery cover
Discard leaky batteries.
Dispose of batteries in the proper manner according t
Any battery may leak electrolyte if mixed with a di
batteries are not replaced at the same time
battery not intended to be recharged.
Thermal safety cut-out
A thermal safety cut-out is incorporated in the fan heater to prevent damage due to o
can happen if the heat outlet was restricted in any way or if the chimney
e
10 minutes before rec
may be restricting the heat outlet, then continue normal operation.
Tips for using y
1. Only pull out the drawer when its time to re
lead to excess water in the sump and reduc ame
the sump as instructed under
2. With the
will last 3 times as long than when it is at maximum ame
3. Do not tilt or move the
4. Make sure that the re is on a level oor
5. The ect.
6. Sometimes the
7. Give the ame
knob.
IMPORT
Important Safety Advice:
When using electrical appliances, basic precautions should alway
risk of
If the appliance is damaged, check with the supplier before installa
Do not use outdoors.
Do not use in the immediate surroundings of a bath, show
Do not locate the heater immediately below a
This appliance is not intended for use b
supervision if their physical, sensory or mental capabilities prev
safely
Do not use this heater in series with a thermal control
other device that switches on the heat automatically
is accidentally cov
Ensure that furniture, curtains or other combustible material ar
metre from the heater
In the event of a fault unplug the heater
Unplug the heater when not required for long periods
Although this heater complies with safety standar
pile carpets or on long hair type of rugs.
The appliance must be positioned so that the plug is ac
If the supply cord is damaged it must be replaced b
similarly quali
Keep the supply cord a
W
garments on the heater
The heater carries the
General.
Unpack the heater carefully and retain the packaging for possible futur
moving or returning the
packed separately in the carton.
The ame
comforting e ect may be enjoyed at an ame ec
requires little electricity
Before connecting the heater check that the supply voltage is the same as that stated on the heat
Please note: Used in an environment wher
a sound which is related to the operation of the ame e
for concern.
Electrical connection.
W
This heater must be used on an AC ~ supply only and the voltage marked on the heat
correspond to the supply voltage
Before switching on, please read the saf
PLEASE RET
Do not put Opti-myst plastic c
Only slide out the drawer when the w
otherwise you will inadvertently alter the water level and the ame ect
Only use
Always ensur oor
If you intend not using the appliance for longer than 2 w
water tank and dry the sump.
Once installed, never mo
sump and water tank.
The water tank, sump
particularly in hard water areas.
The appliance should nev
The lamps should be regularly inspected as described under
Lamps’
Installation Instructions
The 3-Step can be changed to suit 3 styles, the
Relax (front glass only).The product comes already comes as a Relax.
product see
the side metal plate and side glass out together see
place. Use the larger rubber cor
front glass by repeating the steps abov
you have a both the front and side glass tting
Before installing this appliance, w
1. Choose which style of 3-step you require and make the requir
2. Y
3. Y ue.
This procedure is important for the e
up the chimney.
Installation.
Ensure that all packing items are remov
Retain all packing for possible future use, in the ev
your supplier
Under the appliance there are four adjustable supports provided f
Y OFF
Using the correct re by
3-Step
7