14)Operated by 10.8 V Rechargeable Li-ion battery cartridge
15)Low Battery Indication
16)Low Battery Protection
17)Accessories: Shoulder Strap
General Specification
Note:
Table regarding to the battery operating time above is for reference. The actual operating time may differ with charging condition, or usage
environment.
FUNCTIONAL DESCRIPTION
Installing or removing battery cartridge (Fig. 2)
CAUTION: Always switch off the radio before installing or removing of the battery cartridge.
CAUTION: Hold the radio and the battery cartridge firmly when installing or removing battery cartridge. Failure to hold the radio
and the battery cartridge firmly may cause them to slip off your hands and result in damage to the radio and battery cartridge and a personal
injury.
To remove the battery cartridge (19), slide it from the radio while sliding the button (20) on the front of the cartridge.
To install the battery cartridge, align the tongue on the battery cartridge with the groove in the housing and slip it into place. Insert it all the way
until it locks in place with a little click. If you can see the red indicator (21) on the upper side of the button, it is not locked completely.
CAUTION: Always install the battery cartridge fully until the red indicator cannot be seen. If not, it may accidentally fall out of the
radio, causing injury to you or someone around you.
CAUTION: Do not install the battery cartridge forcibly. If the cartridge does not slide in easily, it is not being inserted correctly.
ItemStandard
Applicable Battery TypeBL1015, BL1020B, BL1040B
Power SourceDC 10.8 V
Current Consumption450 mA max
Tuning Frequency Range
AM
522 to 1,710 KHz
9KHz Step
FM
87.5 to 108 MHz
0.5 MHz Step (manual), 1MHz Step (automatic)
No. of Preset Memory
AM5
FM5
Speaker Output Power per channel1.2 W max
Earphone Output Power per channel20 mW max
AUX InputImpedance 22 K ohm 150 mVrms (L&R channel)
AM AntennaFerrite bar ø8 mm x 100 mm
FM Rod Antenna(L) 110 mm
Speakerø36 mm 16 ohm 2 W, 2 pieces
LCD DisplayTN type, view area 55 mm x 16 mm
Applicable EnvironmentIndoor use
Operating Time
(At speaker output = 50 mW + 50 mW)
(Approximately)
With BL101511 hours
With BL1020B15 hours
With BL1040B30 hours
Dimensions (L x W x H)
Without battery169 mm x 58 mm x 74 mm
With BL1015, BL1020B169 mm x 73 mm x 74 mm
With BL1040B169 mm x 92 mm x 74 mm
Net Weight
Without battery0.35 kg
With BL1015, BL1020B0.56 kg
With BL1040B0.72 kg
Hook (Fig. 3)
The hook (22) is convenient for hanging the Cordless Radio temporarily.
OPERATION
HOW TO LISTEN RADIO BROADCASTING
1.Press POWER (9) button to switch on the radio unit. (Fig. 1 & 5) The receiving frequency is showed on LCD DISPLAY (16). (Fig. 1 & 4)
2.Press BAND (8) button to select FM or AM band. (Fig. 1)
3.For FM broadcasting listening, rotate the direction of ROD ANTENNA (10) to have a better performance of reception. For AM broadcasting
listening, as the AM antenna is built-in the radio, rotate the direction of radio unit to get a better performance of reception. (Fig. 1 & 6)
4.For manual tuning, press SEARCH UP (17) or SEARCH DOWN (18) button once to tune up or tune down the receiving frequency by one
step, or rotate the TUNING KNOB (11) to have a faster tune up/ down. (Fig. 1 & 5)
5.For automatic tuning, press and hold the SEARCH UP (17) or SEARCH DOWN (18) button for 3 seconds, the receiving frequency
increases or decreases by one step automatically. When broadcasting is received, the searching stops 5 seconds for short listening and
then restart searching. If you want to listen the broadcasting, press any buttons (except for power button) once to stop searching. (Fig. 1)
6.In FM band, if stereo broadcasting is received, the “STEREO” icon is displayed. Under poor reception circumstance, to reduce the
reception noise by switching off the stereo function. Press and hold the BAND (8) button for 3 seconds to enter FM Stereo setting mode.
Then press BAND (8) button again to switch “Stereo On” or “Stereo Off”. (Fig. 1 & 4)
7.Press VOLUME UP (14) or VOLUME DOWN (15) button to adjust the sound level. (Fig. 1)
8.To listen to the radio by earphones (not included), plug a diameter 3.5 mm earphone’s plug into EARPHONE JACK (12) completely. The
built-in speakers are disconnected automatically and no sound is output. (Fig. 1 & 7)
9.When the battery is soon used up, low battery indicator appears on the LCD DISPLAY (16). (Fig. 4)
10.To turn off the radio, press POWER (9) button once. (Fig.1 & 5)
11.The radio unit integrates with memory IC, all settings (volume level, last receiving frequency and preset memories) are saved automatically
before the battery is removed.
HOW TO STORE THE PRESET MEMORY
1.Choose the receiving frequency that to be stored.
2.Press and hold one of the PRESET MEMORY (3) - (7) buttons for 3 seconds, the chosen frequency is stored into that memory location.
The “MEMORY” icon and the chosen memory location no. are shown on the display. (Fig. 1 & 4)
3.There are 5 preset memories location for each AM and FM band.
4.To recall the preset memory, simply press one of the PRESET MEMORY buttons once.
HOW TO PLAY MUSIC THROUGH AUXILIARY JACK
1.Press POWER (9) button to switch on the radio unit. (Fig. 1 & 5)
2.Prepare an audio signal cable (not included), both ends with diameter 3.5 mm stereo plug.
3.One end of cable is plugged into the earphone jack of your play device, another end is inserted into the AUXILIARY INPUT JACK (1) of the
radio unit. (Fig. 1 & 8)
4.When the jack is plugged, the letters “AU” are displayed on LCD DISPLAY (16) and the radio unit switches to AUX mode automatically.
5.Adjust the volume of play device and the volume control of the radio unit for a suitable output sound level.
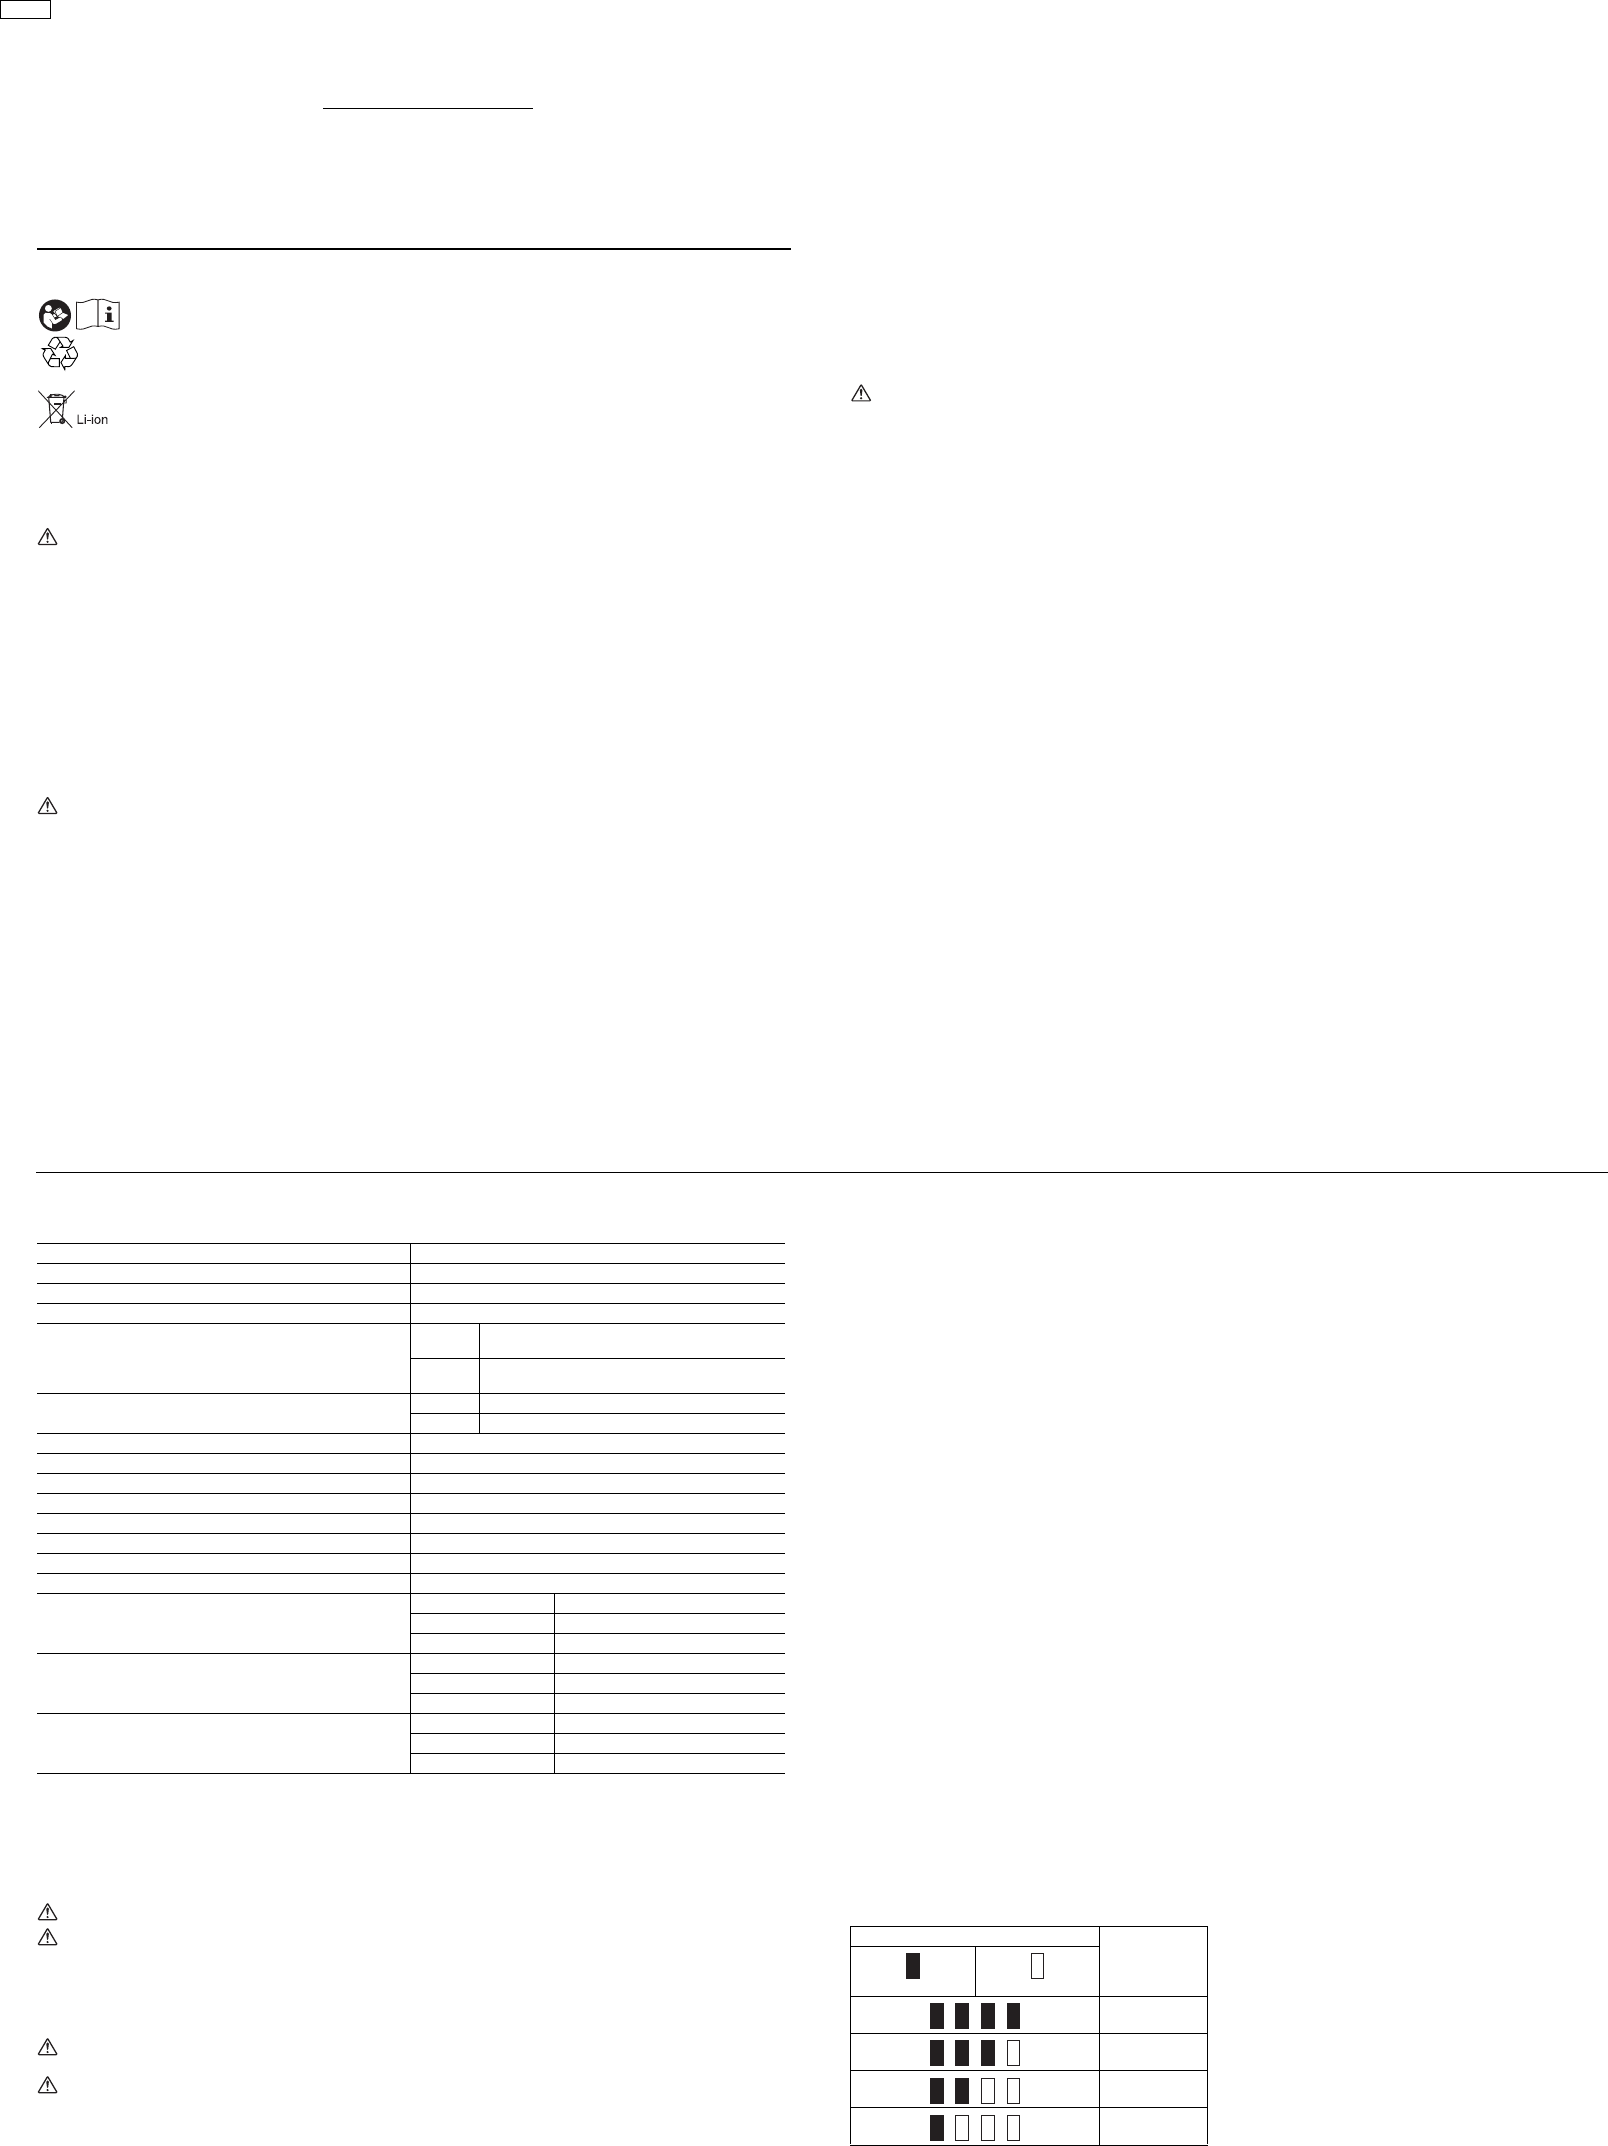
Indicating the remaining battery capacity (Fig. 9)
Only for battery cartridges with “B” at the end of the model number
Press the check button (24) on the battery cartridge to indicate the remaining battery capacity. The indicator lamps (23) light up for few
seconds.
NOTE: Depending on the conditions of use and the ambient temperature, the indication may differ slightly from the actual capacity.
Libble nimmt den Missbrauch seiner Dienste sehr ernst. Wir setzen uns dafür ein, derartige Missbrauchsfälle gemäß den Gesetzen Ihres Heimatlandes zu behandeln. Wenn Sie eine Meldung übermitteln, überprüfen wir Ihre Informationen und ergreifen entsprechende Maßnahmen. Wir melden uns nur dann wieder bei Ihnen, wenn wir weitere Einzelheiten wissen müssen oder weitere Informationen für Sie haben.
Art des Missbrauchs:
Forenregeln
Um zu sinnvolle Fragen zu kommen halten Sie sich bitte an folgende Spielregeln:
Lesen Sie zuerst die Anleitung;
Schauen Sie nach, ob die Frage bereits gestellt wurde;
Stellen Sie die Frage so deutlich wie nur einigermaßen möglich;
Erwähnen Sie was Sie bereits versucht haben um das Problem zu lösen;
Ist Ihr Problem von einem Besucher gelöst dann lassen Sie ihn / sie wissen in diesem Forum;
Falls Sie reagieren möchten, so verwenden Sie bitte das Antworten- Formular;
Da ihre Frage für alle Besucher sichtbar ist, sollten Sie lieber keine persönliche Daten erwähnen.
Neu registrieren
Registrieren auf E - Mails für Makita DEAMR052 wenn:
neue Frage gestellt werden
neue Handbücher vorhanden sind
Sie erhalten eine E-Mail, um sich für eine oder beide Optionen anzumelden.
Das Handbuch wird per E-Mail gesendet. Überprüfen Sie ihre E-Mail.
Wenn Sie innerhalb von 15 Minuten keine E-Mail mit dem Handbuch erhalten haben, kann es sein, dass Sie eine falsche E-Mail-Adresse eingegeben haben oder dass Ihr ISP eine maximale Größe eingestellt hat, um E-Mails zu erhalten, die kleiner als die Größe des Handbuchs sind.
Ihre Frage wurde zu diesem Forum hinzugefügt
Möchten Sie eine E-Mail erhalten, wenn neue Antworten und Fragen veröffentlicht werden? Geben Sie bitte Ihre Email-Adresse ein.