Switch o both buds, then hold
both MFB for 5 sec until the
indicator shows RED & BLUE,
press MFB rapidly for 4 times.
MODEL: VEBU
Fqu ey Ba 2. – 2.480
Mimum RF p 6 dBm
WrkinempeoC oC
Product ID: SH032
FCC ID: VLJ-SH0
IC: 4522A
Quick
Início Rápido
Guide de démarrage rapide / Snabbstartsguide / Poradnik
użytkowania / 快速入門指南 /快速入门指南 /Краткое
руководств пользов / عيرسلا ليغشتلا ليلد /Hızlı B aşlangıç
Kıla vuzu /クイックスタートガイド / 빠른 시작 안내서 / ม
น / Коротке керівництво користувача
2
EN
1. Charging:
Fully charge before use
The devic
CE compliant pow
interfac
2. Pairing:
2.
2.
2.2 Select “V
menu.
2.2 3
3. Fitting:
3. Insert the V
comfortably
L
3.
3.2 T
recommended t erent earbud sizes.
3.2
4
4. Base Operation:
x1
x2
x3
4S
2S
/
x2
/
Additional Oper
Factory r
Reject a call
Receiv
end ongoing call Double Press MFB
Receiv
hold ongoing call Single Press MFB
V
Google/
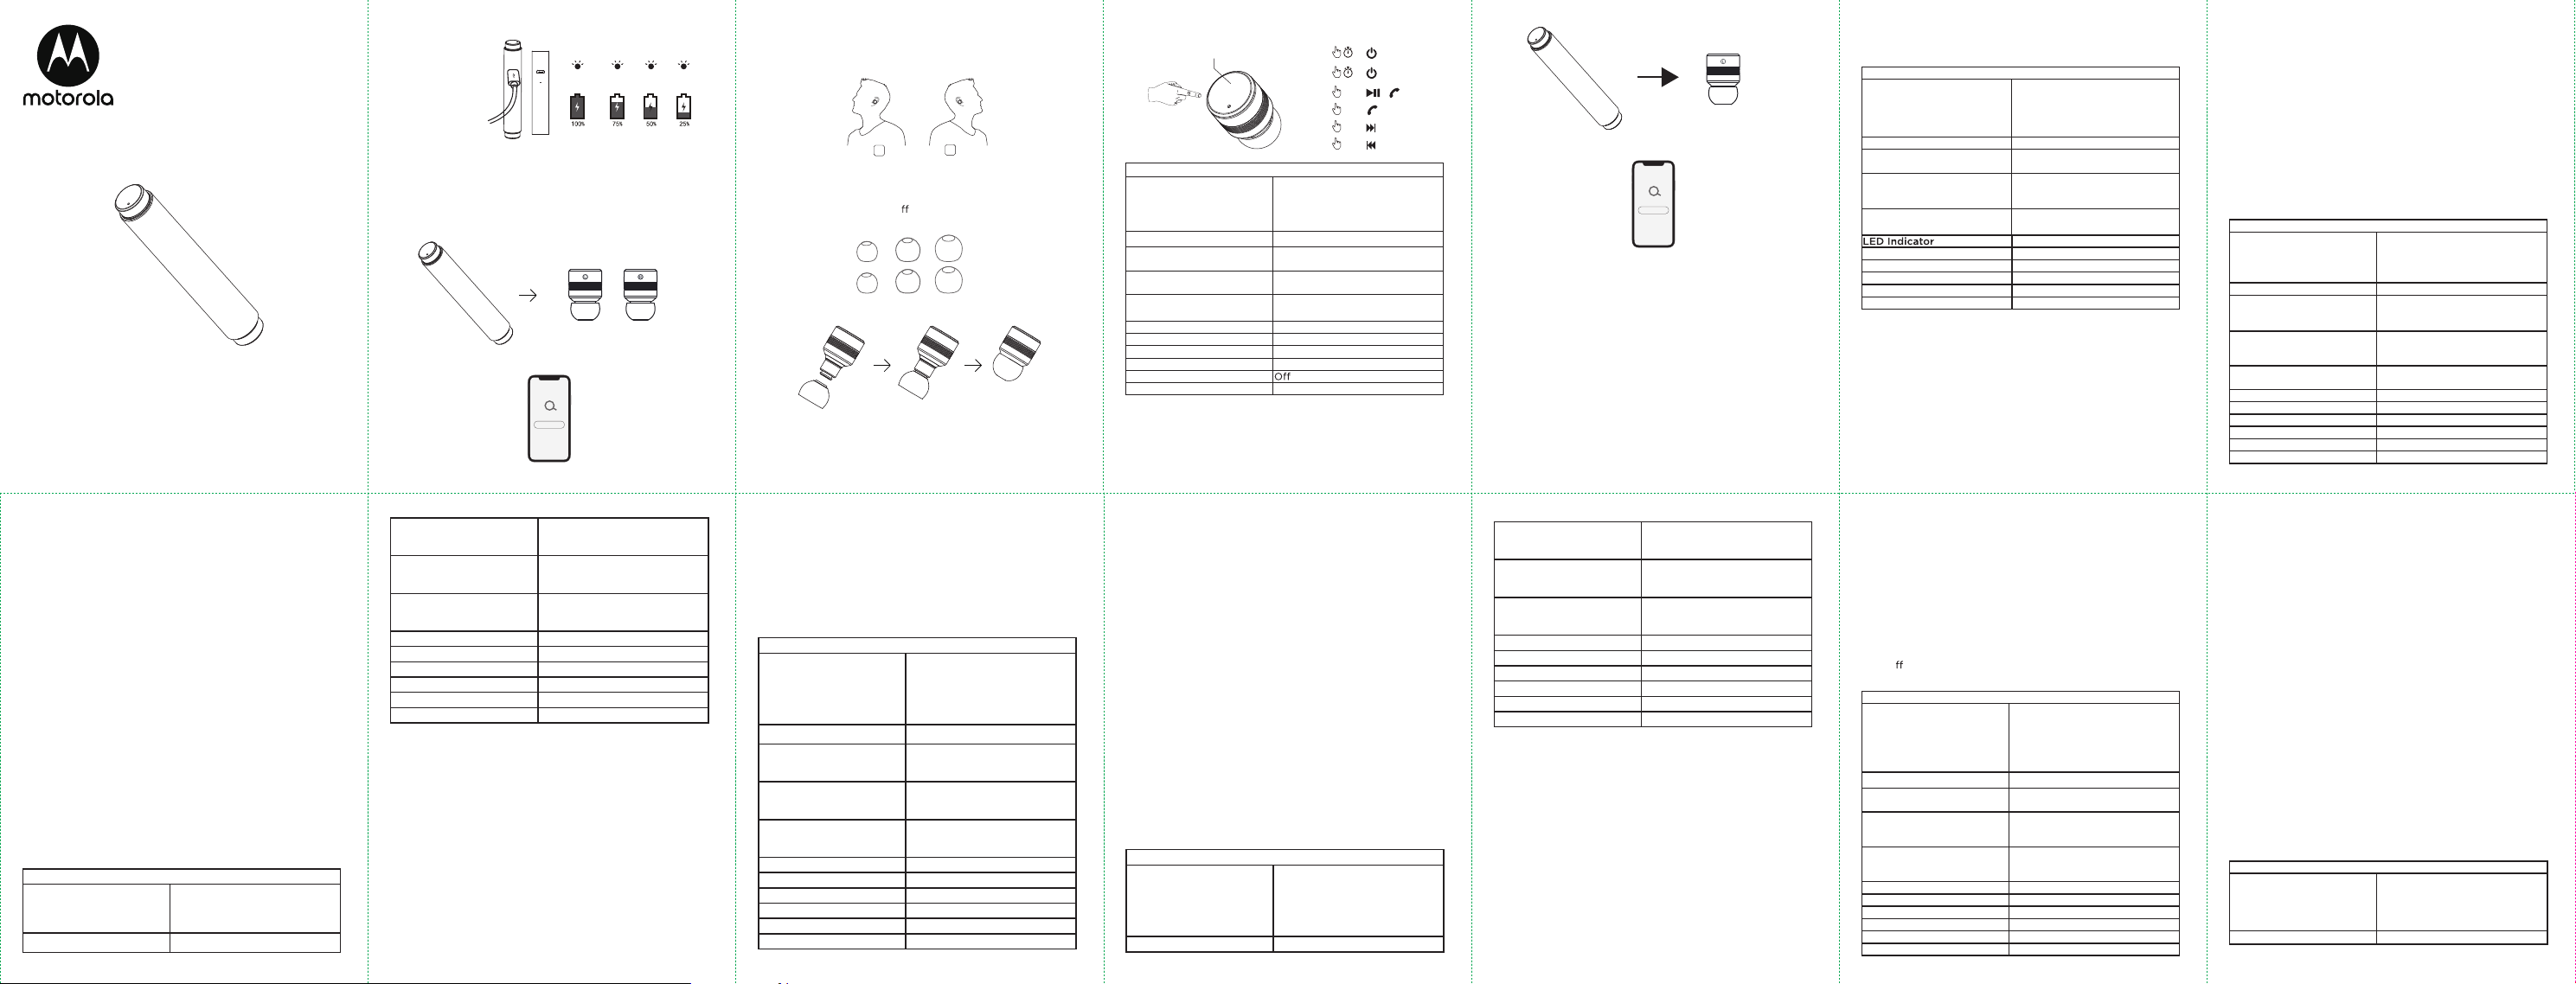
LED Indicator
Pairing Red-blue flash
Standby Blue flash
Charging Red steady
Fully charged
Battery lo Red flash
5. V
T
this pairing sequence.
5.
5
5.
5.2 Select “V
5.2
ES
1. Carregando:
Cargue completament
Este apar
conectado a cualquier toma de c
la interfase Eur
2. Pareando:
2.
2.2 Seleccione "V
3. Encaixando:
3. Coloque los V
tengan un ajuste c
6
3.2 Par
pruebe todos los tamañ os de almohadillas disponibles.
4. Operação dos Botões:
Operaciones adicionales
Restablecimiento de f
Rechazar llamada MFB 2sec
Recibir llamada entrant
terminar llamada actual Presione dos v
Recibir llamada entrant
poner en espera la llamada
actual
P
Comando de vo
Google/ MFB 2sec
Sincronizando Destello r
Reposo Dest
Cargando Rojo fijo
Carga completa Apagado
Batería baja Destello r
5. Función de valor agr
Para usar los auricular
(modo mono) por f
sincronización.
5.
5.2 Eleccione "V
NL
1. Opladen:
V
7
Het apparaat kan via een micr
elke CE-compa
implementeert, zoals v
2. Pairing:
2.
2.2 Selecteer "V
de smartphone.
3. Passen:
3. Plaats de V
comfortabel zitten.
3.2 Om de best passende en audio
wor
te prober
4. Knop bediening:
Extra bediening
Reset fabrieksinst
Een oproep w MFB 2sec
Ontvang een ink
oproep en beë indig de
huidige oproep
T
Ontvang een ink
oproep en zet de
huidige oproep in de w
Eén keer MFB indrukk
Spraak
Google / Alex MFB 2sec
LED Indicator
V Rood-blauw knipperend
Standby Blauw knipperend
Opladen Rood constant
V Uit
Batterij bijna leeg Rood knipperend
8
5. Featur
Als u de knoppen onafhankelijk wilt gebruik
volgt u de
5.
5.2 Selecteer “V
PT
1. Carga:
Carregue completament
O dispositivo pode ser alimentado atr
partir de qualquer fonte de enerã o
CE que implemente a interf
requisitado pela norma EN 301 489-52.
2. Sincronización:
2.
2.2 Selecione "V
3. Ajuste:
3. Insira os V
conforta
3.2 Par
é recomendá
tamanhos de auriculares.
4. Operación de los botones:
Operação A
Restaurçã o de fábrica
Rejeitar uma chamada MFB 2sec
9
Receber chamada e
terminar a chamada em
andamento
Pressione MFB duas v
Receber chamadas e
segurar chamada em
andamento
Pressione MFB uma v
Comando de vo
Google / Alex MFB 2sec
Indicador LED
Emparelhamento Luz vermelha-azul piscando
Espera Luz azul piscando
Carregamento Luz vermelha fix
Completamente carr Desligado
Bateria baixa Luz vermelha piscando
5. Caract
Para usar os botões independentemente (modo mono
fav
5.
5.2 Selecione “V
IT
1. Come caricare il dispositiv
Ricaricare completament
Il dispositivo può esser
qualsiasi fonte di alimentazione conf
l'interfac
2. Come acc
2.
10
2.2 Seleziona "V
smartphone.
3. Come indossar
3. Inserisci i V
adattare comodament
3.2 Per ottimizzare l'esperienza di ada
e per un audio ottimale, si consiglia di pr
delle diverse dimensioni di auric
4. Funzioni pulsanti:
Operazione aggiuntiv
Ripristino delle
impostazioni di fabbrica
Rifiuta una chiamata MFB 2sec
Ricevi la chiama
e termina la chiamata in
corso
Premi 2 v
Ricevi chiama
metti in attesa la chiamata
n corso
Premi una v
Comando vocale (Siri/
Google/ MFB 2sec
Indicatore LED
Acc Rosso-blu lampeggiante
Standby Blu lampeggiante
Caricamento Rosso fisso
Carica completa Spento
Batteria scarica Rosso lampeggiante
11
5. Funzione a valor
Per utilizzaregli auricolari in modo
indipendente (modalità mono
accoppiament
5.
5.2 Seleziona "V
DE
1. Laden:
V
Das Gerä t kann über einen Micr
konformen Str
europä ischen Schnittstäß EN 301 489-52 entspricht.
2. V
2.
2.2 Wählen Sie im Bluetooth-Menü Ihres Smartphones
"V
3. Anpassung:
3. Setzen Sie die V
sie, bis sie bequem sitzt.
3.2 Setzen Sie die V
sie, bis sie bequem sitzt.
4. T
Operazione aggiuntiv
Auf W
zurücksetzen
Einen Anruf ablehnen MFB 2sec
12
Eingehenden Anruf
empfangen und laufenden
Anruf beenden
MFB-
Eingehenden Anruf
empfangen und laufenden
Anruf 'halten'
MFB-
Sprachbefehl (Siri / Google
/ Alex MFB 2sec
LED-Anz
V Rot-blauer blinkend
Standby Blau blinkend
Aufladen Rot stetig
V Aus
Batterie schw Rot blinkend
5. Zusatzfunktion
Um die Ohrhö rer jeä ngig zu v
Modus), folgen Sie bitt
5.
5.2 Wählen Sie "V
FR
1. Chargement:
Charger complèt
L'appareil peut êtr
n'importe quelle sourc
CE implémentant l'interfac
norme EN 301 489-52.
13
2. Couplage:
2.
2.2 Sélectionnez «Verv» dans le menu Bluetooth
du téléphone intelligent.
3. Mise en place:
3. Insérez les V
pivot
3.2 Pour optimiser le meilleur ajust
audio, il est r
di érentes tailles d'éc
4. Boutons d’
Operazione aggiuntiv
Retour aux par
d'usine
Rejeter un appel MFB 2sec
Rece
et terminer l'appel en cours Appuye
Rece
et mettre en attent
en cours
Appuye
Commande vocale (Siri /
Google / Alex MFB 2sec
Indicateur LED
Jumelage Clignote bleu-rouge
Mode veille Clignote bleu
Charge Rouge fix
Complètement char É teint
Batterie faible Clignote rouge
14
5. Caract
Pour utiliser les boutons indépendamment (mode mono
veuille
5.
5.2 Sélectionnez “V
SV
1. Laddning:
Fullt laddad före an
Enheten kan drivån n ågon CE-
kompatibel strömkälla som implementerar det europeiska
grä nssnitt
2. Parning:
2.
2.2 Välj "Vervebuds 300" från Bluetooth menyn på din
smartphone.
3. Passform:
3. Sätt in Vervebuds i ditt öra och rotera så att det passar
bekvämt.
3.2 För att optimera den bästa passformen och
ljudupplev
hö rlurs storlekar
4. Knapp funktioner:
Ytt
Fabrikså tä llning
A MFB 2sec
MFB 2sec
MFB 2sec
MFB
OFF
ON
Ensure both buds are in the case. Take the L bud out,
the indicator will flash BLUE & RED.
x1
x2
x3
Ensure both buds are inside the charging case and take out
both buds. The buds will flash blue and red.
VerveBuds 300
VerveBuds 300
SM L
LR
Asegúrese de que ambos auriculares estén dentro del
estuche de carga y saque ambos. Las luces parpadearán
en azul y rojo.
Zorg ervoor dat beide oordopjes zich in de oplaadcassette
bevinden en verwijder beide oordopjes. De knoppen zullen
blauw en rood knipperen.
Certifique-se de que ambos os botões estão no estojo de
recarga e retire os dois fones. Os fones irão piscar flash
azul e vermelho.
Bisogna assicurarsi che entrambe le cue siano
all'interno della custodia di ricarica, poi rimuovetele
entrambe. Le luci lampeggeranno in blu e in rosso.
Vergewissern Sie sich, dass sich beide Ohrhörer in der
Ladeschale befinden, und nehmen Sie beide Ohrhörer
heraus. Die Ohrhörer blinken blau und rot.
Assurez-vous que les deux oreillettes sont à l'intérieur du
boîtier de charge et retirez-les. Les boutons clignoteront
en bleu et rouge.
Se till att båda hörlurarna är inuti laddningsfodralet
och ta ut båda hörlurarna. Hörlurarna kommer blinka
blått och rött.
Apague ambos botones, luego
mantenga presionados ambos MFB
durante 5 segundos hasta que el
indicador muestre ROJO y AZUL,
presione MFB rápidamente 4 veces.
Schakel beide oordopjes uit en hou
vervolgens beide MFB gedurende 5
seconden ingedrukt totdat de indicator
ROOD & BLAUW wordt, druk dan vier
keer snel op MFB.
Desligue os dois fones, então segure
ambos os botões MFB por 5 segundos
até que o indicador mostre VERMELHO
e AZUL, pressione o botão MFB
rapidamente por 4 vezes.
Spegnete entrambi i pulsanti, poi
premete e mantenete premuti
entrambi i tasti MFB per 5 secondi
fino a quando l'indicatore diventi
ROSSO e BLU, premete poi
rapidamente MFB 4 volte.
Schalten Sie beide Ohrhörer aus
und halten Sie dann beide MFB 5
Sekunden lang gedrückt, bis die
Anzeige ROT & BLAU anzeigt.
Drücken Sie die MFB Viermal
schnell.
Éteignez les deux oreillettes, puis
maintenez les deux boutons MFB
enfoncés pendant 5 secondes
jusqu'à ce que l'indicateur ache
ROUGE & BLEU, puis appuyez
rapidement sur le bouton MFB
quatre fois
Stäng av båda hörlurarna, håll
sedan ner båda MFB i 5 sekunder
tills indikatorn visar RÖD & BLÅ,
tryck ner MFB snabbt 4 gånger.
Asegúrese de que ambos auriculares estén en la funda.
Retire elauricular del lado izquierdo (L), el indicador
encenderá luces AZULES y ROJAS
Zorg ervoor dat beide oordopjes in het doosje zitten.
Neem vervolgens de L-knop er uit, de indicator zal nu
BLAUW & ROOD knipperen.
Certifique-se de que ambos os fones estão no estojo.
Retire o lado esquerdo (L), o indicador irá piscar AZUL
E VERMELHO.
Si assicuri che entrambe le cue siano nella base. Rimuovete la
cua dal lato sinistro (L), l'indicatore diventerà BLU e ROSSO.
Stellen Sie sicher, dass beide Ohrhörer in der Ladeschale
sind. Nehmen Sie den L-Ohrhörer heraus, die Anzeige
blinkt BLAU & ROT
Assurez-vous que les deux oreillettes sont dans l'étui.
Retirez l'oreillette gauche (L), l'indicateur clignotera
en BLEU ET ROUGE