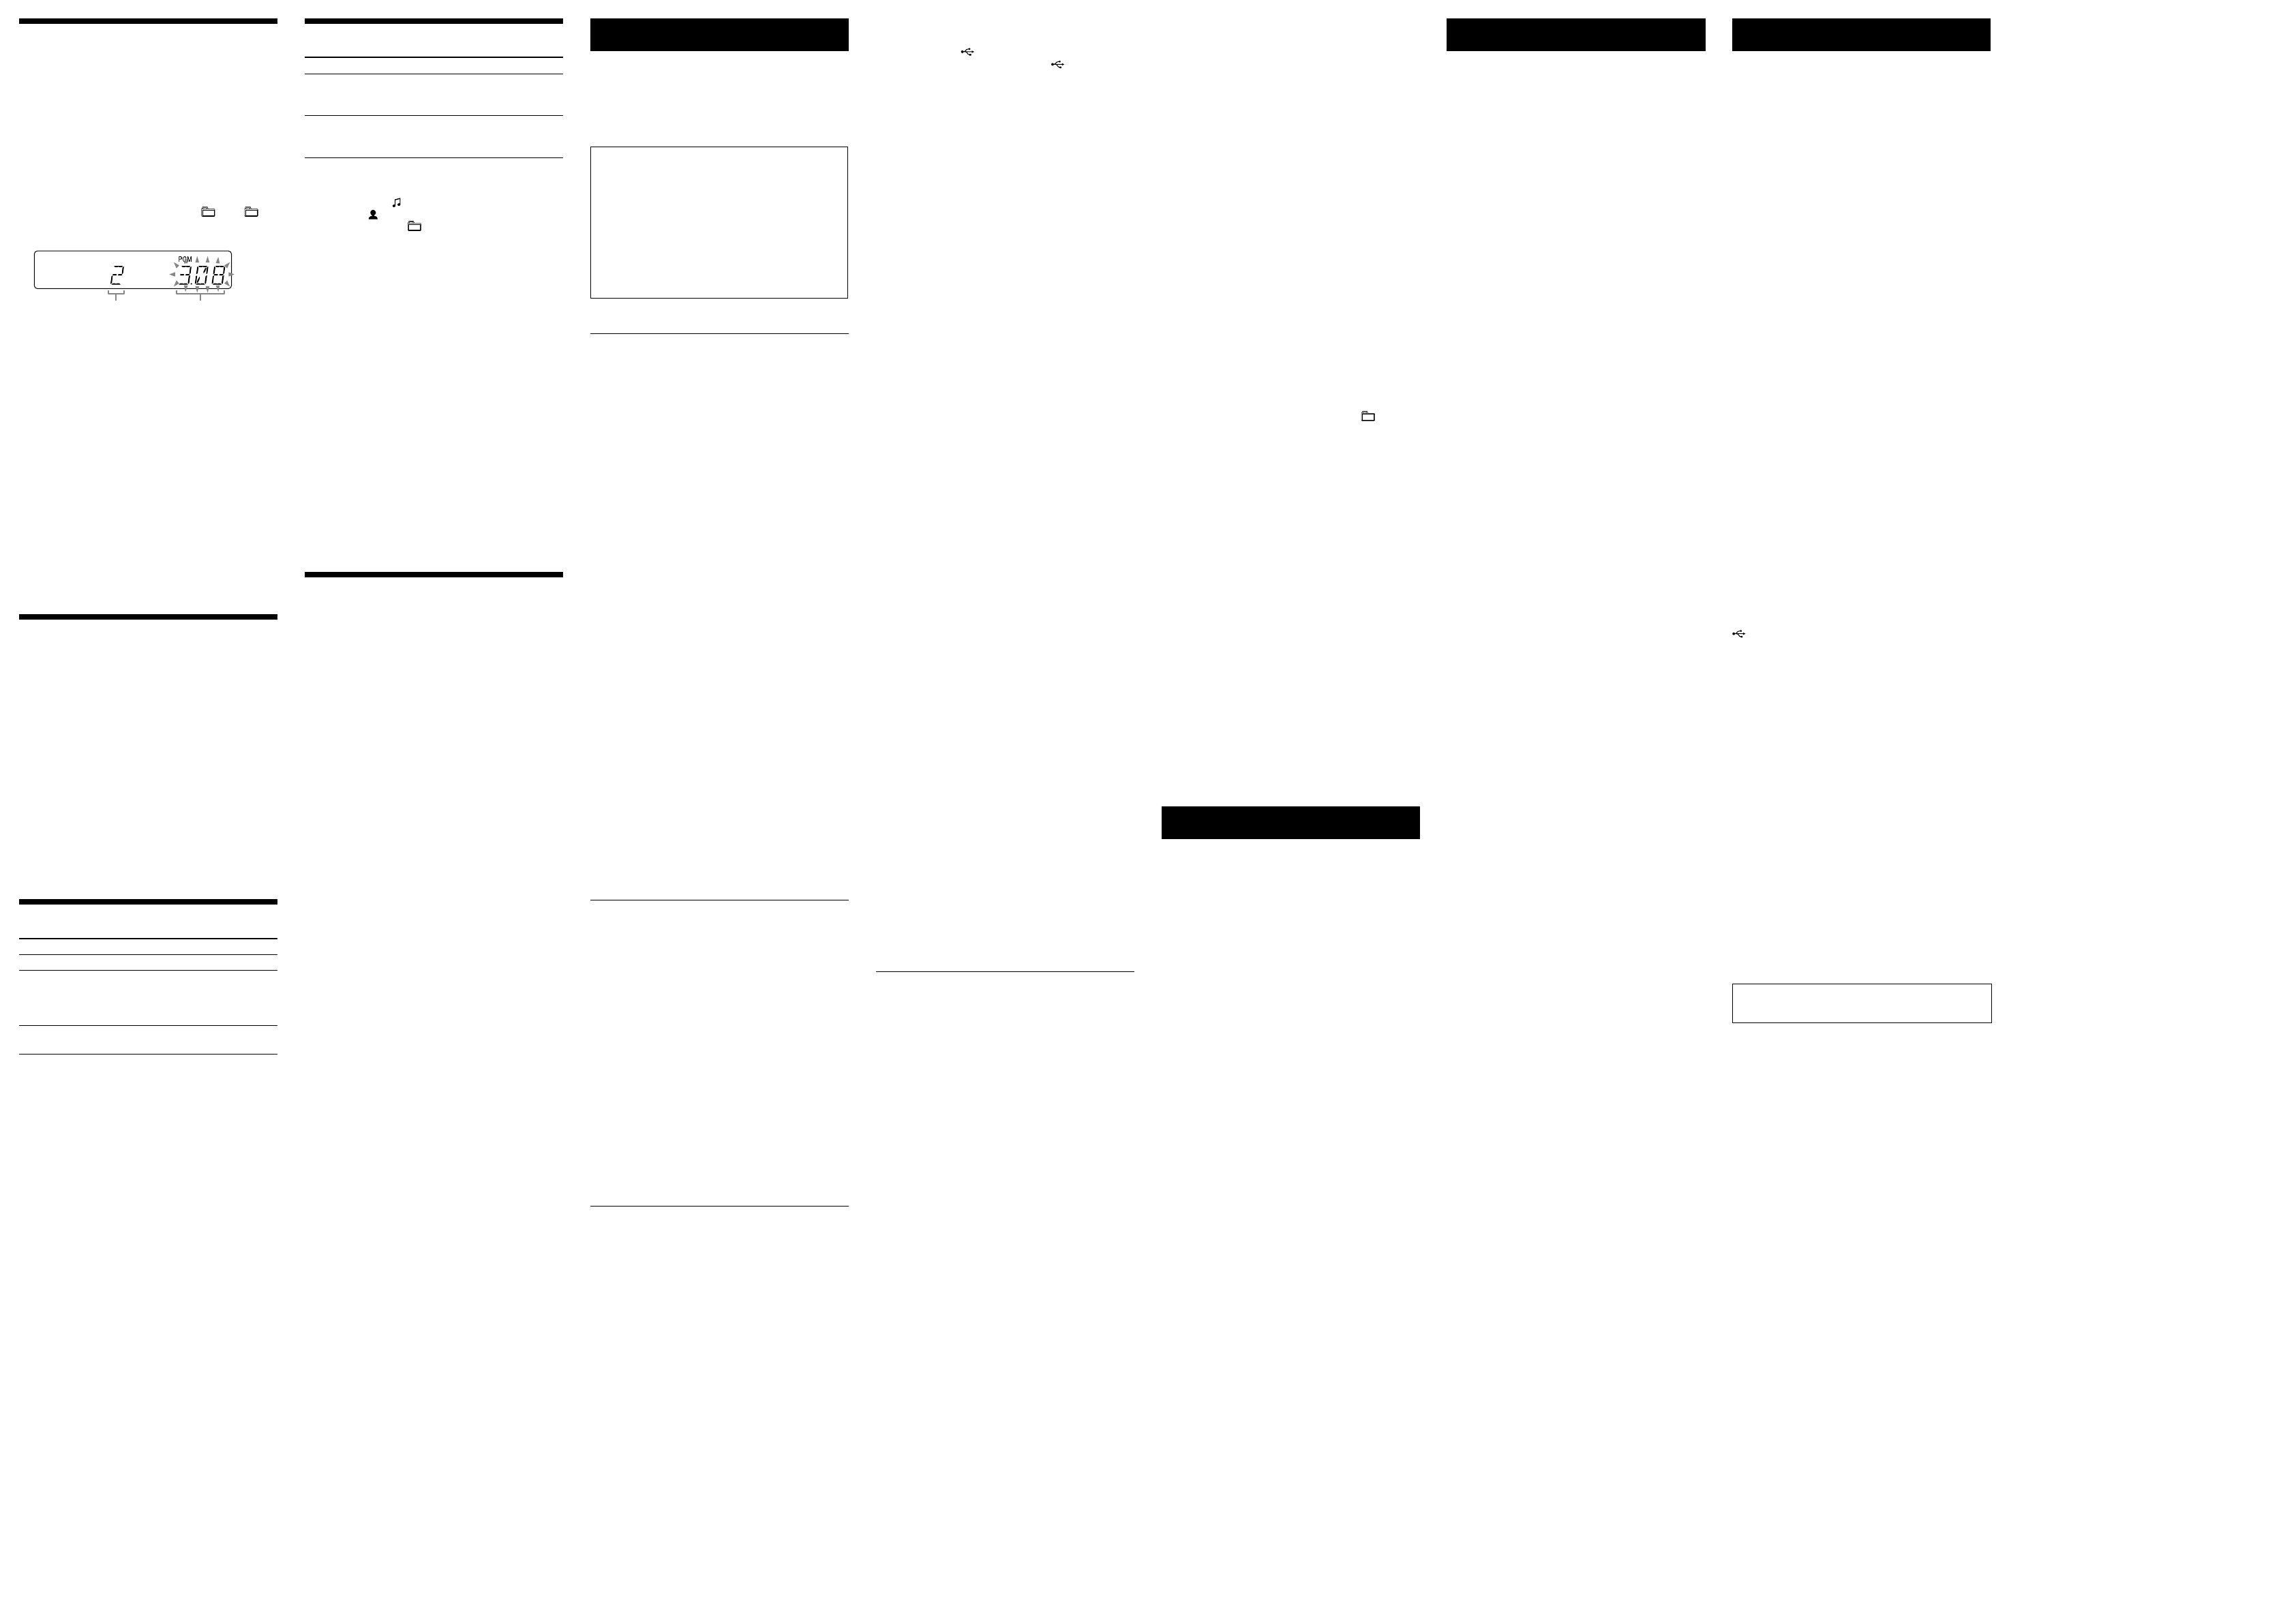
160966
2
Zoom out
Zoom in
Vorherige Seite
1/2
Nächste Seite
CMT-FX205/FX200.GB.4-178-506-14(1)
Creating your own program
(Program Play)
1 Select the CD or USB function.
Press FUNCTION
repeatedly.
2 Select the play mode.
Press PLAY MODE
repeatedly until “PGM”
appears while the player is stopped.
3 Select the desired track or le number.
Press /
repeatedly until the desired track
or le number appears.
When programming MP3 les, press +
/
repeatedly to select the desired folder, and then
select the desired le.
Selected track or le number Total playing time of the selected
track or le
4 Program the selected track or le.
Press ENTER
to enter the selected track or le.
5 Repeat steps 3 through 4 to program additional
tracks or les, up to a total of 25 tracks or les.
6 To play your program of tracks or les, press
.
e program remains available until you open the CD
compartment. To play the same program again, press
.
To cancel Program Play
Press PLAY MODE
repeatedly until “PGM”
disappears while the player is stopped.
To delete the last track or le of the program
Press CLEAR
while the player is stopped.
To view program information, such as total
track number of the program
Press DISPLAY
repeatedly.
Using optional audio components
1 Prepare the sound source.
Connect additional audio component to the AUDIO
IN jack
on the unit using an audio analog cord
(not supplied).
2 Turn down the volume.
Press VOLUME
.
3 Select the AUDIO IN function.
Press FUNCTION
repeatedly.
4 Start playback.
Start playback of the connected component and adjust
the volume.
Note
e system may enter standby mode automatically if the volume
level of the connected component is too low. Adjust the components
volume accordingly. See “To turn o the automatic standby function.
Adjusting the sound
To Press
Adjust the volume
VOLUME +/
.
Generate a more
dynamic sound
(Dynamic Sound
Generator X-tra)
DSGX
on the unit.
Set the sound
eect
EQ
.
Changing the display
To Press
Change
information on
the display*
DISPLAY
repeatedly when the
system is on.
Check the clock
when the system
is o
DISPLAY
when the system is o.
e clock is displayed for 8 seconds.
* For example, you can view CD/MP3 disc information or the USB
device information, such as;
track or le number during normal play.
track or le name (“ ”) during normal play.
artist name (“ ”) during normal play.
album or folder name (“ ”) during normal play.
total playing time and total number of tracks on the CD-DA
disc (only when normal play mode is selected and the player is
stopped).
total number of folders (albums) on the MP3 disc or the USB
device (only when normal play mode is selected and the player or
the USB device is stopped).
volume label if it exists on the MP3 disc or the USB device (only
when normal play mode is selected and the player or the USB
device is stopped).
Notes on the display information
Characters that cannot be displayed appear as “_”.
e following are not displayed;
total playing time for an MP3 disc and a USB device.
remaining playing time for an MP3 le.
e following are not displayed correctly;
elapsed playing time of an MP3 le encoded using VBR (variable
bit rate).
folder and le names that do not follow either the ISO9660
Level 1, Level 2 or Joliet in the expansion format.
e following are displayed;
remaining playing time for a track.
ID3 tag information for MP3 les when ID3 version 1 and
version 2 tags are used (ID3 version 2 tag information display has
priority when both ID3 version 1 and version 2 tags are used for a
single MP3 le).
up to 32 characters of ID3 tag information using uppercase letters
(A to Z), numbers (0 to 9), and symbols (˝ $ % ’ ( ) * + , – . / < = >
@ [ \ ] _ ` { | } ! ? ^
~
).
Using the timers
e system oers two timer functions. If you use both
timers, the Sleep Timer has priority.
Sleep Timer:
You can fall asleep to music. is function works even if
the clock is not set.
Press SLEEP
repeatedly. If you select “AUTO,” the
system automatically turns o aer the current disc or
USB device stops, or within 100 minutes.
Play Timer:
You can wake up to CD, FM/AM reception or USB device
at a preset time.
Make sure you have set the clock.
1 Prepare the sound source.
Prepare the sound source, and then press VOLUME
+/
to adjust the volume.
To start from a specic CD track or audio le, create
your own program.
2 Select the timer set mode.
Press CLOCK/TIMER SET
.
3 Set the play timer.
Press /
repeatedly to select “PLAY SET,
then press ENTER
.
4 Set the time to start playback.
Press /
repeatedly to set the time, then
press ENTER
.
5 Use the same procedure as in step 4 to set the time
to stop playback.
6 Select the sound source.
Press /
repeatedly until the desired sound
source appears, then press ENTER
.
7 Turn o the system.
Press 
. e system turns on 15 seconds before
the preset time.
If the system is on at the preset time, the Play Timer
will not play. Do not operate the system from the time
the system turns on until the playback starts.
To check the setting
1 Press CLOCK/TIMER SELECT
.
2 Press /
repeatedly to select “PLAY SEL,
and then press ENTER
.
To cancel the timer
Repeat the same procedure as above until “OFF” appears
in step 2, and then press ENTER
.
To change the setting
Start over from step 1.
Tip
e Play Timer setting remains as long as the setting is not cancelled
manually.
Troubleshooting
1 Make sure the power cord and speaker cords are
correctly and rmly connected.
2 Find your problem in the checklist below, and take
the indicated corrective action.
If the issue persists, contact your nearest Sony dealer.
If “PROTECT appears on the display
Immediately unplug the power cord, and check the
following items aer “PROTECT” disappears.
Are the + and speaker cords short-circuited?
Is anything blocking the ventilation holes of the
system?
Aer you have checked these above items and found
to be all right, reconnect the power cord, and turn on
the system. If the issue persists, contact your nearest
Sony dealer.
General
The system does not turn on.
Is the power cord plugged in?
The system has entered standby mode
unexpectedly.
is is not a malfunction. e system enters standby
mode automatically in about 30 minutes when there is
no operation or audio signal output. See “To turn o
the automatic standby function.
The clock setting or the Play Timer operation
has been cancelled unexpectedly.
If about a minute elapses with no operation, the clock
setting or Play Timer setting is cancelled automatically.
Perform the operation again from the beginning.
There is no sound.
Are the + and speaker cords short-circuited?
Are you using only the supplied speakers?
Is anything blocking the ventilation holes of the system?
e specied station may have temporarily stopped
broadcast.
Sound comes from one channel, or the left and
right volumes are unbalanced.
Place the speakers as symmetrically as possible.
Connect only the supplied speakers.
Severe hum or noise.
Move the system away from sources of noise.
Connect the system to a dierent wall outlet.
Install a noise lter (available separately) to the power
cord.
The remote does not function.
Remove any obstacles between the remote and the
remote sensor
on the unit, and position the unit
away from uorescent lights.
Point the remote at the systems sensor.
Move the remote closer to the system.
CD/MP3 player
The sound skips, or the disc will not play.
Wipe the disc clean, and replace it.
Move the system to a location away from vibration (for
example, on top of a stable stand).
Move the speakers away from the system, or place them
on separate stands. At high volume, speaker vibration
may cause the sound to skip.
Play does not start from the rst track.
Return to Normal Play by pressing PLAY MODE
repeatedly until both “PGM” and “SHUF” disappear.
Starting playback takes more time than usual.
e following discs can increase the time it takes to
start playback;
a disc recorded with a complicated tree structure.
a disc recorded in multisession mode.
a disc that has not been nalized (a disc to which data
can be added).
a disc that has many folders.
USB device
The connected USB device cannot be charged.
Make sure the USB device is connected securely.
If you have turned o the CD player/USB device power,
select a function other than the tuner function, or turn
on the CD player/USB device power. See “To improve
tuner reception.
Are you using a supported USB device?
If you connect an unsupported USB device, the
following problems may occur. Check the information
on the websites about compatible USB devices with
URLs listed under “Playing a le of the USB device.
e USB device is not recognized.
File or folder names are not displayed on this system.
Playback is not possible.
e sound skips.
ere is noise.
A distorted sound is output.
To improve tuner reception
Turn o CD player/USB device power by using the
systems power management function. By default, CD
player/USB device power is turned on.
Use buttons on the unit to turn o the CD player/USB
device power.
1 Press FUNCTION
repeatedly to select the CD
function.
2 Press 
to turn o the system.
3 After “STANDBY” stops ashing, press DISPLAY
to display the clock and then press 
while
holding down
, until CD/USB PWR OFF”
appears.
With CD player/USB device power turned o, access
time is increased. In addition, when the tuner function
is selected, power is not supplied to the USB device,
so it is not recognized and charged even if connected.
To turn on CD player/USB device power, repeat the
procedure until “CD/USB PWR ON” appears.
To reset the system to factory settings
If the system still does not operate properly, reset the
system to factory settings.
Use buttons on the unit to reset the unit to its factory
default settings.
1 Disconnect and reconnect the power cord, and then
turn on the system.
2 While holding down FUNCTION
and +
,
press 
.
All user-congured settings, such as preset radio
stations, timer, and the clock, are deleted.
To turn o the automatic standby function
is system is equipped with an automatic standby
function. With this function, the system enters standby
mode automatically in about 30 minutes when there is no
operation or audio signal output.
By default, the automatic standby function is turned on.
Use buttons on the unit to turn o the automatic standby
function.
Hold down

while the system is on, until
AUTO. STBY OFF” appears.
To turn on the function, repeat the procedure until
AUTO. STBY ON” appears.
Notes
AUTO STANDBY” lights up in the display when the automatic
standby function is turned on.
e automatic standby function is invalid for the tuner functions
(FM/AM), even when “AUTO STANDBY” lights up in the display.
e system may not enter standby mode automatically in the
following cases;
when an audio signal is detected.
when a USB device is connected.
during playback of audio tracks or les.
while the preset Play Timer or Sleep Timer is in process.
Messages
CANNOT PLAY : You tried to play an unsupported le on
the USB device.
DATA ERROR : You tried to play an unplayable le on the
USB device.
DEVICE ERROR : e USB device could not be
recognized or an unknown device is connected.
FULL : You tried to program more than 25 tracks or les
(steps).
NoDEVICE : No USB device is connected or the
connected USB device has been stopped.
NO DISC : ere is no disc in the player, or you have
loaded a disc that cannot be played.
NoMEMORY : e memory selected for playback has no
memory media inserted in the USB device.
NO STEP : All of the programmed tracks have been
erased.
NO SUPPORT : An unsupported USB device is
connected.
NO TRACK : Playable le on the USB device is not loaded
in the system.
NOT USED : You tried to perform a specic operation
under conditions where that operation is prohibited.
OVER : You have reached the end of the disc while
pressing
during playback or pause.
PUSH SELECT : You tried to set the clock or timer during
timer operation.
PUSH STOP : You pressed PLAY MODE
during
playback.
SET CLOCK : You tried to select the timer when the clock
is not set.
SET TIMER : You tried to select the timer when the Play
Timer is not set.
TIME NG : e Play Timer start and end times are set to
the same time.
Precautions
Discs that this system CAN play
Audio CD
CD-R/CD-RW (audio data/MP3 les)
Discs that this system CANNOT play
CD-ROM
CD-R/CD-RW other than those recorded in music CD
format or MP3 format conforming to ISO9660 Level
1/Level 2, Joliet
CD-R/CD-RW recorded in multisession that have not
ended by “closing the session
CD-R/CD-RW of poor recording quality, CD-R/
CD-RW that have scratches or are dirty, or CD-R/CD-
RW recorded with an incompatible recording device
CD-R/CD-RW which is nalized incorrectly
Discs containing les other than MPEG 1 Audio Layer-
3 (MP3) les
Discs of non-standard shape (for example, heart,
square, star)
Discs that have adhesive tape, paper, or sticker attached
to them
Rental or used discs with attached seals where the glue
extends beyond the seal
Discs that have labels printed using ink that feels tacky
when touched
Notes on discs
Before playing, wipe the disc with a cleaning cloth from
the center out to the edge.
Do not clean discs with solvents, such as benzine,
thinner, or commercially available cleaners or anti-
static spray intended for vinyl LPs.
Do not expose discs to direct sunlight or heat sources
such as hot air ducts, nor leave it in a car parked in
direct sunlight.
On safety
Completely disconnect the power cord (mains lead)
from the wall outlet (mains) if it is not going to be used
for an extended period of time. When unplugging the
unit, always grip the plug. Never pull the cord itself.
Should any solid object or liquid get into the system,
unplug the system, and have it checked by qualied
personnel before operating it again.
e AC power cord can be changed only by a qualied
service facility.
On placement
Do not place the system in an inclined position or in
locations that are extremely hot, cold, dusty, dirty, or
humid or lacking adequate ventilation, or subject to
vibration, direct sunlight or a bright light.
Be careful when placing the unit or speakers on
surfaces that have been specially treated (for example,
with wax, oil, polish) as staining or discoloration of the
surface may result.
If the system is brought directly from a cold to a warm
location or is placed in a very damp room, moisture
may condense on the lens inside the CD player, and
cause the system to malfunction. In this situation,
remove the disc, and leave the system turned on for
about an hour until the moisture evaporates.
On heat buildup
Heat buildup on the unit during operation is normal
and is not cause for alarm.
Do not touch the cabinet if it has been used
continuously at a high volume because the cabinet may
have become hot.
Do not obstruct the ventilation holes.
On the speaker system
is speaker system is not magnetically shielded, and
the picture on nearby TV sets may become magnetically
distorted. In this situation, turn o the TV, wait 15 to
30 minutes, and turn it back on.
If there is no improvement, move the speakers far away
from the TV.
Cleaning the cabinet
Clean this system with a so cloth slightly moistened
with a mild detergent solution. Do not use any type
of abrasive pad, scouring powder, or solvent, such as
thinner, benzine, or alcohol.
Specications
Main unit
Amplier section
European and Russian models:
DIN power output (rated): 4 watts + 4 watts (4 ohms at 1 kHz, DIN)
Continuous RMS power output (reference): 5 watts + 5 watts (4 ohms at
1 kHz, 10% THD)
Music power output (reference): 9 watts + 9 watts
Other models:
DIN power output (rated): 4 watts + 4 watts (4 ohms at 1 kHz, DIN)
Continuous RMS power output (reference): 5 watts + 5 watts (4 ohms at
1 kHz, 10% THD)
Input
AUDIO IN (stereo mini jack): Sensitivity 550 mV, impedance 50 kilohms
Outputs
PHONES (stereo mini jack): Accepts headphones with an impedance of
8 ohms or more
SPEAKERS: Accepts impedance of 4 ohms
CD player section
System: Compact disc and digital audio system
Laser Diode Properties
Emission Duration: Continuous
Laser Output*: Less than 44.6µW
* is output is the value measurement at a distance of 200mm from the
objective lens surface on the Optical Pick-up Block with 7mm aperture.
Frequency response: 20 Hz 20 kHz
Signal-to-noise ratio: More than 90 dB
Dynamic range: More than 90 dB
Tuner section
FM stereo, FM/AM superheterodyne tuner
FM tuner section:
Tuning range
Brazilian model: 87.5 MHz 108.0 MHz (100 kHz step)
Other models: 87.5 MHz 108.0 MHz (50 kHz step)
Antenna: FM lead antenna
Intermediate frequency: 225 kHz
AM tuner section:
Tuning range
Models for Europe, Russia, Saudi Arabia, Kuwait and Egypt:
531 kHz 1,602 kHz (9 kHz step)
Australian model:
531 kHz 1,710 kHz (9 kHz step)
530 kHz 1,710 kHz (10 kHz step)
Latin American models:
530 kHz 1,710 kHz (10 kHz step)
531 kHz 1,710 kHz (9 kHz step)
Other models:
531 kHz 1,602 kHz (9 kHz step)
530 kHz 1,610 kHz (10 kHz step)
Antenna: AM loop antenna
Intermediate frequency: 53 kHz
USB section
Supported bit rate:
MP3 (MPEG 1 Audio Layer-3): 32 kbps 320 kbps, VBR
Sampling frequencies:
MP3 (MPEG 1 Audio Layer-3): 32/44.1/48 kHz
(USB) port: Type A, maximum current 500 mA
Speaker
Speaker system: Full range, 8 cm dia., cone type
Rated impedance: 4 ohms
Dimensions (W/H/D): Approx. 148 mm × 240 mm × 127 mm
Mass: Approx. 1.23 kg net per speaker
General
Power requirements:
European and Russian models: AC 230 V, 50/60 Hz
Australian model: AC 230 V 240 V, 50/60 Hz
Latin American models (except for Brazilian, Mexican and Argentine
models): AC 110 V 120 V or 220 V 240 V, 50/60 Hz, adjustable with
voltage selector
Brazilian model: AC 127 V or 220 V, 60 Hz, adjustable with voltage selector
Mexican model: AC 120 V, 60 Hz
Argentine model: AC 220 V, 50/60 Hz
Models for Middle and Near East: AC 110 V 120 V or 220 V 240 V,
50/60 Hz, adjustable with voltage selector
Korean model: AC 220 V, 50/60 Hz
Taiwan model: AC 120 V, 50/60 Hz
ai model: AC 220 V, 50/60 Hz
Other models: AC 220 V 240 V, 50/60 Hz
Power consumption:
European and Russian models: 28 watts
Latin American models (except for Mexican and Argentine models):
28 watts
Models for Middle and Near East: 28 watts
Other models: 25 watts
Dimensions (W/H/D) (excl. speakers):
Approx. 158 mm × 240 mm × 225.5 mm
Mass (excl. speakers): Approx. 2.1 kg
Supplied accessories: Remote Commander (1), FM lead/AM loop antenna (1)
Design and specications are subject to change without notice.
Standby power consumption: 0.5 W
Halogenated ame retardants are not used in the certain printed
wiring boards.
OVER CURRENT” appears.
A problem has been detected with the level of electrical
current from the (USB) port
. Turn o the system
and remove the USB device from the (USB) port
. Make sure there is no problem with the USB device.
If this display pattern persists, contact your nearest
Sony dealer.
There is no sound.
e USB device is not connected correctly. Turn o the
system, then reconnect the USB device.
There is noise, skipping, or distorted sound.
Turn o the system, then reconnect the USB device.
e music data itself contains noise, or the sound is
distorted. Noise may have been entered when creating
music data due to the conditions of the computer.
Create the music data again.
e bit rate used when encoding the les was low. Send
les encoded with higher bit rates to the USB device.
“READING” is displayed for an extended time,
or it takes a long time before playback starts.
e reading process can take a long time in the
following cases.
ere are many folders or les on the USB device.
e le structure is extremely complex.
e memory capacity is excessive.
e internal memory is fragmented.
Erroneous display
Send the music data to the USB device again, as the
data stored in the USB device may have been corrupted.
e character codes that can be displayed by this
system are numbers and alphabets only. Other
characters are not displayed correctly.
The USB device is not recognized.
Turn o the system and reconnect the USB device, then
turn on the system.
Check the information on the websites about
compatible USB devices with URLs listed under
“Playing a le of the USB device.
e USB device does not work properly. Refer to the
USB device operation manual for how to deal with this
problem.
Play does not start.
Turn o the system and reconnect the USB device, then
turn on the system.
Check the information on the websites about
compatible USB devices with URLs listed under
“Playing a le of the USB device.
Press
to start playback.
Play does not start from the rst track.
Set the play mode to Normal Play mode.
Files cannot be played back.
e MP3 le does not have the extension “.mp3”.
e data is not stored in MP3 format.
USB storage devices formatted with le systems other
than FAT16 or FAT32 are unsupported.*
If you use a partitioned USB storage device, only les
on the rst partition can be played.
Files that are encrypted or protected by passwords, etc.
cannot be played back.
* is system supports FAT16 and FAT32, but some USB storage
devices may not support all of these FAT. For details, see the
operation manual of each USB storage device or contact the
manufacturer.
Tuner
Severe hum or noise, or stations cannot be
received. (“TUNED or “ST ashes on the
display.)
Connect the antenna properly.
Find a location and an orientation that provide good
reception, and then set up the antenna again.
Keep the antennas away from the speaker cords and the
power cord to avoid picking up noise.
Turn o nearby electrical equipment.
Several radio stations can be heard at the same
time.
Find a location and an orientation that provide good
reception, and then set up the antenna again.
Bundle the antenna cables using commercially available
cord clips, for example, and adjust the cable lengths.
To change the AM tuning interval (except
models for Europe, Russia, Saudi Arabia,
Kuwait and Egypt)
e AM tuning interval is factory-preset to 9 kHz (or
10 kHz for some areas).
Use buttons on the unit to change the AM tuning
interval.
1 Tune in any AM station, and then turn o the
system.
2 Press DISPLAY
to display the clock.
3 While holding down
, press 
.
All the AM preset stations are erased. To reset the
interval to the factory preset, repeat the procedure.
2

Brauchen Sie Hilfe? Stellen Sie Ihre Frage.

Forenregeln

Missbrauch melden von Frage und/oder Antwort

Libble nimmt den Missbrauch seiner Dienste sehr ernst. Wir setzen uns dafür ein, derartige Missbrauchsfälle gemäß den Gesetzen Ihres Heimatlandes zu behandeln. Wenn Sie eine Meldung übermitteln, überprüfen wir Ihre Informationen und ergreifen entsprechende Maßnahmen. Wir melden uns nur dann wieder bei Ihnen, wenn wir weitere Einzelheiten wissen müssen oder weitere Informationen für Sie haben.

Art des Missbrauchs:

Zum Beispiel antisemitische Inhalte, rassistische Inhalte oder Material, das zu einer Gewalttat führen könnte.

Beispielsweise eine Kreditkartennummer, persönliche Identifikationsnummer oder unveröffentlichte Privatadresse. Beachten Sie, dass E-Mail-Adressen und der vollständige Name nicht als private Informationen angesehen werden.

Forenregeln

Um zu sinnvolle Fragen zu kommen halten Sie sich bitte an folgende Spielregeln:

Neu registrieren

Registrieren auf E - Mails für Sony cmt fx 200 wenn:


Sie erhalten eine E-Mail, um sich für eine oder beide Optionen anzumelden.


Andere Handbücher von Sony cmt fx 200

Sony cmt fx 200 Bedienungsanleitung - Deutsch, Holländisch - 2 seiten


Das Handbuch wird per E-Mail gesendet. Überprüfen Sie ihre E-Mail.

Wenn Sie innerhalb von 15 Minuten keine E-Mail mit dem Handbuch erhalten haben, kann es sein, dass Sie eine falsche E-Mail-Adresse eingegeben haben oder dass Ihr ISP eine maximale Größe eingestellt hat, um E-Mails zu erhalten, die kleiner als die Größe des Handbuchs sind.

Ihre Frage wurde zu diesem Forum hinzugefügt

Möchten Sie eine E-Mail erhalten, wenn neue Antworten und Fragen veröffentlicht werden? Geben Sie bitte Ihre Email-Adresse ein.


Info