TIMER OPERA
13
Daily timer allows the user to set both the ON & OFF timers and will be
activated on a daily basis.
Setting Daily Timer
Setting the ON Timer Setting the OFF Timer
1
Press for enter ON timer setting
Press
for enter OFF timer setting
2
Press for select desired ON
timer
Press for select desired OFF
timer
3
Press for set timer Press for set timer
4
Press for cancel timer Press for cancel timer
1
Press for enter ON timer
setting
4
Press for select desired OFF
timer
2
Press for select desired
ON timer
5
Press .
3
Press for enter OFF timer
setting
6
Press again during the
( or ) blink.
• During the daily timer is activating, both arrows ( , ) are indicated.
Note:
• Keep the remote control in accessible transmission to the indoor unit;
otherwise, the time lag up to 15 minutes will occur
• The setting will be saved for the next same operation.
PRESET OPERA
14
Set your preferred operation for future use. The setting will be memorized by
the unit for future operation (except airfl ow direction).
1.
2. for 3 seconds to memorize the setting.
The P mark displays.
3. Press
: Operate the preset operation.
AUTO REST
15
T
unit must be on.)
Setting
1. Press and hold the RESET button on the indoor unit for 3 seconds to set the
operation. (3 beep sound and OPERA
2. Press and hold the RESET button on the indoor unit for 3 seconds to cancel the
operation. (3 beep sound but OPERA
•
In case of ON timer or OFF timer are set,
not activate.
Tfl ow
automatically turn OFF
Press
: Select 1, 3, 5 or 9 hrs for OFF timer operation.
Note: The cooling operation, the set temperature will increase automatically
1 degree/hour for 2 hours (maximum 2 degrees increase). For heating
operation, the set temperature will decrease.
POWER-SELECTION OPERA
16
COMFORT SLEEP OPERA
17
SELF CLEANING OPERA
(COOL
20
OPERA
21
1. Three-minute protection feature: T
minutes when suddenly restarted or switched to ON.
2. Preheating operation: Warm up the unit for 5 minutes before the heating
operation starts.
3. Warm air control: When the room temperature reaches the set temperature, the
fan speed is automatically reduced and the outdoor unit will stop.
4. Automatic defrosting: Fans will stop during defrost operation.
5. Heating capacity: Heat is absorbed from outdoors and released into the room.
When the outdoor temperature is too low
apparatus in combination with the air conditioner
6. Consideration for accumulated snow: Select the position for outdoor unit where
it will not be subjected to snow drifts, accumulation of leaves or other seasonal
debris.
7. Some minor cracking sound may occur when unit operating. This is normal
because the cracking sound may be caused by expansion/contraction of plastic.
Note: Item 2 to 6 for Heating model
Air conditioner operating conditions
T
Operation
Outdoor T Room T
Heating –15°C ~ 24°C Less than 28°C
Cooling –10°C ~ 46°C 21°C ~ 32°C
Dry –10°C ~ 46°C 17°C ~ 32°C
The unit does not operate. Cooling or Heating is abnormally low.
•
The power main switch is
turned off.
•
The circuit breaker is activated
to cut off the power supply
•
Stoppage of electric current
•
ON timer is set.
•
The fi
•
The temperature has been set improperly
•
The windows or doors are opened.
•
The air inlet or outlet of the outdoor unit is blocked.
•
The fan speed is too low
•
The operation mode is F
•
POWER SELECT FUNCTION is set at 75% or 50%.
TROUBLESHOOTING (CHECK POINT)
22
REMOTE CONTROL
23
T
conditioner are installed nearly
Remote Control B Setup.
1.
2.
3. button on the Remote Control by the tip of the pencil.
“00” will be shown on the display
4. Press
during pushing . “B” will show on the display and
“00” will disappear and the air conditioner will turn OFF
Control B is memorized.
Note:
1.
Remote Control to be
2.
display
3.
from factory is
1.
Press button to change to 8°C set temperature heating operation.
2. Press to adjust setting temperature from 5°C to 13°C.
Note: 8°C will operate in Heating mode only
cooling operation (including automatic cooling) or dry operation it will
change to heating operating.
When using a multi-system outdoor unit is connected, 8°C operation
can not be used.
8°C OPERA
18
0
Firstly
Filter Reset (Some models only)
FILfi
T
the remote control.
Indoor Unit and Remote Control
•
Clean the indoor unit and the remote control with a wet cloth when needed.
•
No benzine, thinner
Cleaning the air ionizer (Once every six months)
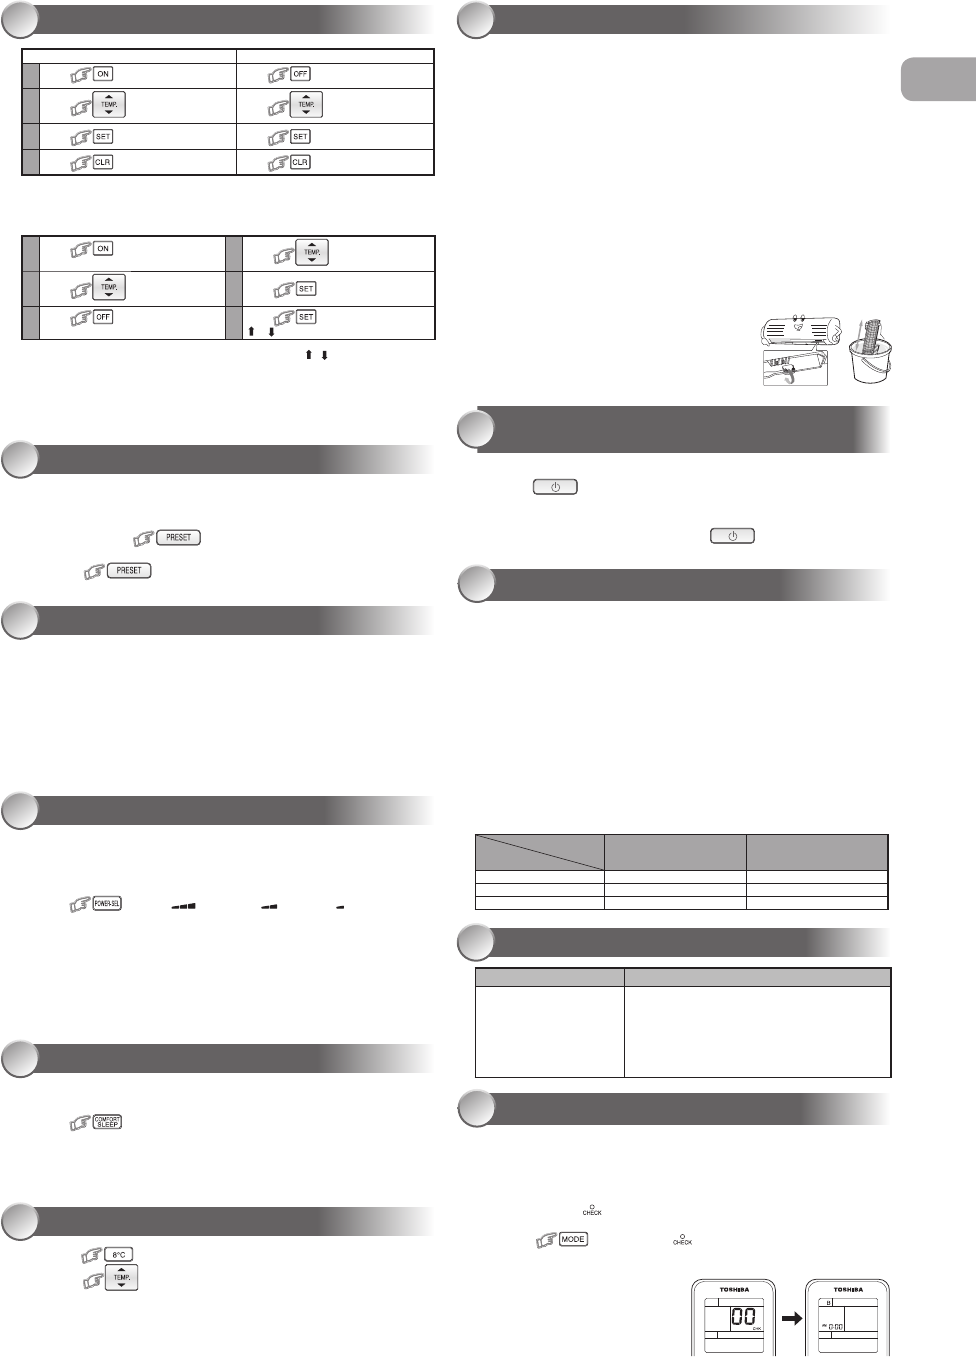
1. Turn of
2. Fully open the vertical air fl ow louvers by hand.
3. Use a toothbrush to rub the ends of metal pin three or four times.
Note: Do not use cotton swabs or other objects with fl uff.
Cleaning the plasma air purifi er unit (About every 1000 hours performed)
1. Turn of
2. T
3. Tfi er by grasp the handle, and the pull it out.
4. Soak in hot water at 40°C to 50°C for about 10 to 15 minutes and rub up, down,
left, right and rub surface gently with a sponge.
5. Allow to dry thoroughly in the shade.
6. Attach the plasma air purifi er by grasp the handle
and insert into the right and left guide rails.
7. Press both ends of the plasma air purifi er until the
protrusions on both sides of the plasma air purifi er
are completely inserted.
8. Attach the air fi lter
MAINTENANCE
19
T
1. If
button is pressed once during “Cool” or “Dry” mode,
the fan will continue to run for other 30 minutes, then it will turn off
automatically
2. more 2 times within 30
seconds.
This function is used when its circuit breaker is shared with other electrical
appliances. It limits the maximum current/ power consumption to 100%, 75%
or 50%. The lower the percentage, the higher the saving and also the longer
the compressor lifetime.
Press
: Select: (for 100%), (for 75%), (for 50%)
• When the level is selected, PWR-SEL level fl ashes on LCD display for
3 seconds. In case of 75% and 50% level, number “75” or “50” also
fl ashes for 2 seconds.
• Due to the reason that POWER SELECT FUNCTION limits the
maximum current, inadequate capacity may occur
Note: When using a multi-system outdoor unit is connected,
POWER-SELECTION operation can not be used.
EN