T ●
lower tip
milk surface. It results in starting the process of milk foaming.
Important: ● Make sure that the steam comes out evenly
results
the jug
milk. Remember that perfect consistency is soft, velvety foam.
When ●
starts When it lower however
keep the tip of the steam wand right below the milk surface.
When the foam is ready the jug in such a way that the ●
steam wand is inside the milk.
Hint: ● The amount of necessary
kind E.g. cappuccino requires more foam than
drink based on espresso with milk foamed by steam.
T ●
to the
(12) OFF position,
that OFF
the espresso machine.
Hint: ●
the appropriate
the hand on the jug longer than 3 seconds.
Important: ● Do not boil the milk.
Remove ● (10)
with
with
of milk foaming.
Knock it in ●
the
milk
achieve homogeneous consistency of milk and foam.
10.7.
ready to serve.
A
steam
on the control panel will start ashing and the repeating signal
informing about
Set OFF
clockwise OFF
on the machine casing.
water
start the
symbol coincides with the mark on the machine casing.
A
conducted with
wand (10) is very hot.
A set knob (12) the position
when espresso not foaming
point 10.3), the device will generate alarm signal, that is quickly
repeating sound signals.
12. Emptying of the drip tray
When (8)
red
(9) rises above drip (7) . Pull out
drip (8)
(7) (Fig. . Put
the complex in the espresso machine.
13. Descaling
Lime
device
periodical removal of the lime. using some determined amount of
water by the machine
degree set will
illuminated
panel, you have to descale the device.
A
damages to descale the appliance are
not subject to warranty repairs.
Descaling solutions
T
makers:
Citric acid solution ●
Dissolve 2 spoonful (ca. 30 g) of citric acid in 1 l of water
Specially designated liquids or tablets. ●
Hint:
of these products.
13.1.
13.2.
13.3. (1) (8) (7) from
the espresso machine (Fig. 1.
13.4.
lter (4)
screwdriver (Fig. 12).
13.5. the lter grid and the lter head (4) , remove the lime and
coffee remains.
13.6.
13.7. (1)
acid.
13.8. (1) and (1) , the
drip tray (8) and the grid (7) back to the machine (Fig. 13).
13.9.
a socket. The espresso machine will turn on. The signal will sound,
tthe (C)
(C) will go out.
13.10. (A) button. The signal will sound.
13.1 The knob indicator (C) will start ashing to inform you that the
espresso machine is in the course of warming up.
13.12. (C)
Continuous glowing of the knob indicator (C) means that the
machine is ready for use (it has attained appropriate temperature).
13.13. (A) (L) button
together The knob indicator (C) will go out and the signal will
sound.
will ash for the time of this process.
13.14. (4).
13.15. (4) .
of 1st stage of
ashing of the knob indicator (C).
13.16. (1) with clean water
13.16. (4)
clean water could ow through it.
13.17.
(1) (1).
the (1)
espresso machine.
13.18. signal will sound and the knob indicator (C) will go
out. (4)
machine rinsing will start).
Fig. 8 Fig. 9
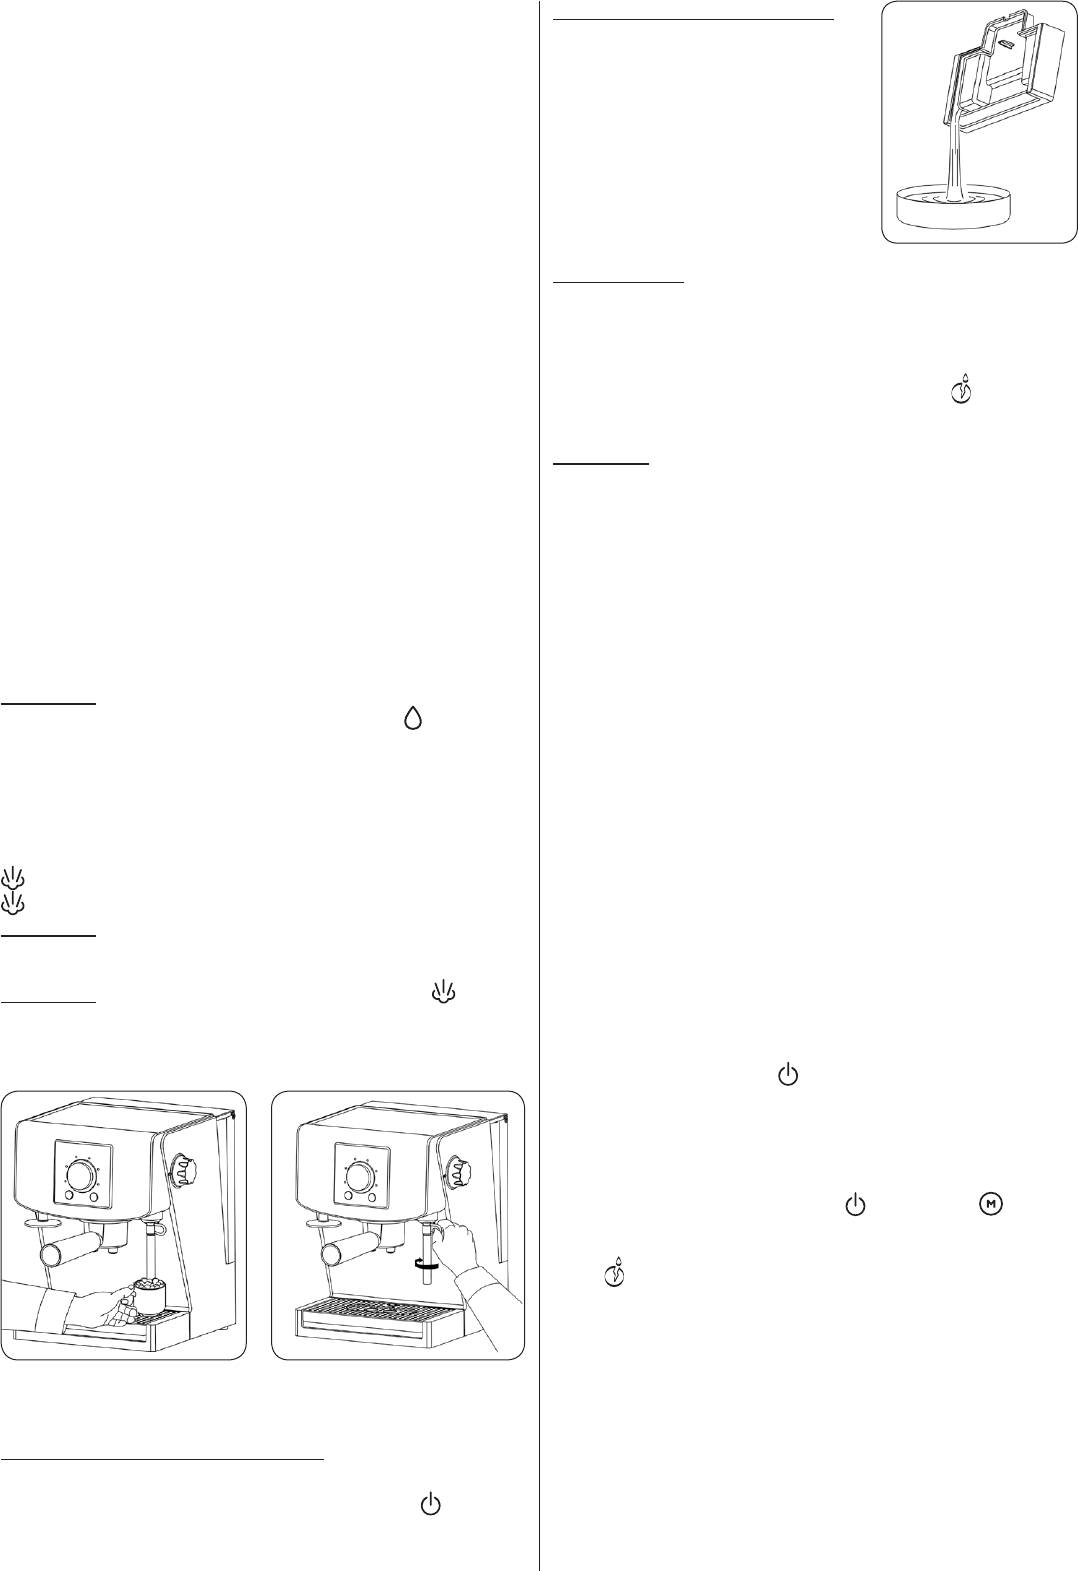
Fig. 10
11. Automa
The device will switch of
to machine Power (A)
The signal will sound.